Site Server Deployment
This deployment scenario is designed for situations where, for some reason, Management Server is not located in the same region as Site Server. This could be due to the corporate server landscape, multitenancy architecture, etc.
Mandatory subsystems: Spooler Controller, Workflow Processing System
Optional subsystems: Mobile Print Server, FlexiSpooler, Payment System with an external or embedded database
Prerequisites
Please make sure there is no Windows Update in Pending Restart status before the installation.
If the installation needs to turn on additional server roles, it might cause this pending restart to execute without any prompt during installation.
Extracting the Archive
Extract the archive with the installer to your disk.
The installer consists of one main executable and several component installers located in the bin subfolder.
Run the main executable file.
Choosing the Language

The installer uses the selected language to communicate with the user with the exception of text coming directly from the OS, which is dependent on the OS language. Typically, this means the "Yes", "No", and "OK" buttons.
The number of languages depends on the localization scope for each installer.
The default language is English.
The Welcome Page
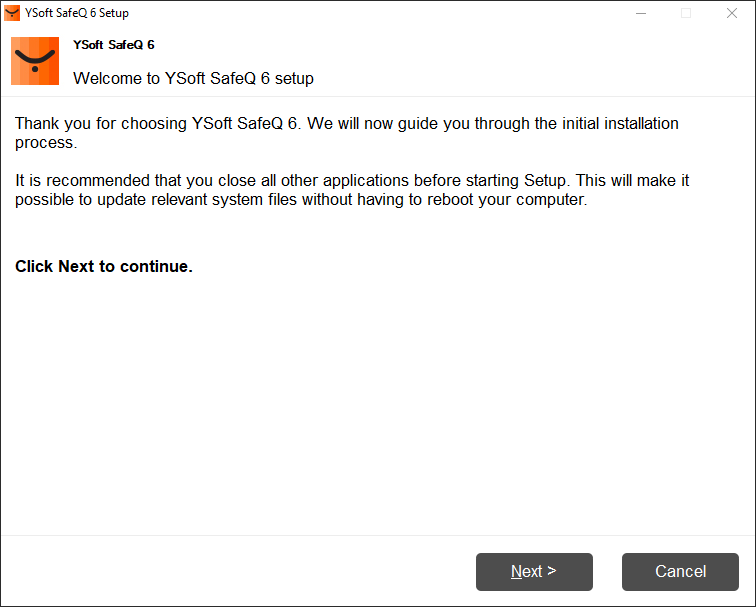
The user is notified that a wizard-like setup will guide them through the installation process.
License Agreement
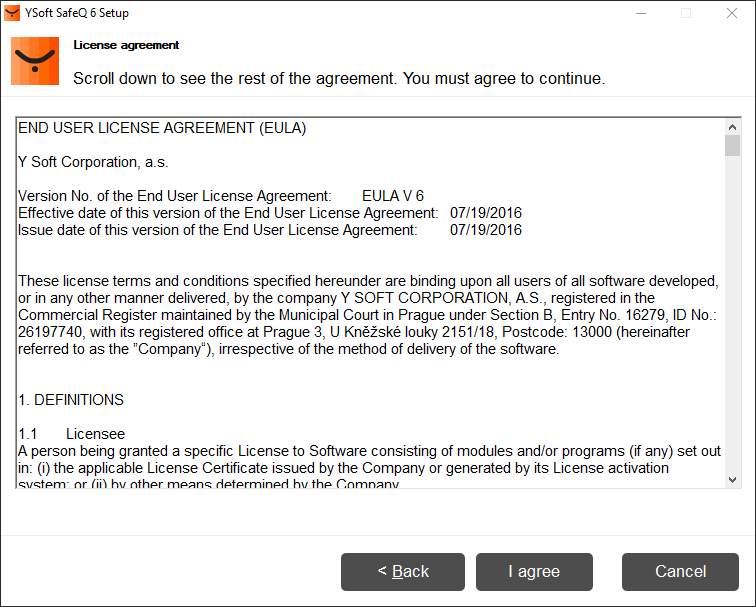
The license agreement shows the standard YSoft EULA.
The user has to agree with the EULA content in order to continue.
Server environment
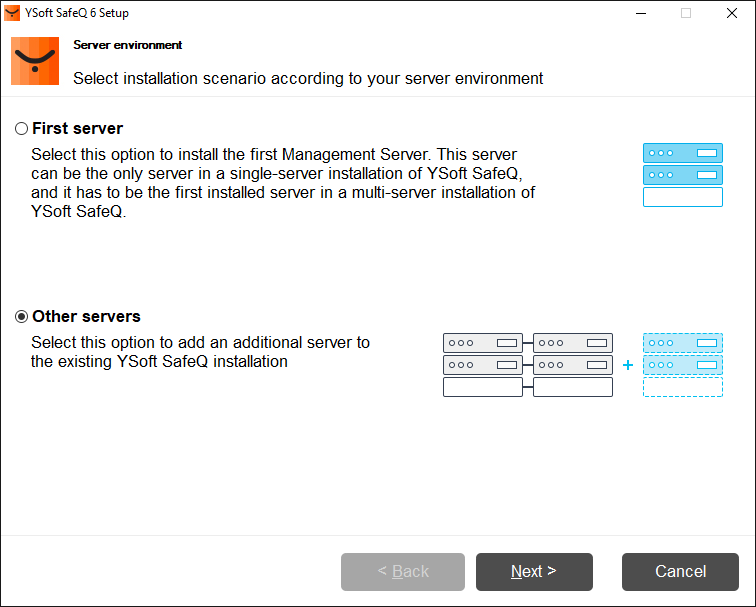
Select the Other servers option when installing a Site Server or Management Server cluster.
Deployment scenario
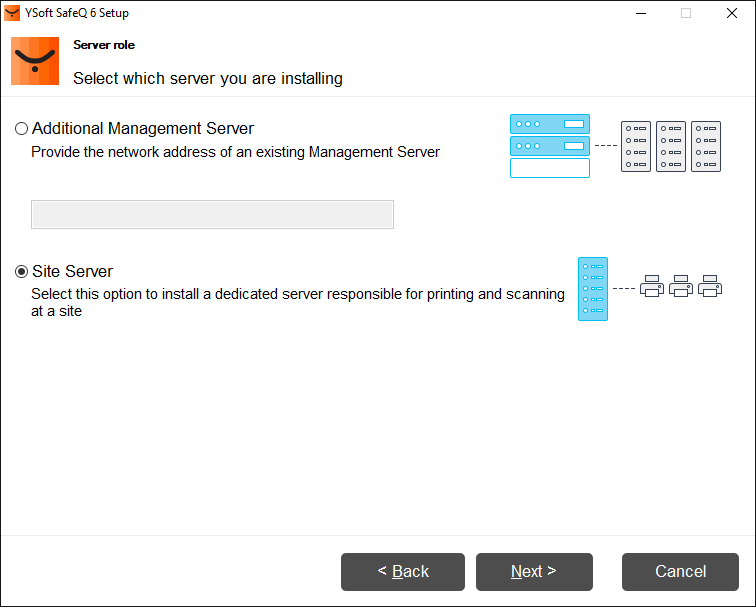
Select Site server to deploy print or scan related features.
This is an analogy with ORS in YSoft SafeQ5.
Optional Features
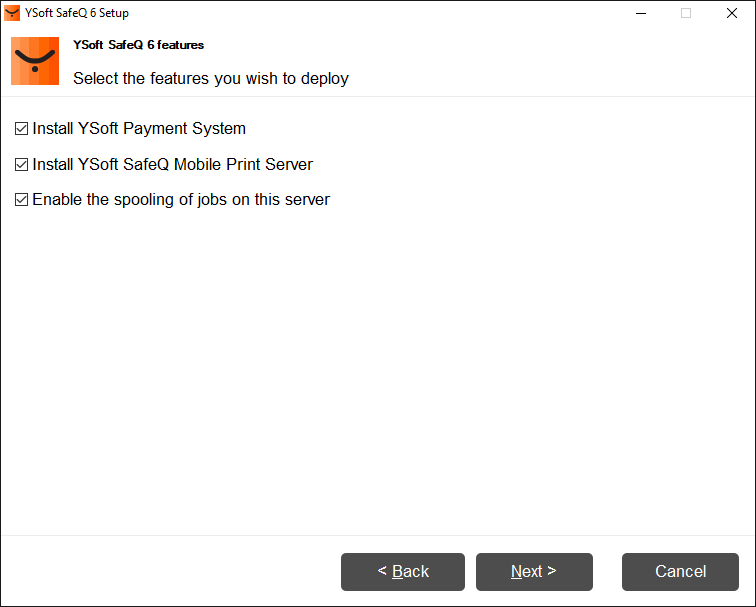
Select which optional features to install.
Spooling features – print jobs will be spooled directly on this server.
In case of installation with YSoft SafeQ Payment System, the suffix "_YPS" will be added to the database name.
Installation folder
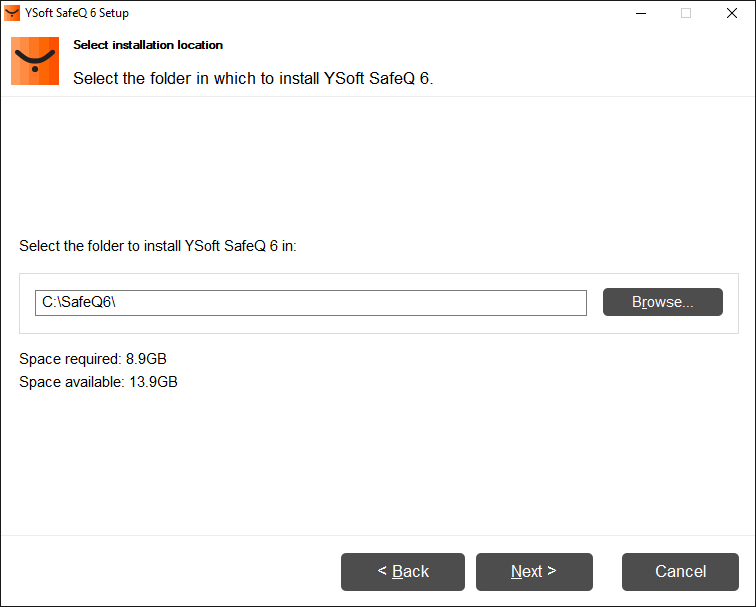
Provide the path to the installation folder
The folder's path must consist of ASCII characters only without white space
Each subsystem will be installed in its dedicated folder
The minimum required disk space is 2.5 GB.
Preinstallation Check
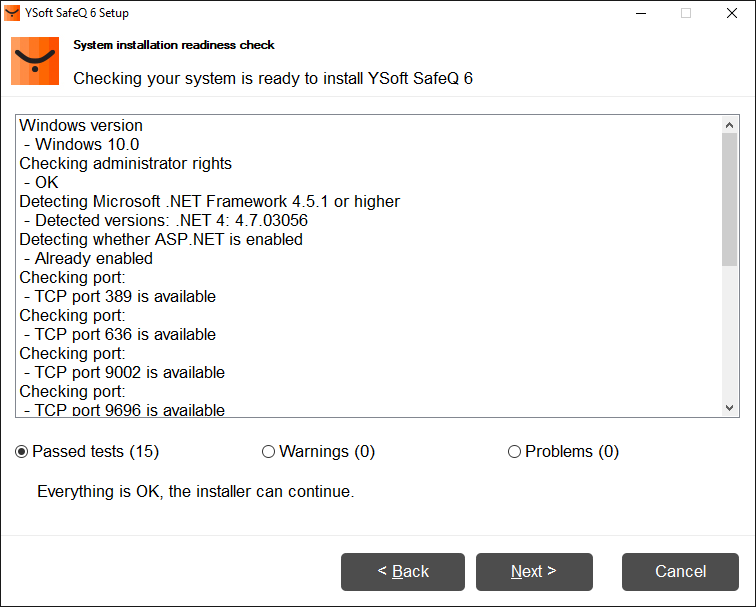
The preinstallation check performs a series test to verify if the server environment is suitable for the installation. Currently, only basic tests are not performed, but the list will grow in the future.
The installer process has administrator rights.
Server OS is intended for servers (not Windows 7,8,10, etc.).
.Net framework availability – If not found, the installer will deploy .Net framework 4.5.2 automatically.
Connecting to Management Server
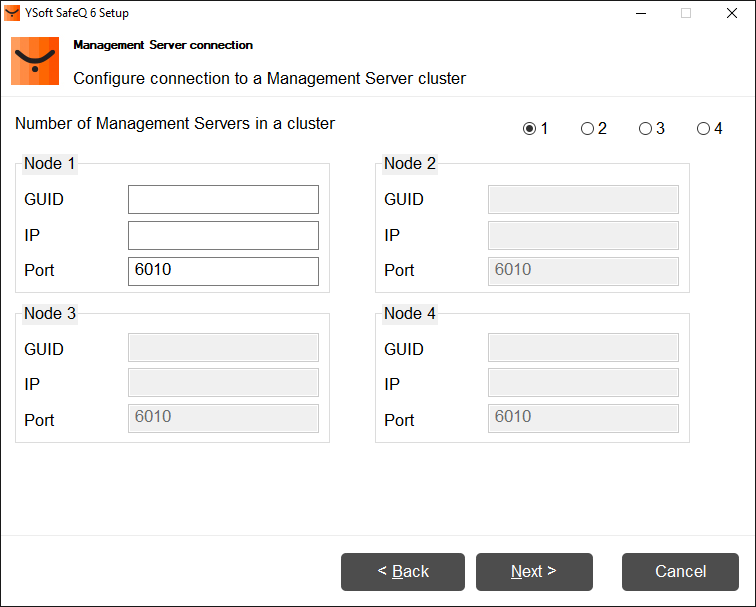
Enter the connection parameters to Management Server or the Management Server cluster.
Site Server can be connected to up to four Management Server cluster nodes.
Database configuration
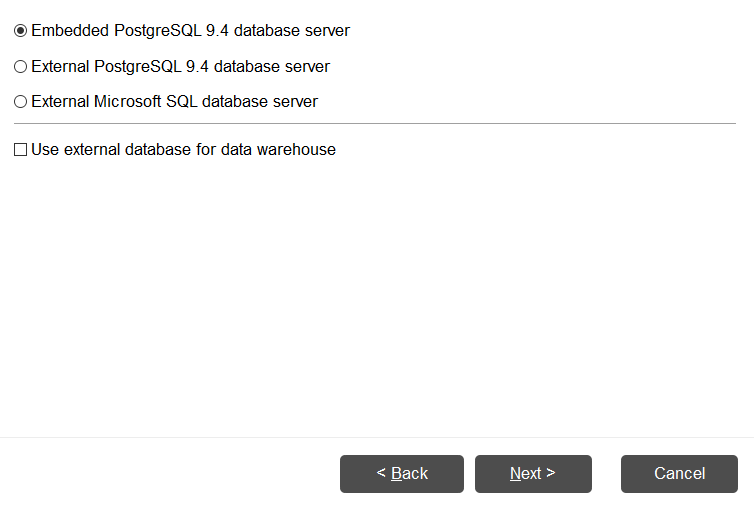
Connect Site Server to the database.
This configuration is required for the Payment features to work properly.
This configuration is required only when Payment features are selected.
Database user password
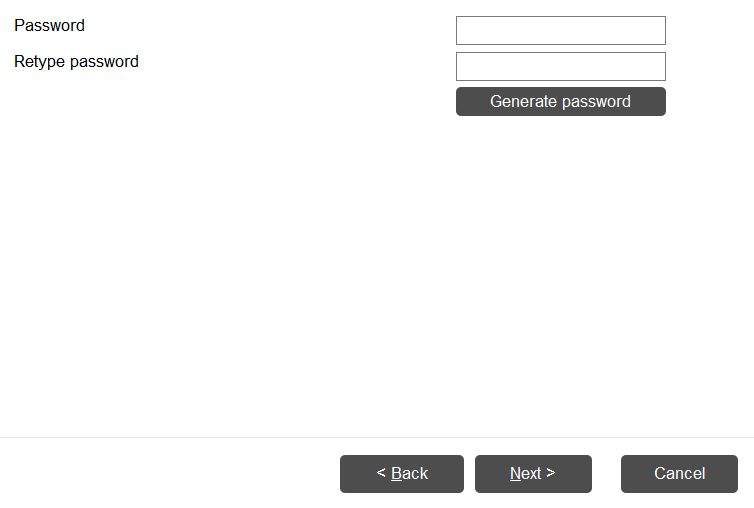
This Site Server deployment scenario uses an embedded and preconfigured PostgreSQL database when Payment features are selected for installation.
The user provides a password that will be used for accessing the database under the Postgres user account.
It is possible to use a generated password that contains a random set of letters, numbers, and some of these !?{}()^,./[]|~+* special characters.
Please note that only the !?{}()^,./[]|~+* special characters are supported for database connection.
External Databases
For the description how to configure the connection to your external database server see First server installation with an external Database.
Configure other options
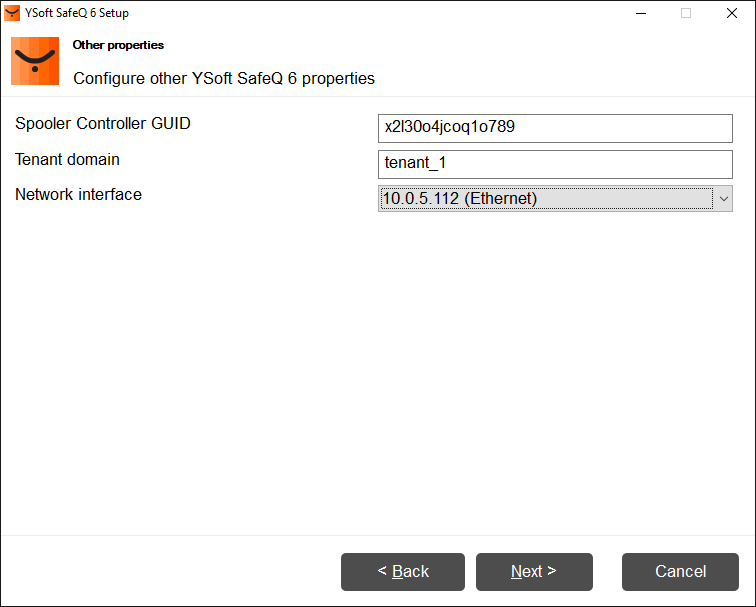
The Site Server instance is identified by an automatically generated GUID, however, you can also provide GUID manually.
There is a dropdown list of all available IPv4 network interfaces.
The user can choose the one network interface to which the YSoft SafeQ services will bind.
The MobilePrint Mailbox
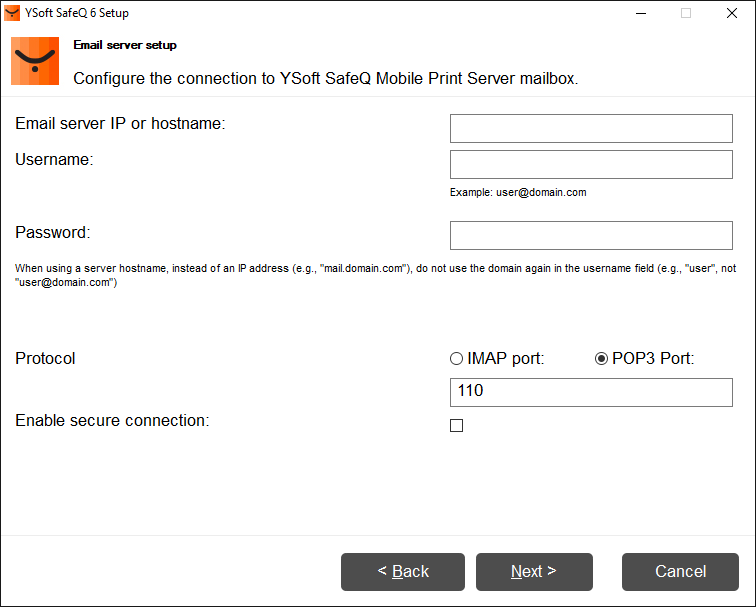
Setup the connection to the incoming mailbox.
This configuration is required for the Mobile Print feature to work properly.
Configuration is required only when Mobile Print features are selected.
Installation Summary
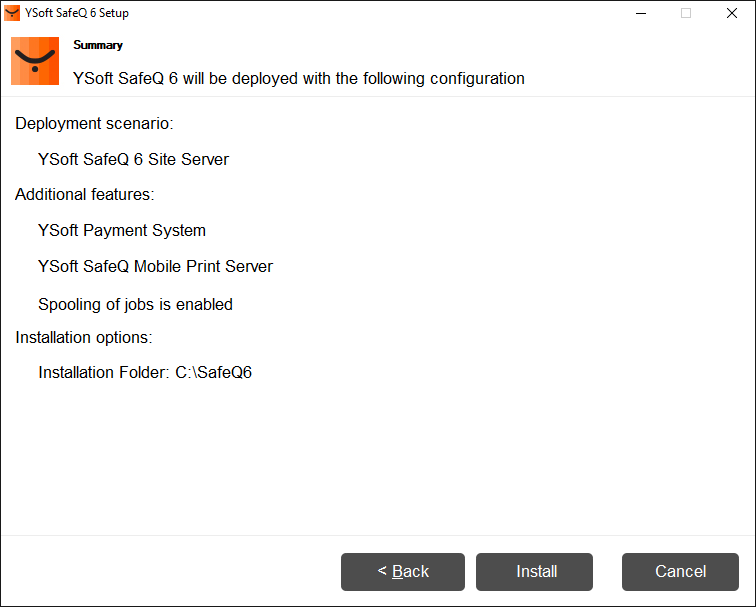
There is an installation summary where the user can validate the installation properties.
After clicking install, the installation begins.
Installation progress
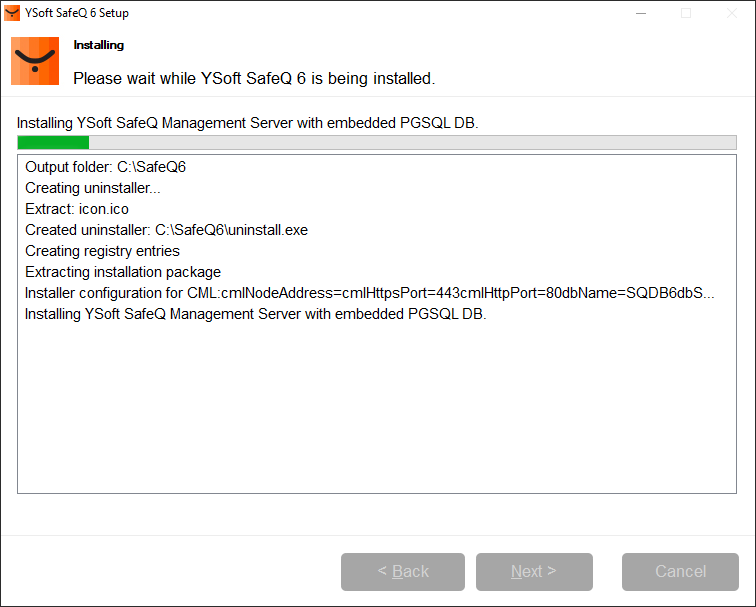
The installation's progress is shown in the form of a progress bar.
The user can monitor installation activities.
An explanatory error message is shown if the installation fails.
In some cases, a dialogue window with a prompt for restart is displayed. Kindly restart the server after installation of the product, if you restart the server immediately then installation could fail.
Should you experience an error message 0x00000709 or 0x800f0247 during the installation please refer to the article Installing Security Certificates.
Finish
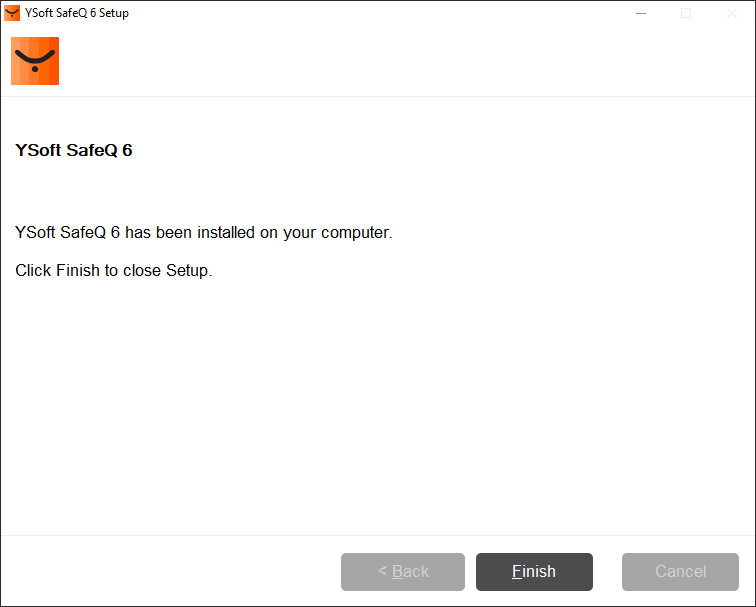
The user is informed that the new version was successfully installed and it is possible to exit the installer safely.
The user can log in to the management interface for the first time using the default administrator user name and password. It is highly recommended to change the password during the first session.