Configuring and Deploying the Box application
Creating the Box application
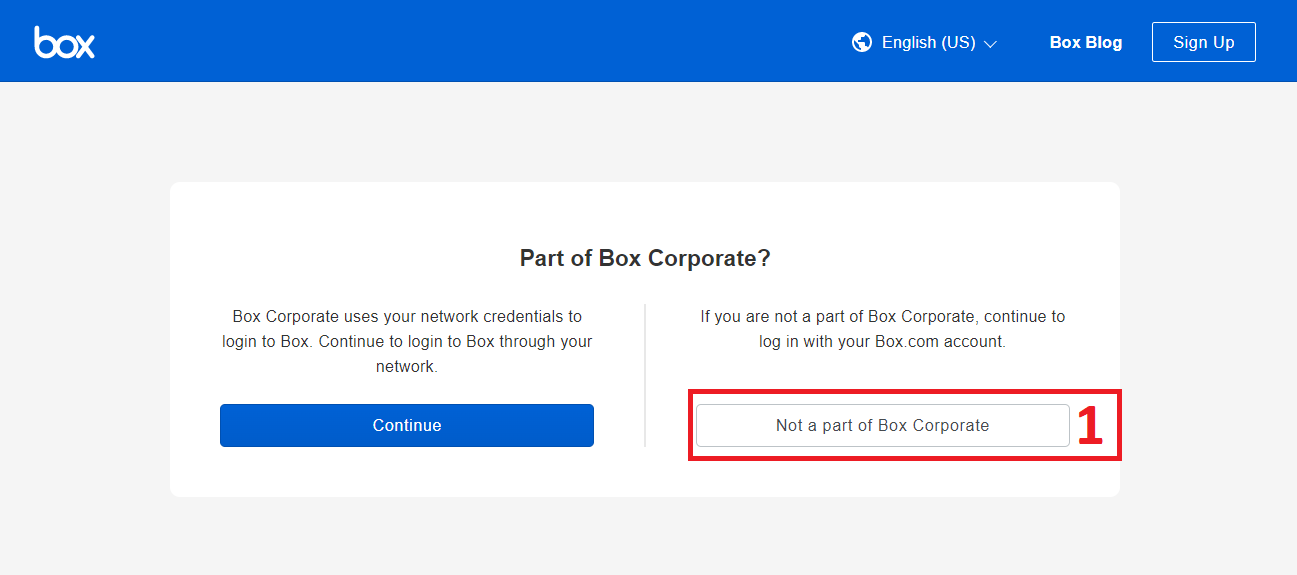
Go to https://cloud.app.box.com/developers/console and select Not a part of Box Corporate.
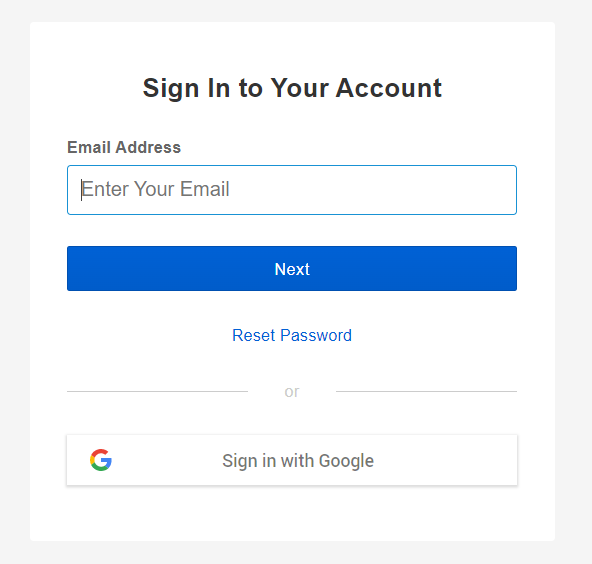
Log in with your Box admin account.
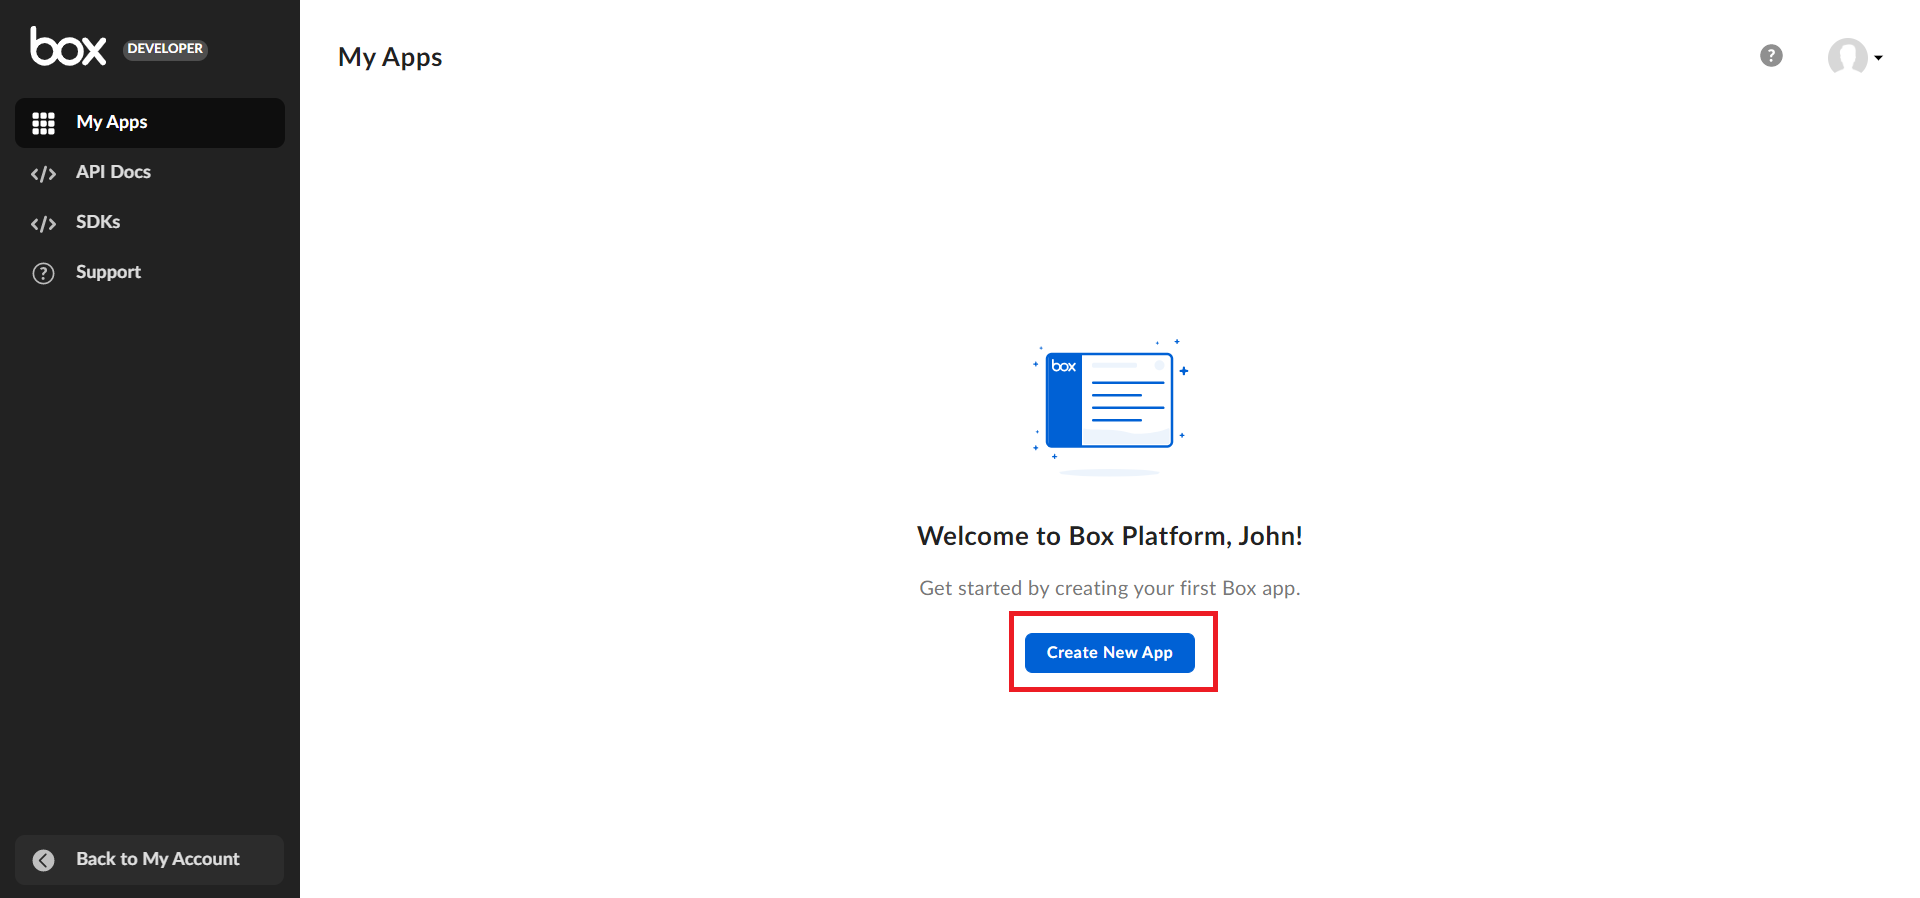
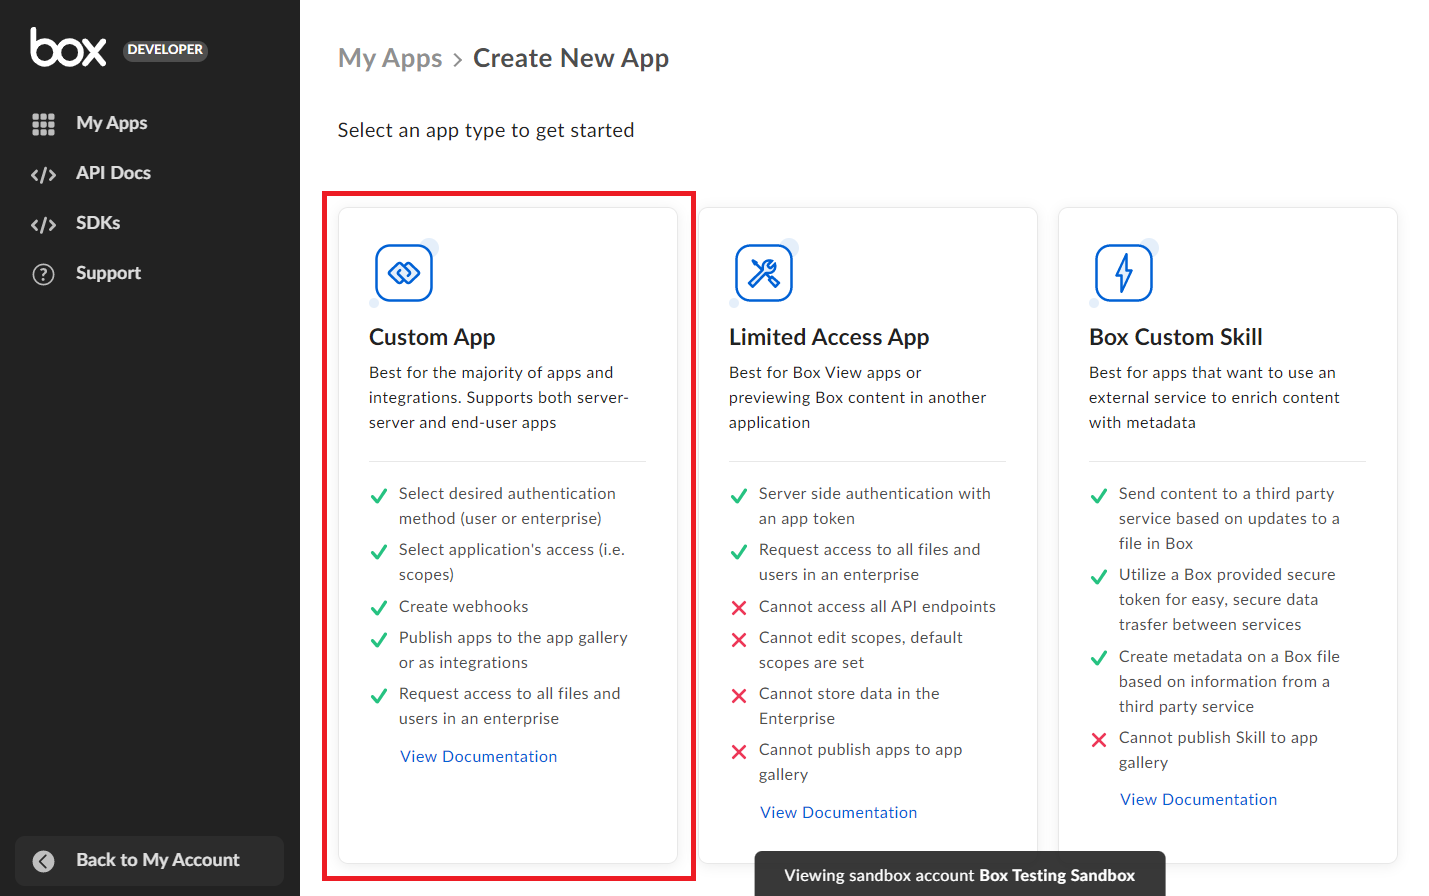
Click on Create New App.
Select Custom App.
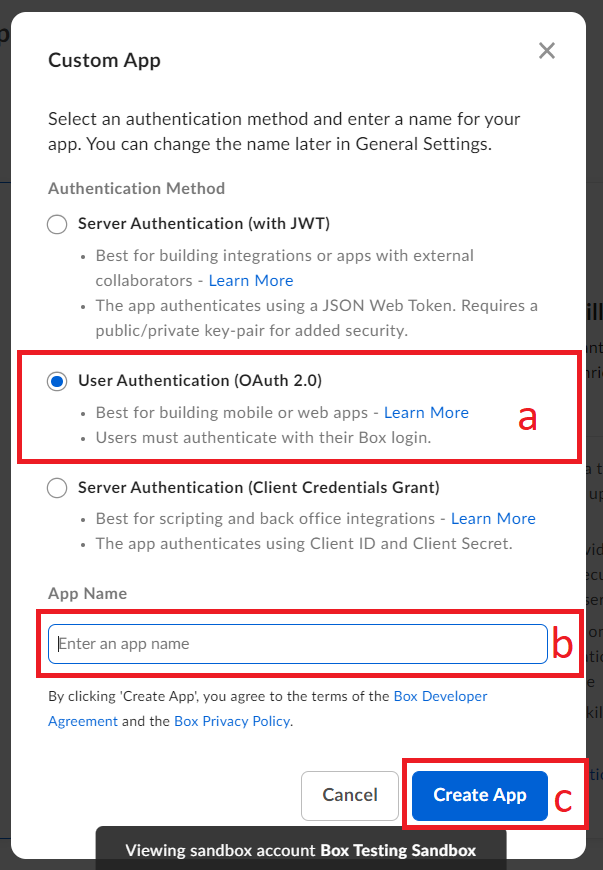
Fill up the form.
Select User Authentication (OAuth 2.0).
Enter how you want to name your application.
Click Create App.
Enter the http://localhost/connectors/box/box-auth-callback URI or a URI from which you are accessing the YSoft SafeQ Management Server ending with /connectors/box/box-auth-callback into the Redirect URIs field.

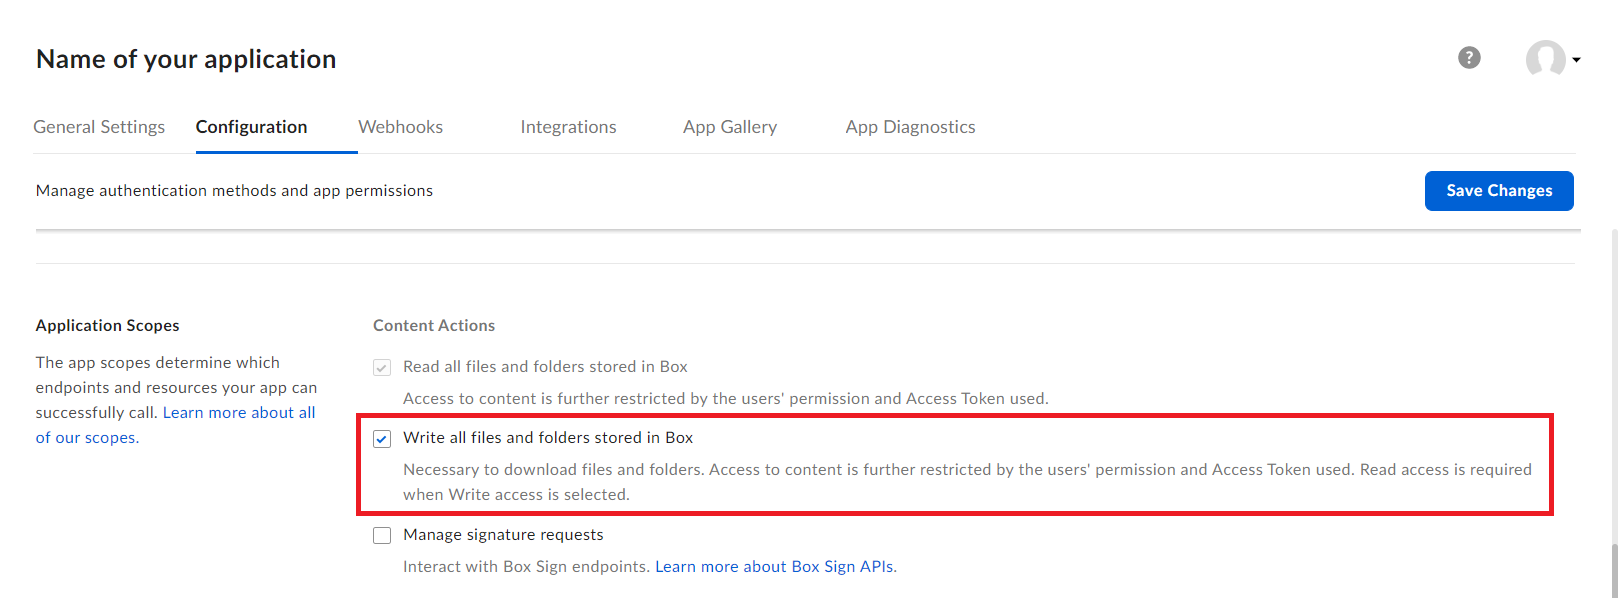
Select Write all files and folders stored in Box permission.
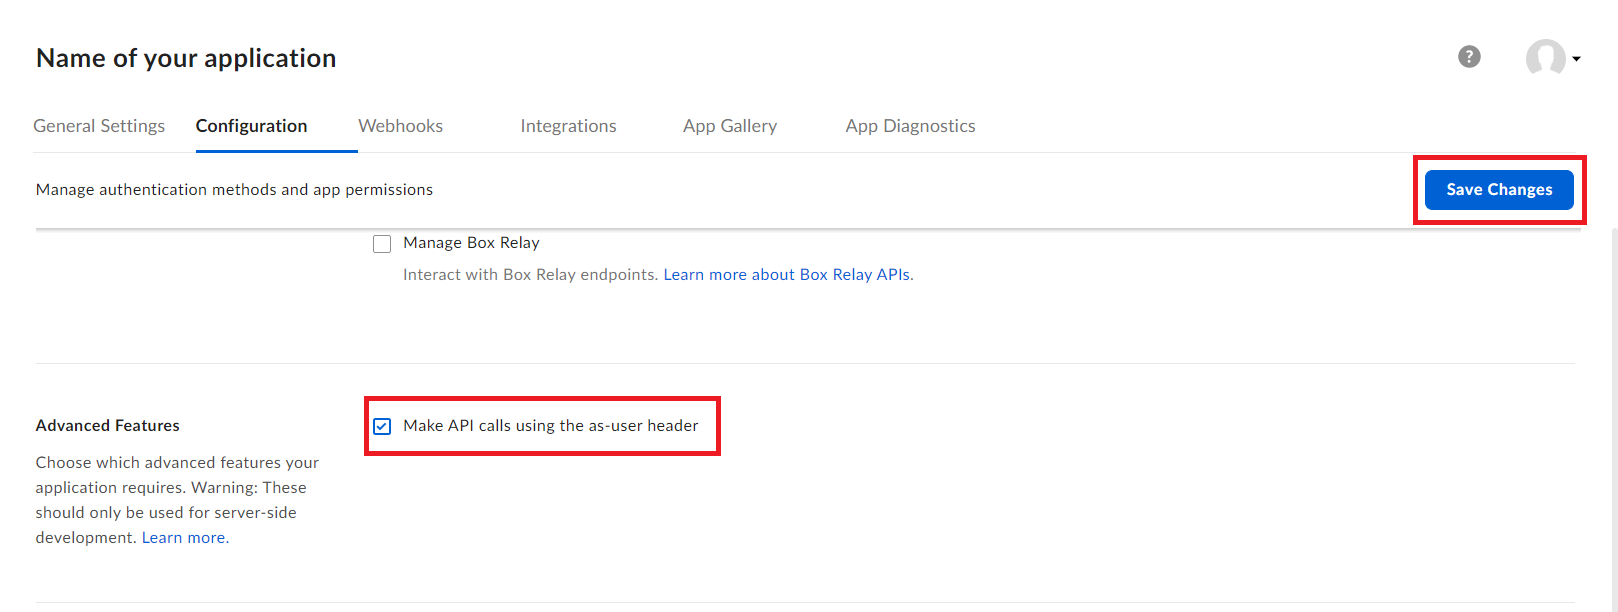
Select Make API calls using the as-user header if you want to have an impersonation option for your Box connectors, and click Save Changes.
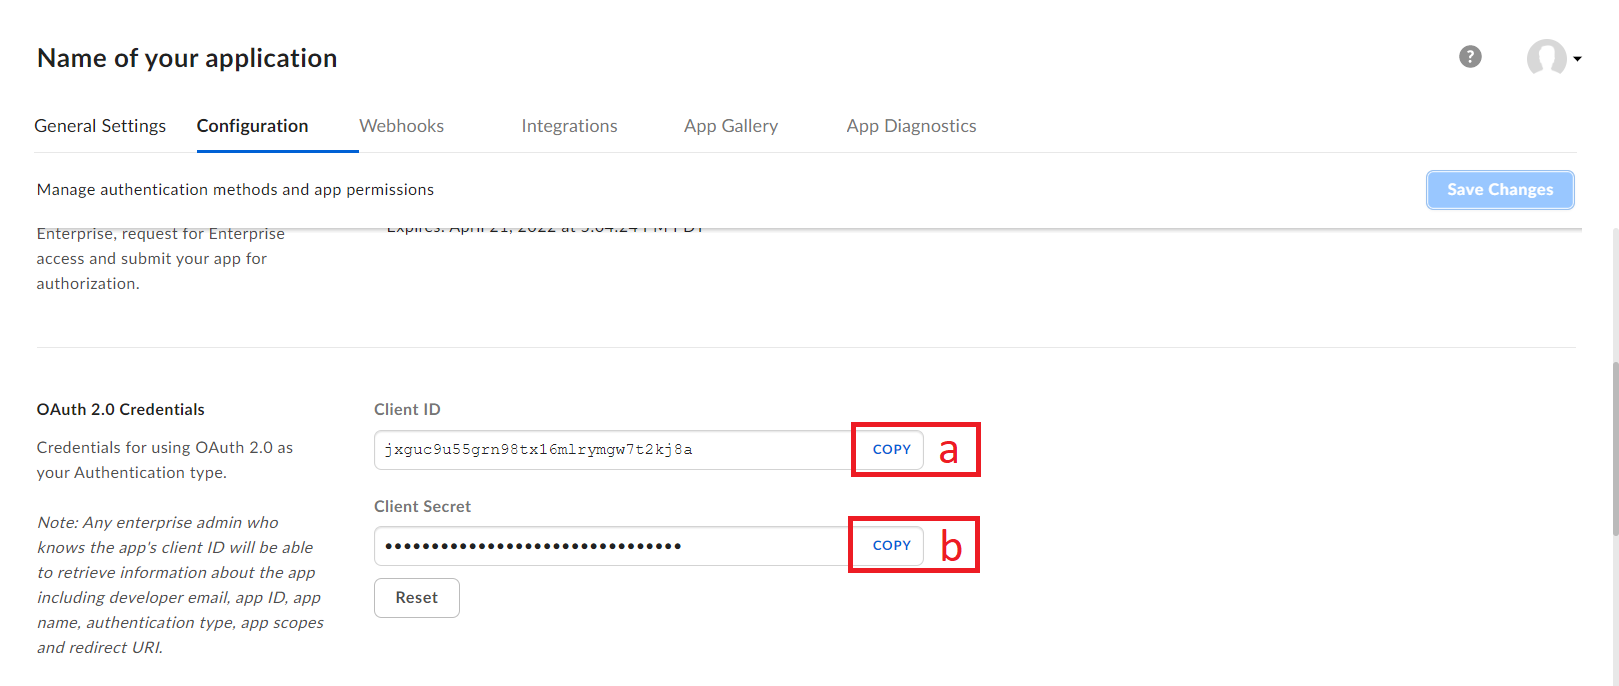
Copy the Client ID and Client Secret.
In the YSoft SafeQ Management Server System>Configuration select Exper, fill boxClient into the search bar and click Search.
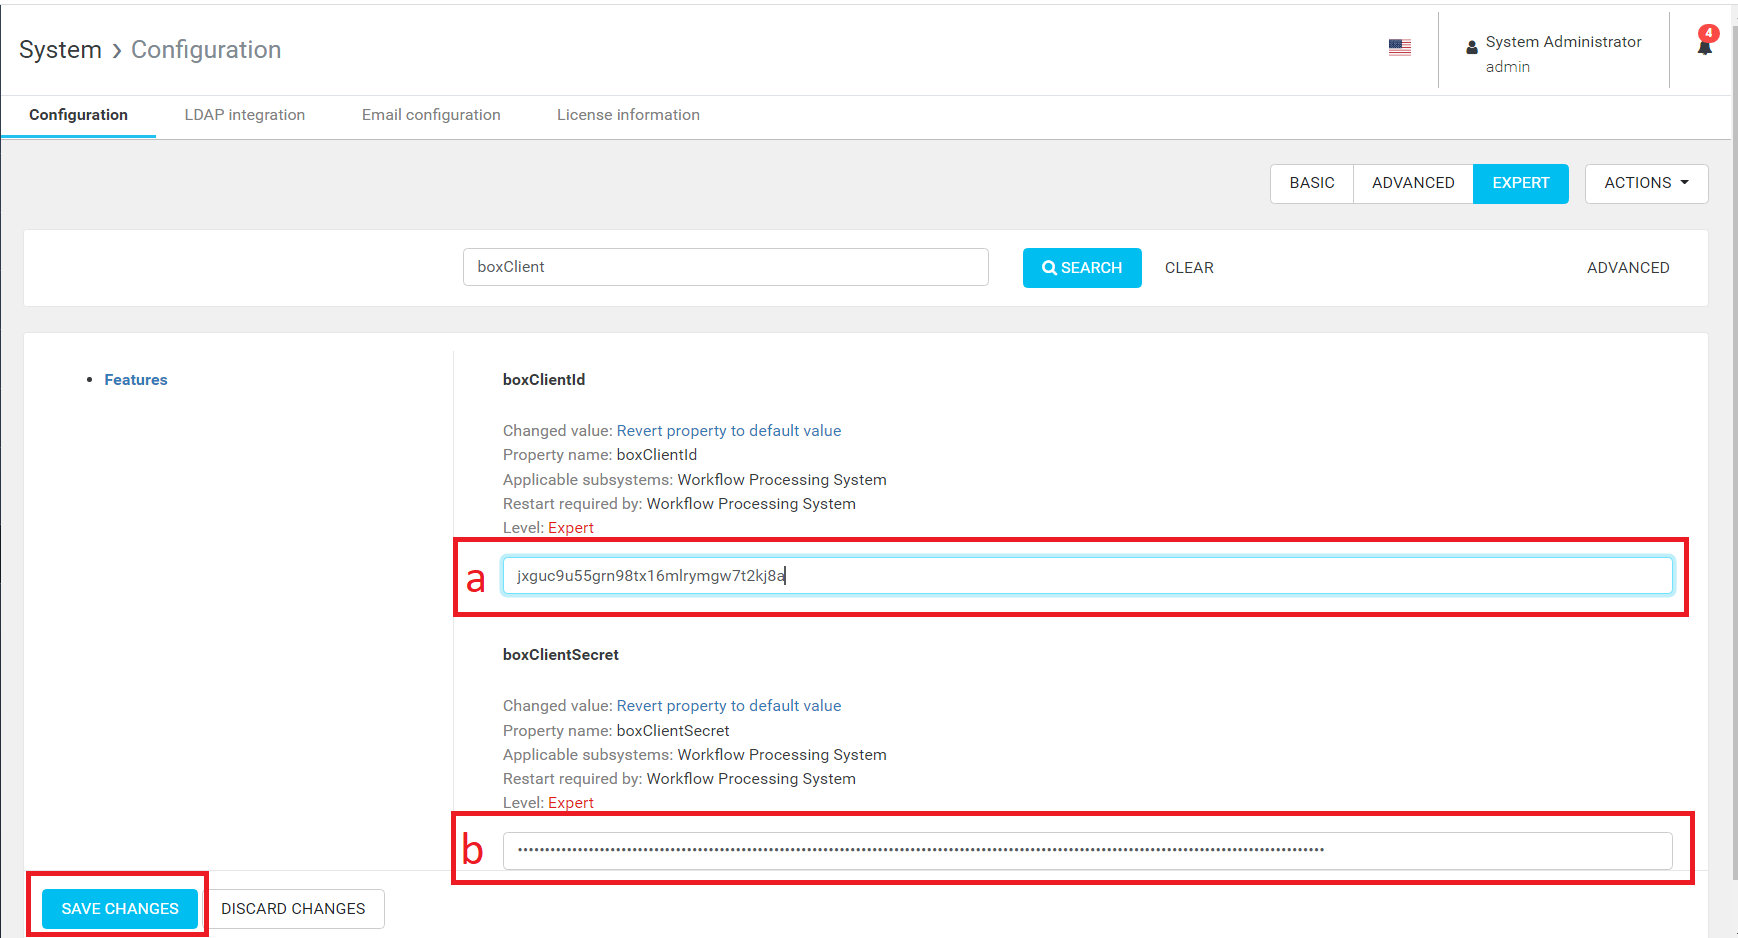
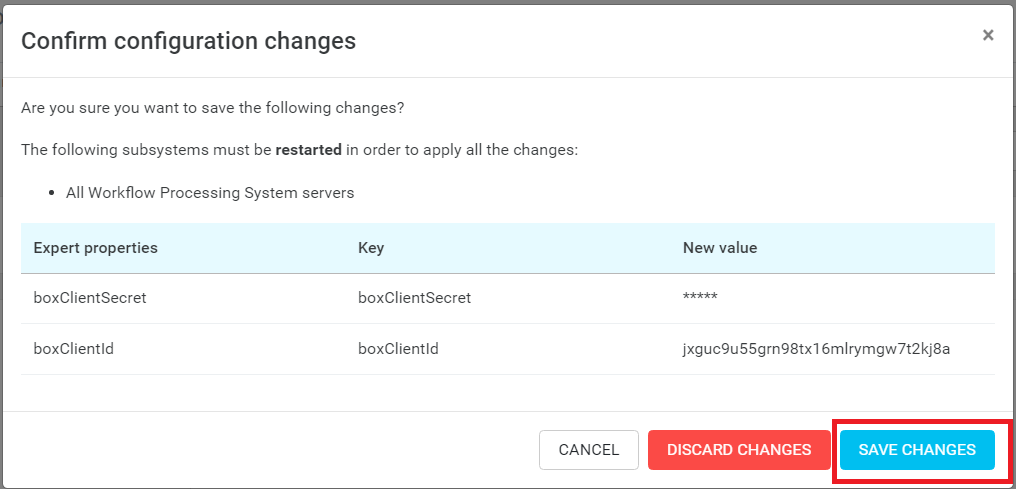
Now paste the copied Client ID and Client Secret to the corresponding fields and click Save Changes.
In the popup form click on Save Changes.