Using the YSoft SafeQ Cloud for iOS
Supported formats
BMP
JPEG
PDF
PNG
rawImage
SVG
TIFF
WebP
Signing in
When launched for the first time, the app will show the Sign In screen. Users can then log in to YSoft SafeQ Cloud with their company accounts by tapping on the Sign In button. Alternatively, users can log in to a custom solution by tapping on the Alternative Login.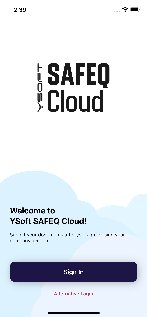
On the Alternative Login screen there are three input fields that need to be filled in:
Identity provider URL - If a custom OIDC identity provider is deployed, provide the custom identity provider's URL. For a default deployment use the address and port of Job Service, e.g. Job Service is deployed on a machine with hostname "example.com", then the value is "https://example.com:5000/".
API endpoint - Use the address and https port of Spooler, e.g. "https://example.com:5002".
Client ID - Use the ClientId value specified in the identity provider. For a default deployment using Job Service as an identity provider, use ClientId of Additional Clients located in Job Service's local.json configuration file. The default value is "mobile-application".
It is possible to allow communication that is not secured by TLS by using the toggle button.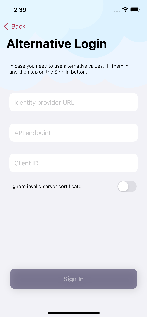
Job list
There are visible all current user’s documents after the successful login.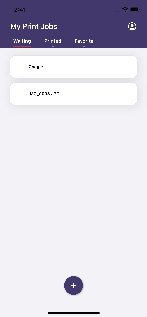
Submission of the print job
New documents can be submitted by tapping on the plus button at the bottom of the Job List screen. A standard system file chooser is opened. You can choose one or more files for submission.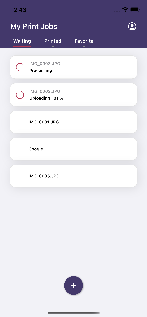
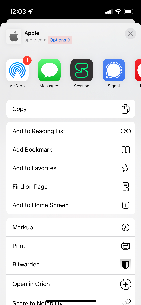
Another option is the submission by tapping on the YSoft SafeQ share extension in the iOS share menu. This can be done from any app that supports printing.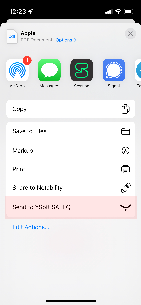

How to print unsupported file formats
If the printable document is not in supported format, you can use the standard system print dialog and share the output into the YSoft SAFEQ Cloud app instead of selecting the AirPrint printer. This can be done in any app that supports system print.
iOS 16 or higher
Open the system print dialog and utilize the system print finishing options. Then tap on the Share icon.
To submit the print job, continue as described in the Submission of the print job section above.
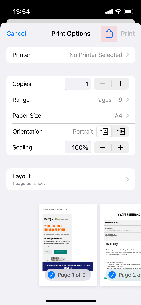
iOS 15 or lower
Open the system print dialog and pinch to zoom with two fingers on the preview of the document. This will open the preview of the document in PDF format. On this preview, tap on the Share button and continue as described in the Submission of the print job section.
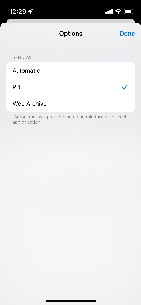
Print the web page from Safari
If you want to print a webpage from the Safari app go to the iOS share menu, tap on Options next to the header of the share menu and make sure that the PDF option is selected so that the YSoft SAFEQ share extension is visible in the share menu.