Microsoft SQL Server Analysis Services
Microsoft SQL Server Analysis Services (SSAS) can be used for work with OLAP cube which is one of the possibilities how to create UI to the Data Mart.
Microsoft SQL Server must be installed and running with the following minimum components:
Database Engine
SQL Server Agent
Analysis Services deployed in Multidimensional and Data Mining mode
Integration Services
Workstation components (including SQL Server Management Studio)
For granting permissions to Analysis services see https://docs.microsoft.com/en-us/sql/analysis-services/instances/configure-service-accounts-analysis-services.
Creation of the SSAS database
Make sure to enable all necessary Windows services on the server where Analysis services run.
Run Microsoft SQL Server Management Studio and connect to the Analysis services.
Click New query in the menu on the top of the window .
Locate SafeQ6_CRS.xmla file inside installation package under path Complementary Solutions\Enterprise Reporting\
Paste content of the SafeQ6_CRS.xmla file into the query window and click Execute button in the menu on the top.
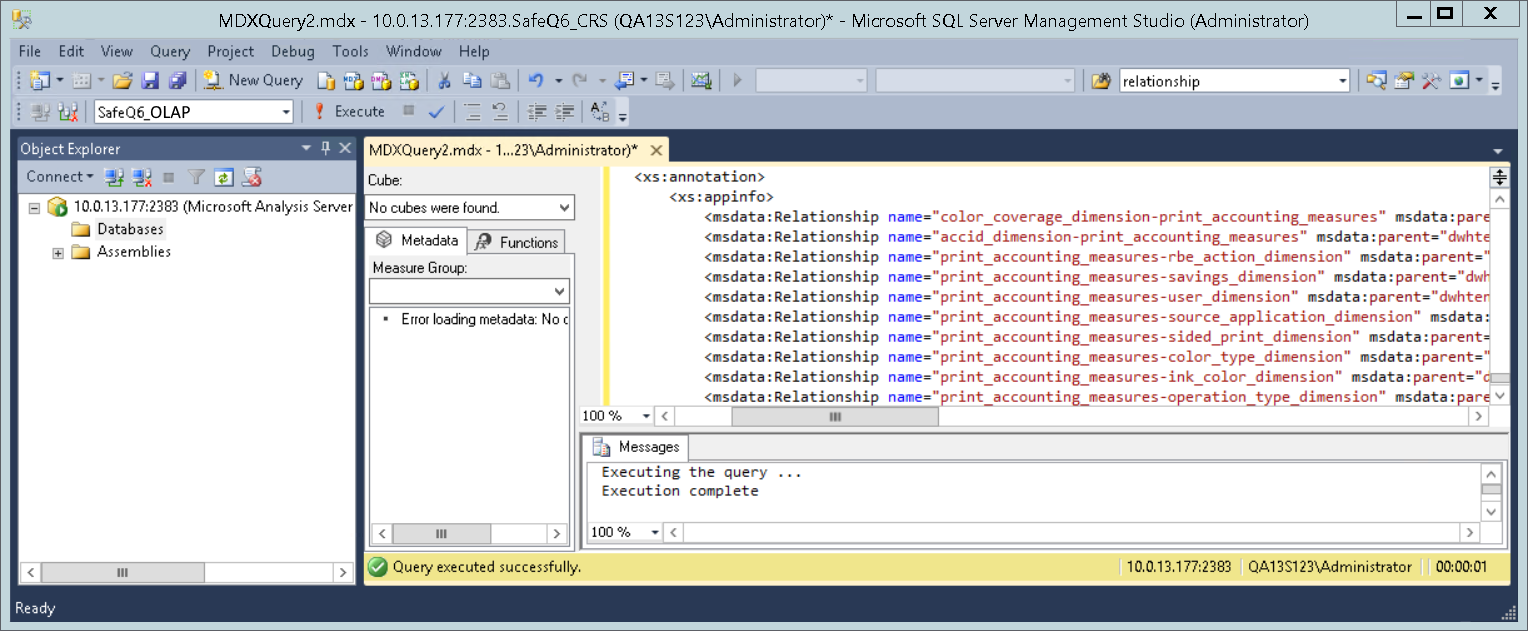
In the messages at the bottom of the window you should see Execution complete message.
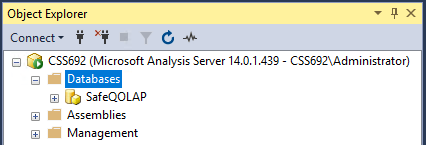
If you right click the databases in the left pane and click Refresh in the context menu you should see new SSAS database you created (e.g. SafeQOLAP).
Configuration of the data source
Expand the database of Analysis Services you created (e.g. SafeQOLAP) by double-click, then expand Data sources by double-click
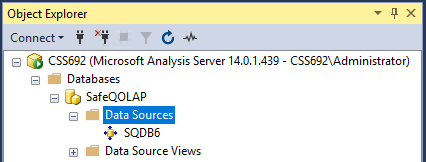
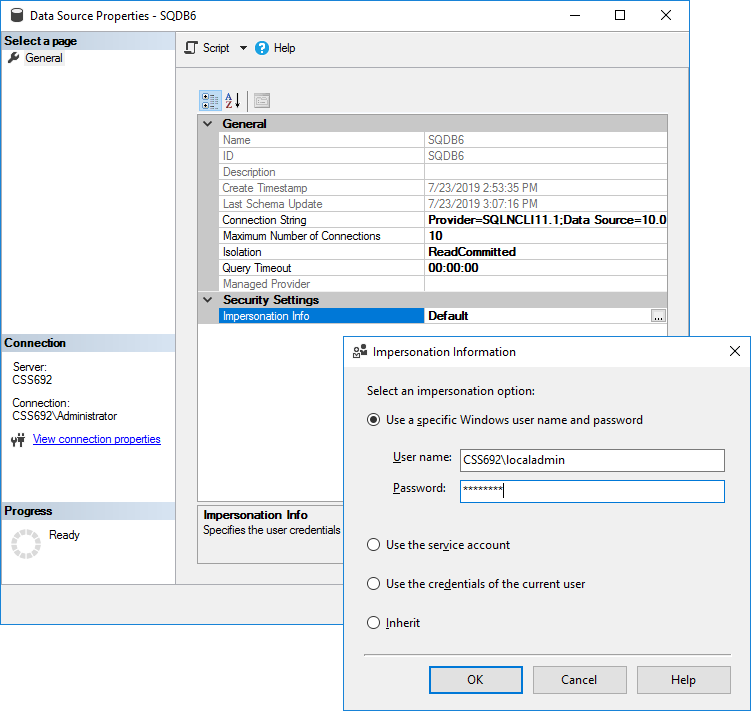
Right-click SQDB6 data source and select Properties in the context menu, then click the line with Connection String.
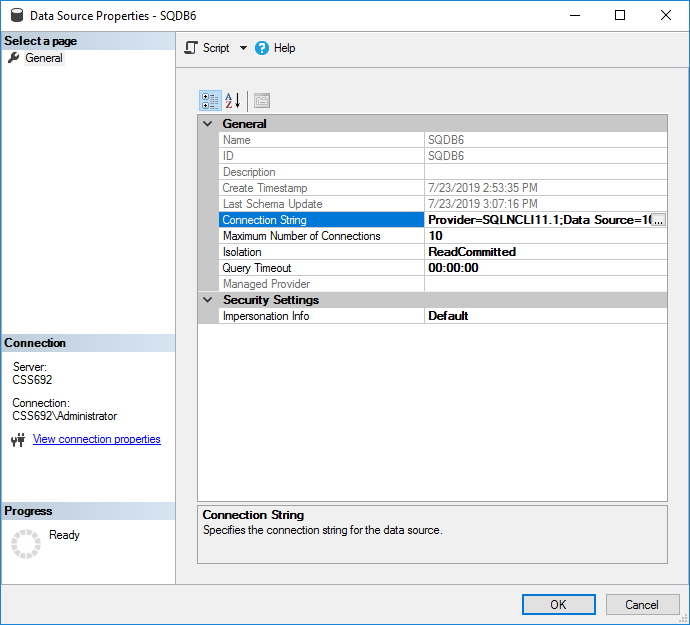
Click the little "..." icon on the right side of the Connection string line to t o re-define data source
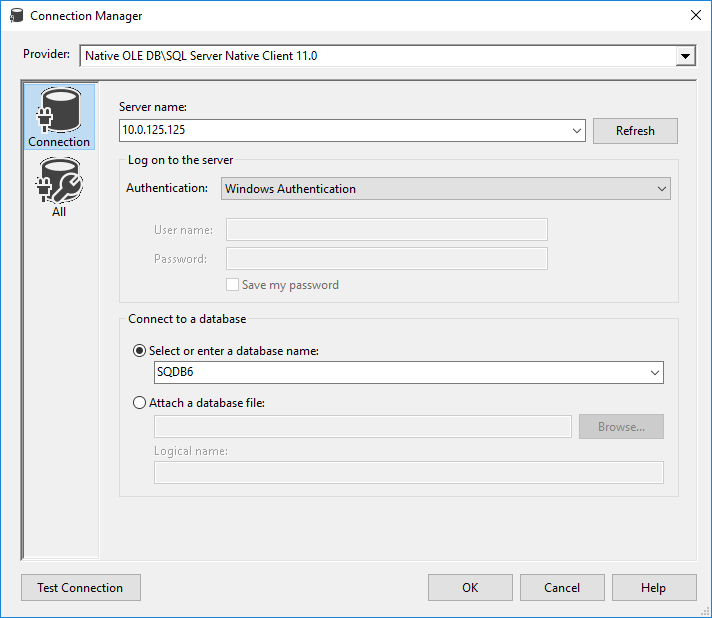
In the Connection Manager window define the connection to YSoft SafeQ database (such as server name, authentication type, database name) and test if it works, then confirm by OK
If you used Windows Authentication in the previous step, click "..." next to Impersonation Info and define Windows account that has administrative rights for Analysis Services and also db_datareader or db_owner rights for SQDB6 database. If you used SQL Server Authentication, skip this step.
Scheduling of the DataMart_OLAP SSAS database processing
In the Microsoft SQL Server Management Studio connect to the Database engine.
Expand SQL Server Agent, right click Jobs folder and from the context menu select New job. Fill in the Name field of the new job.

In the left pane select Steps and click New.. button.
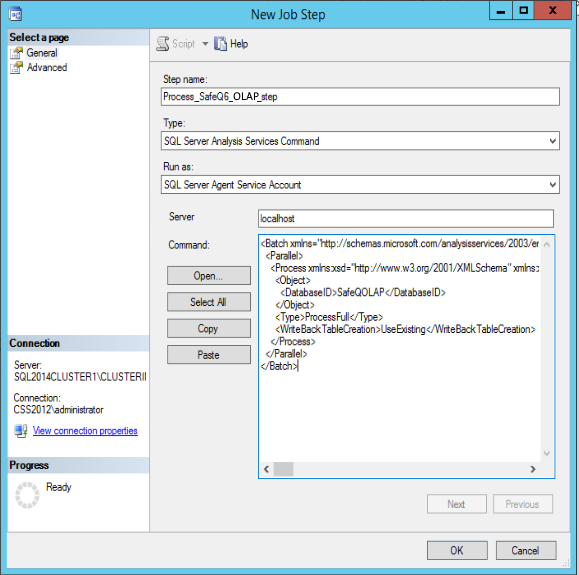
Fill in Step name field.
In the Type filed select SQL Server Analysis Services Command.
In the server field fill localhost.
Paste content of the Process_DataMart_OLAP.xmla file into the Command field and click OK to close the window.
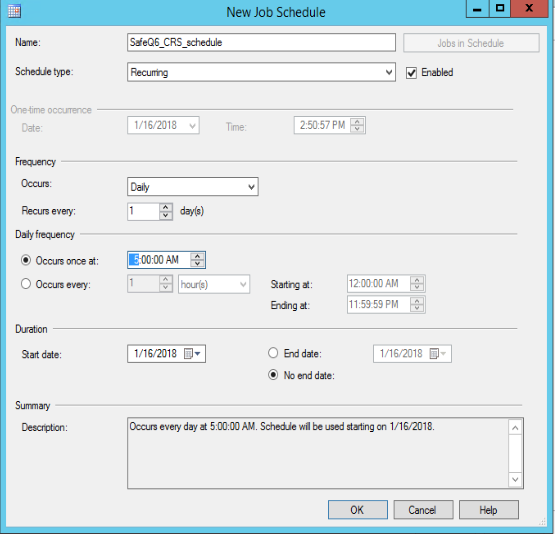
Select Schedules in the left pane of the New job window and click New...
Configure the job scheduler to your liking.
Note
Please note that every time this job will be performed the data from YSoft SafeQ production database will be read and transferred over the network to the reporting server.
Verify that Scheduled task finishes successfully (right-click the task → Start Job at Step... → wait for result). If an error is shown, add the account used to run "SQL Server Agent" service to your OLAP database:
OLAP database → Roles → New Role
tab General → Fill in any "Role name" and tick "Process database"
tab Membership → add the account of "SQL Server Agent" service
click OK
How to configure external access to the OLAP cubes
For more information see How to Configure External Access to the OLAP Cubes.