Management Interface - Overview
Logging Into the System
If the YSoft SafeQ management interface is configured to use a different port than the standard port 80, enter the complete URL (e.g., http://safeq_server_IP:8080/).
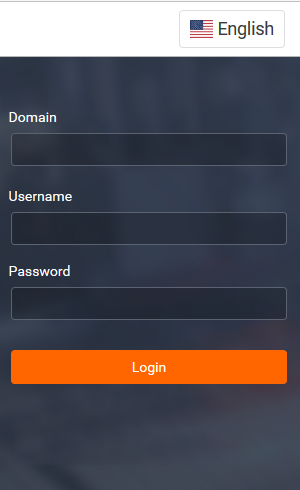
Use default credentials to begin working with YSoft SafeQ 6. Choose the desired language for the YSoft SafeQ management interface by clicking the national flag.
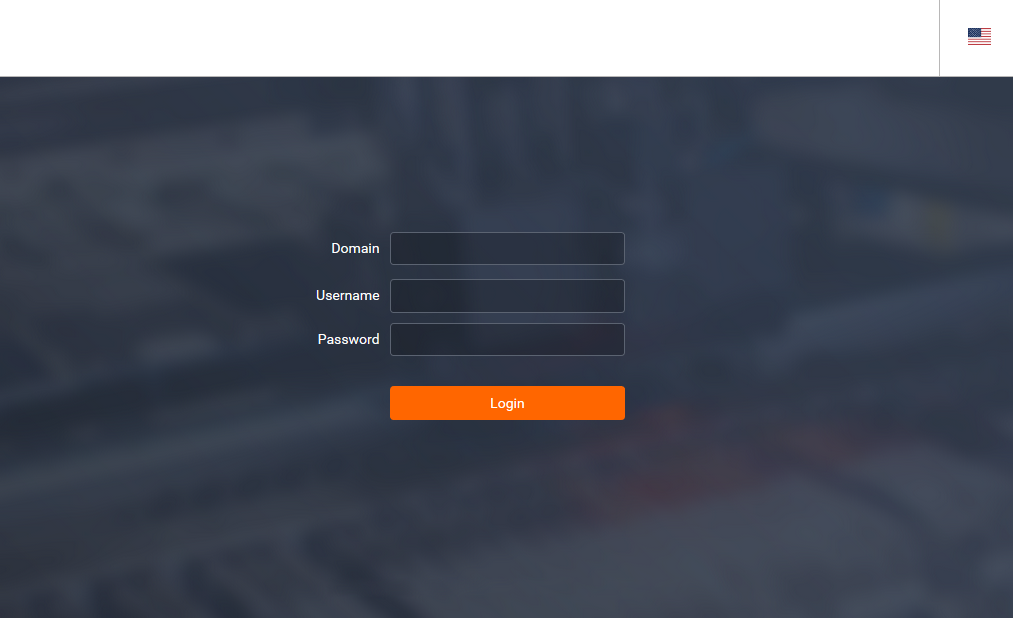
The domain field is only available in the multitenant environment.
It is possible to hide the field and have its value filled in automatically by pointing the browser to the specially formed URL in the following format http://safeq_server_IP/login/DOMAIN (or http://safeq_server_IP:8080/login/DOMAIN if the YSoft SafeQ management interface is configured to use a different port than the standard port 80). This can be helpful, for example, for setting up bookmarks in a user's browser or shortcuts on user's desktop.
CAPTCHA protection
If CAPTCHA protection is enabled in YSoft SafeQ 6, after some (configurable) number of unsuccessful login attempts, users have to fill an additional input which is a text from an image.
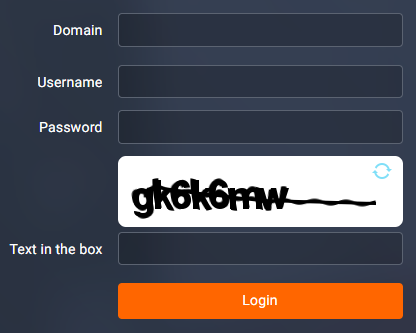
Image refresh
If the user cannot recognize the image, it can be changed by clicking the refresh icon in the corner of the image.
Configuration
To enable CAPTCHA protection, navigate to System > Configuration and set the level of setting to ADVANCED. Search for the Require CAPTCHA on login form setting and set it to Enabled.
The number of attempts to trigger the CAPTCHA can be configured in the Maximum number of failed login attempts setting. Failed login attempts are counted for a tenant and username pair. The expiration timeout of the counter is one hour.
Automatic Logout
If a user has been inactive for a set period, they are logged out automatically and redirected to the Login Screen where the following notice appears. The length of the inactive period can be specified in the system settings.
Adaptive Management Interface
The YSoft SafeQ management interface is adaptive on various devices including mobile phones and tablets.
Menus
Menus
The main menu at the left-hand side of the page makes navigating to the right information easy.
The main menu tabs may include sub-menu tabs below the top menu of the page. 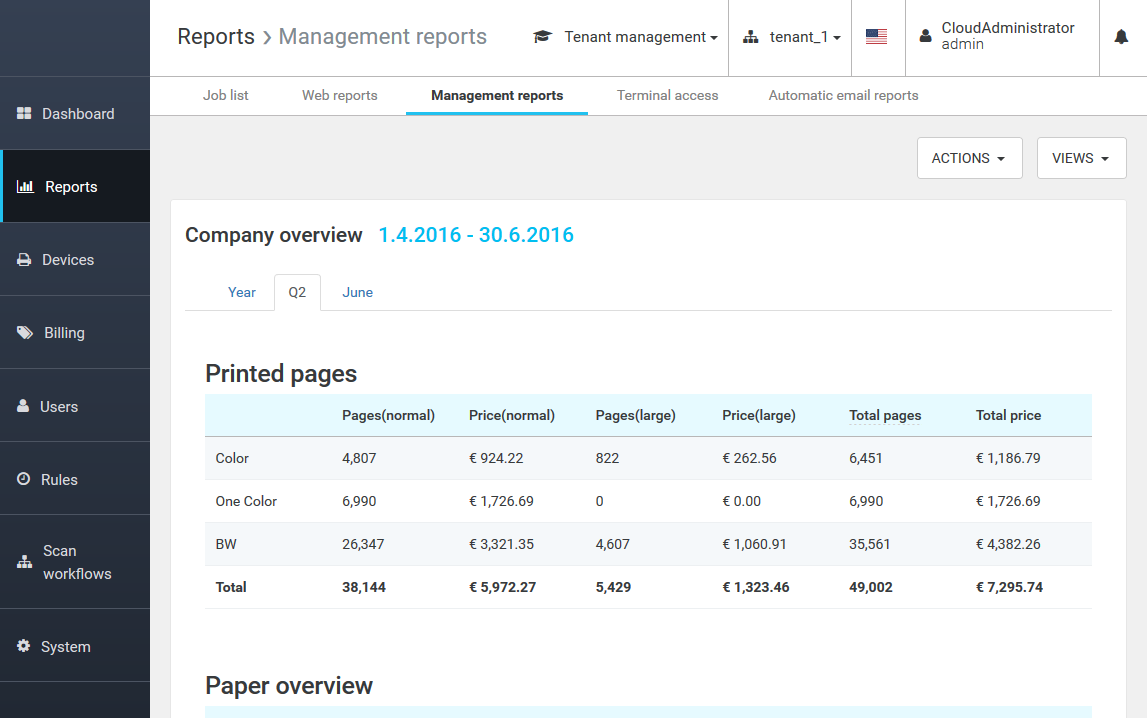
General Functions
Header
The available page functions are located at the top right-hand corner of each page. The availability of these functions can vary based on the displayed page. Detailed info about each icon is in the table below.

Function | Description |
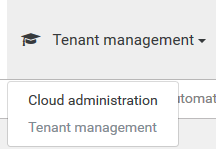
| If a license for multitenancy is active, the user can switch between Cloud administration and Tenant management. |
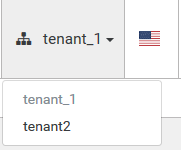
| Use the menu with tenant names to switch between particular tenants. Use the flag icon to change the language of the YSoft SafeQ management interface. |
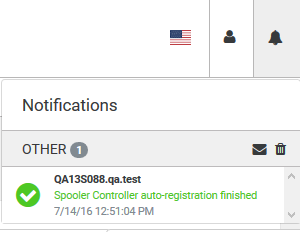
| Use the menu with login name and role to change a password or to log out from the YSoft SafeQ management interface. The bell icon indicates the notification center. Review the details of each notification by clicking on it. |
Page Actions Concept
The following elements are used to perform actions on the page. The description of the action is always intuitively part of the element.
Action | Description |
| Green buttons create a new record. |
| White buttons indicate actions and views relevant for the records on the page. |
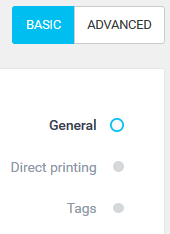
| Change the scope of available actions based on the user's proficiency. |
| Provides context of the actual position on the page and its content. |
| Search fields allow searching the records on the page. On specific pages, switching between Basic and Advanced search is possible. |
Using Search Filters
Some pages also include search filters to make access to specific data easier. Use data selectors to set proper data and a folder icon to select the required value from a list.

Page Tables
Page tables contain information and provide actions relevant to the content.

Function | Description |
| Select one, all, or a subset of desired records to apply an action via the page action button. |
| Click the column name to sort the table by column. |
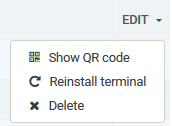
| Use the EDIT button or particular icons to perform actions for the specific record. |
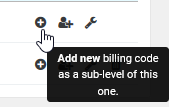
| Hover over an icon to get information about the action it triggers. |
