Direct Queues in YSoft SafeQ Client v3
YSoft SafeQ Client v3 allows users to manually deploy direct queues on their workstations. This self-service can simplify queue deployment for administrators up to a point of sharing a queue name.
Warning for environments with shared workstations
Deployed direct queue will be visible to all users that sign in to the workstation where the first user deployed the direct queue. The direct queue is being deployed with everyone group in permissions.
How to deploy – administrator guide
The print driver, native configuration (.dat file) and the path to file that will be used for the deployed queue should be configured locally in Spooler's configuration file (should be filled during installation):
{"SpoolerOptions":{"Mode":"ClientSpooling","DriverName":"YSoft Printer Driver PCL","DriverConfigurationFolderPath":"C:/SafeQ6/Spooler/DriverConfigurations","DriverConfigurationFileName":"config-a4-x86.dat"}}The print driver in the configuration needs to be installed on the workstation. The print queue without the driver (both configured and installed) will not be deployed.
In order to configure deployed print queues using native configuration (.dat file), the configuration .dat file must be located in a folder specified in the Spooler configuration.
How to enable – administrator guide
This feature can be enabled or disabled using the enableQueueManagementInClient configuration property in the Management interface. Also, the product needs to be licensed with the F_NEW_SQ6_CLIENT license feature.
How to manage print queues on a workstation - user guide
Users are able to deploy direct queues through the user interface.
Accessing the print queues management
To access the Direct queues management UI:
Locate the YSoft SafeQ Client v3 icon in the system tray.
Right-click the tray icon.
Click on the Open option.
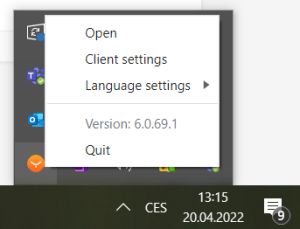 Alternatively you can use double-click on the icon in the system tray to open the Direct queues management ui.
You will be asked to authenticate if you're not already authenticated.
A new window with the YSoft SafeQ Client will open.
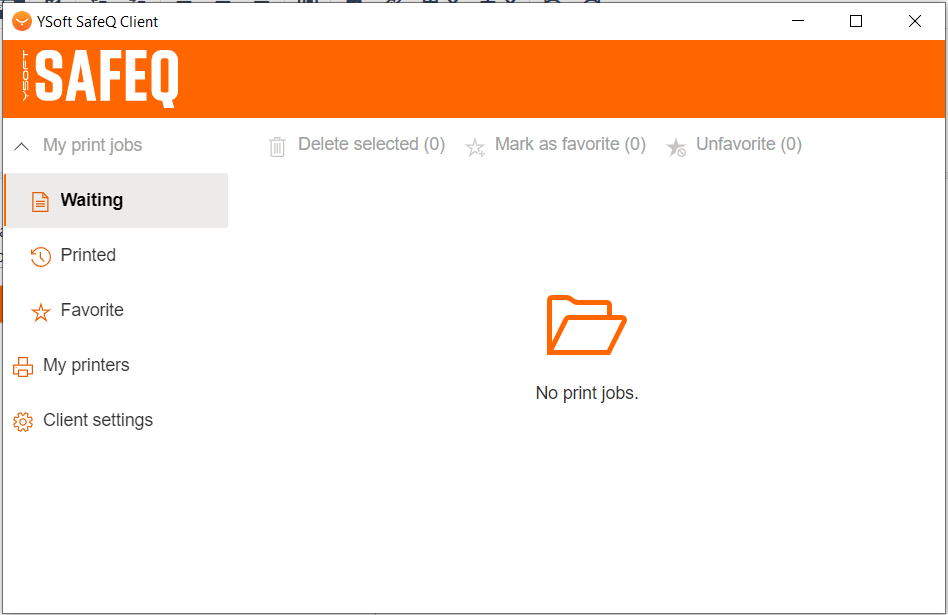
Choose the My Printers option in the menu on the left.
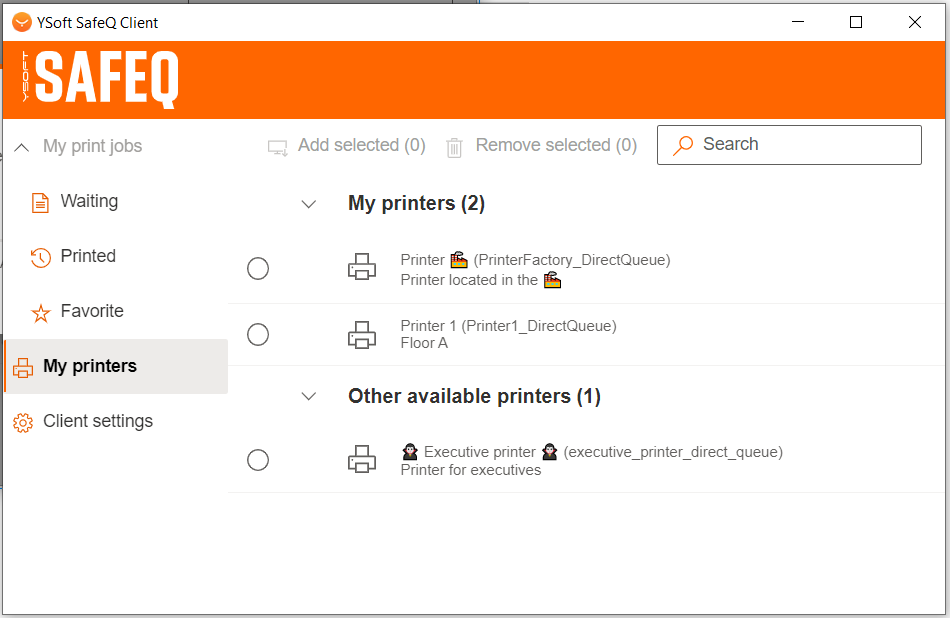
A new screen listing the deployed and available printers will be displayed.
Deploying new print queues
To deploy new print queues:
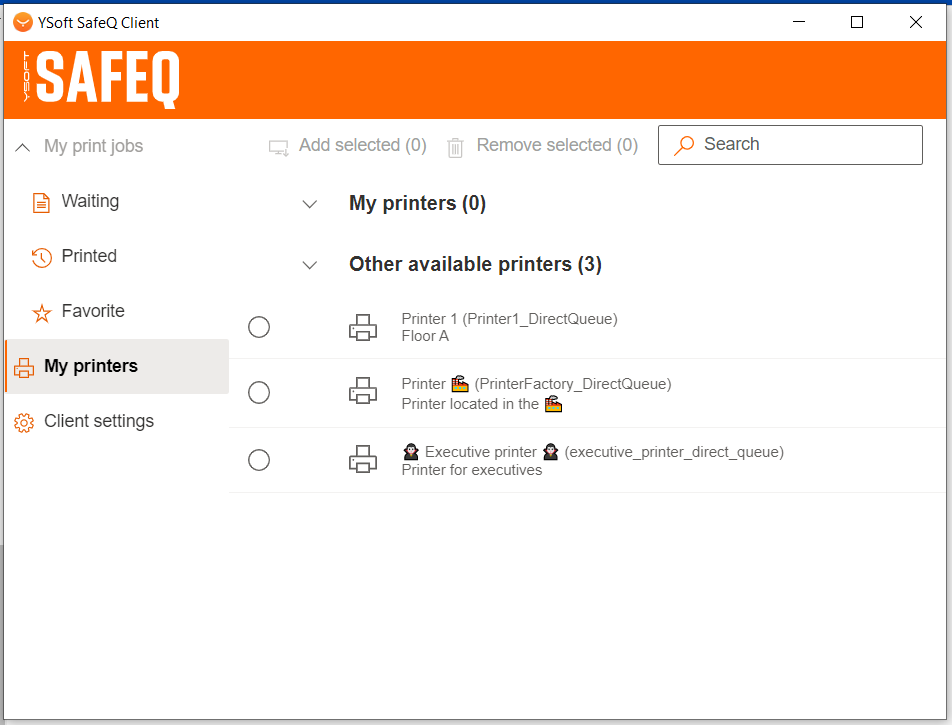
Access the My Printers page (see the previous section Accessing the print queues management on how to do that).
The Other available printers section displays all printers to which the user has access within the SPOC Group they are currently in. Select the printers you want to deploy (it is possible to add more than one print queue at once). You can use the Search feature to narrow down the number of printers displayed.
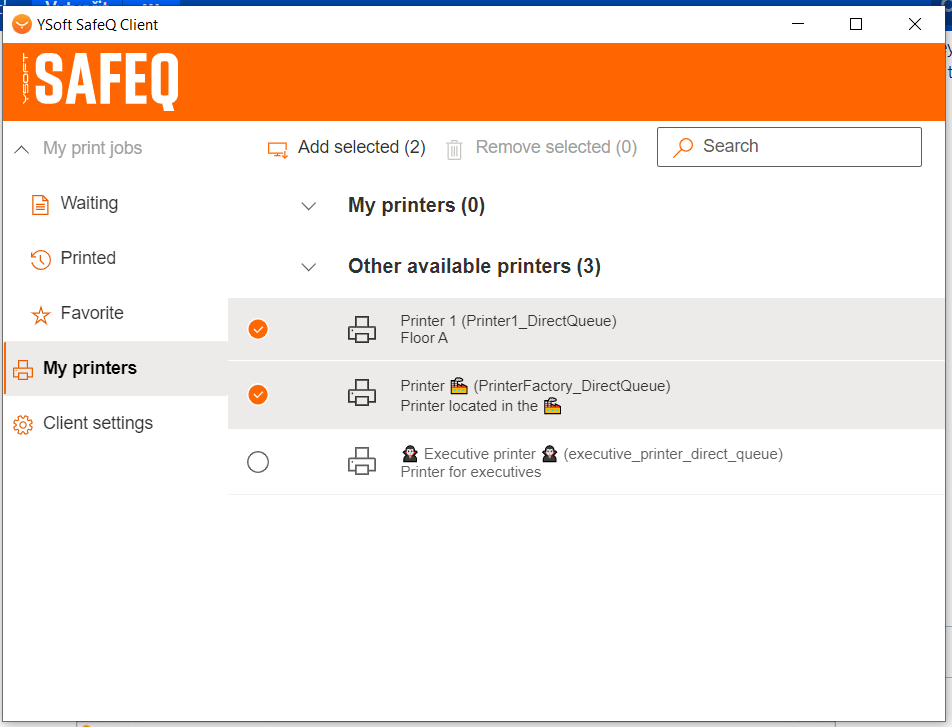
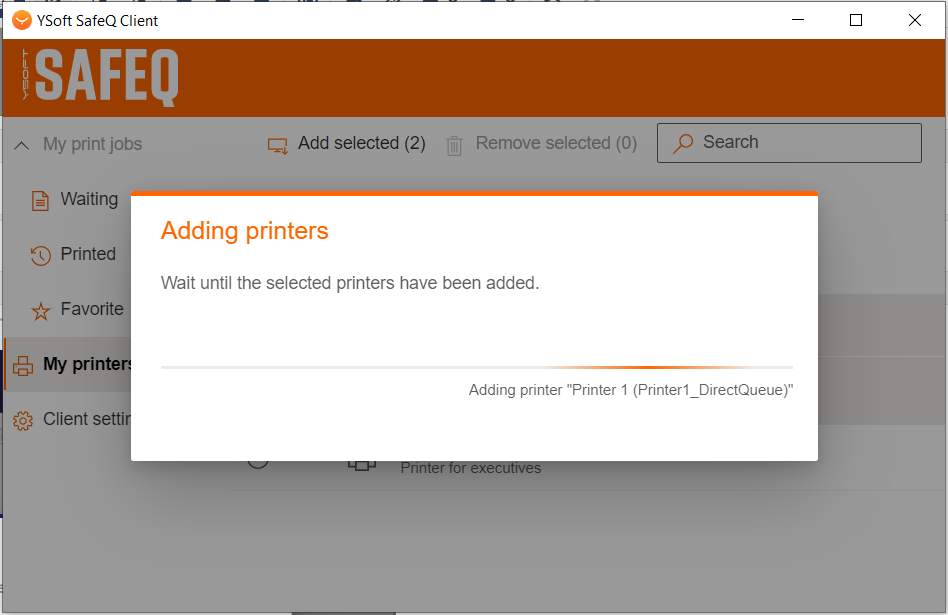
Once all the desired printers are selected, click on the Add selected button to deploy selected printers.
Print queues are deployed for all users on a given workstation.
Wait until the printers are deployed.
When direct print is performed and the device is not available, e.g., offline, the print job appears as a "waiting" job in the Client v3.
Removing deployed print queues
Users can remove any of the deployed print queues.
To remove a deployed print queue:
Access the My printers page (see previous section Accessing the print queues management on how to do that).
The My printers section displays all the currently deployed printers. Select the printers you want to remove (it is possible to remove more than one print queue at once). You can use the Search feature to narrow down the number of printers displayed.
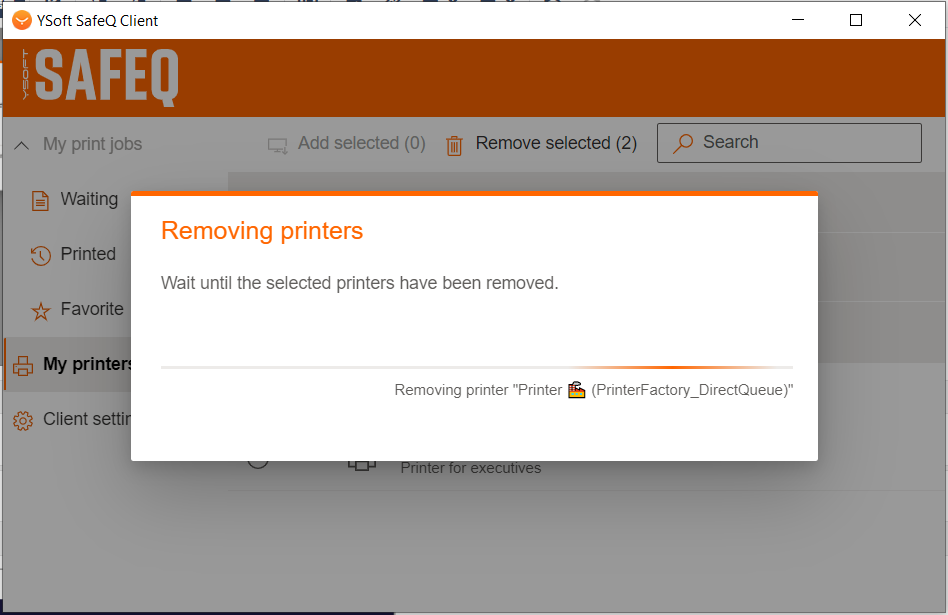
Once all the desired printers are selected, click on the Remove selected button to remove selected printers.
Wait until the printers are deployed.
Deployed print queues state restoration
Once users deploy some print queues on their workstation this information is stored in the database and can be used to restore the print queues on a different workstation.
The functionality is implemented using 2 events that are executed by the Event Engine.
ClientConnectedToSpooler - executed when the User Interface application is started and connects to Spooler
it is executed with the client ID and a list of print queues that the user previously deployed
upon execution, the saved state of the users print queues is restored on the workstation
ClientDisconnectedFromSpooler - executed when User Interface application disconnects from Spooler (typically when a user signs out from workstation)
it is executed with the client ID
upon execution, any deployed print queues for a user that signs out are removed from the system
The behavior of both these scripts can be fully modified by rewriting or deleting them. More documentation about the interface accessible in the scripts is documented in the files themselves and that can be found in the standard distribution of the client.
Deploying IPP direct queues manually
It is possible to add an IPP direct queue manually by appending the direct queue name to the IPP address. If you have an IPP address ipps://example.com:631 then if you want to add a direct queue with name DirectQueue, you just install a printer with IPP address set to ipps://example.com:631/ipp/print/queues/DirectQueue. All print jobs sent to this address will be sent to the direct queue DirectQueue.
If you want to send the print job under some specific user, you can also specify it during queue installation using following IPP address ipps://example.com:631/ipp/print/queues/{direct queue name}/users/{username}.