Configuring Single Sign-on for YSoft SafeQ Payment System
Overview
This article describes the steps that have to be performed in order to set up the Single Sign-on (SSO) to the YSoft SafeQ Payment System web interface. The configuration of SSO requires advanced knowledge about the system configuration and working with the configuration files.
Prerequisites
YSoft SafeQ Payment System has to be:
installed on a server that is a part of the domain. SSO asks the system for user authentication.
connected with YSoft SafeQ – SSO is not supported by the standalone mode of YSoft SafeQ Payment System
ready for all users who want to use SSO and they must have a Windows user with the same name as their username in YSoft SafeQ management interface (e.g., the Windows domain name "MY_COMPANY/johndoe" should have the YSoft SafeQ username "johndoe")
Configuration
For using YSoft SafeQ Payment System with SSO functionality, you have to configure the system and your browser.
YSoft SafeQ Payment System Configuration
SSO authentication has to be set in the YSoft SafeQ Payment System configuration file using the following option:
sign-on.type=sso-sign-onFor more details about Payment System configuration, see Advanced Configuration of YSoft SafeQ Payment System section Overview.
Browser Configuration
Firefox
Type about:config into the address bar and click enter.
Type network.negotiate-auth.trusted-uris into the Filter box.
Set your server name as the value. If you have more than one server, you can enter them all as a comma-separated list (e.g., https://localhost).
Close the tab.
Chrome
Ensure that Integrated Windows Authentication is enabled.
Open Control Panel > Network and Internet > Internet Options.
Click the Advanced tab.
Scroll down to Security.
Check Enable Integrated Windows Authentication.
Restart the browser.
The target website must be in the Intranet Zone.
Open Control Panel > Network and Internet > Internet Options.
Click Security.
Click the Local Intranet icon.
Click the Sites button.
(only for Windows 8 or newer) Check Automatically detect intranet network.
For localhost, click Advanced.
Add your server name as the value of the list (e.g., https://localhost/).
Restart the browser.
Usage
Local Access
You only have to set your environment according to the Configuration part and start using the system. You are automatically signed in with your domain credentials.
Remote Access
When accessing YSoft SafeQ Payment System from the outer world by browser and SSO is used, then a popup window with a form to enter your credentials to the domain displays. Enter your domain credentials into the form and then you do not need to sign into the system, your domain credentials are used for it.
Change Signed In User
Because of the use of SSO, you are automatically signed in, so you do not have the chance to directly choose the signed in user. In the top-right-hand corner, a sign out button displays. You can click the sign out button and you are redirected to the sign-in page where you can enter the required credentials.
Sign back in by SSO
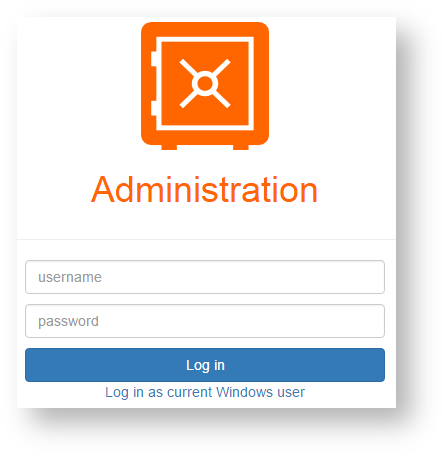
In order to sign in with your Windows account, go to login page one of YSoft SafeQ Payment System web interfaces (YSoft Payment System Administration web interface, Cash Desk web or YSoft SafeQ end user interface) and click the link Log in as current Windows user. This action should perform a login into the web interface with your presently logged Windows user.
Limitations
SSO Only in Combination with YSoft SafeQ
SSO for YSoft SafeQ Payment System can only be used in combination with YSoft SafeQ. SSO is not supported for the standalone mode of YSoft SafeQ Payment System.