YSoft hardware administrator guide
This guide is for administrators who need to control one piece of YSoft hardware device. By YSoft hardware device we mean:
YSoft be3D eDee,
YSoft SafeQ Terminal Pro 4 or
YSoft SafeQube 2.
The term device is used in the rest of this guide for any of the products.
There are two ways how to control the device:
A management console accessible over SSH. The management console is a command line utility, which allows administrators to configure the devices.
All available commands can be listed in the console by command 'help'. More more specific help for particular command will be displayed after typing '<command> --help'.
The console has autocomplete function - press the [Tab ↹] key for the console to show you available commands in the current context or automatically complete the current command.
The command history can be browsed by up and down keys.
The management console session can be terminated by the 'exit' command.
To clear the screen use 'clear'.
A management web interface which allows:
Browsing and exporting log files.
Upload of installation packages for OS or applications.
Most common device and application settings.
How to login
Credentials
Username: manager
Default password: oCfpB112g5bZpOcywAp7
The credentials are the same for both the management console and the management web. If you change your password in one of them then the other will accept only the new password.
The password is the same for all devices. so it is highly recommended to change it. See How to change manager password.
Management console
Open SSH connection to your device (https://en.wikipedia.org/wiki/Secure_Shell, http://www.putty.org/).
Login as manager.
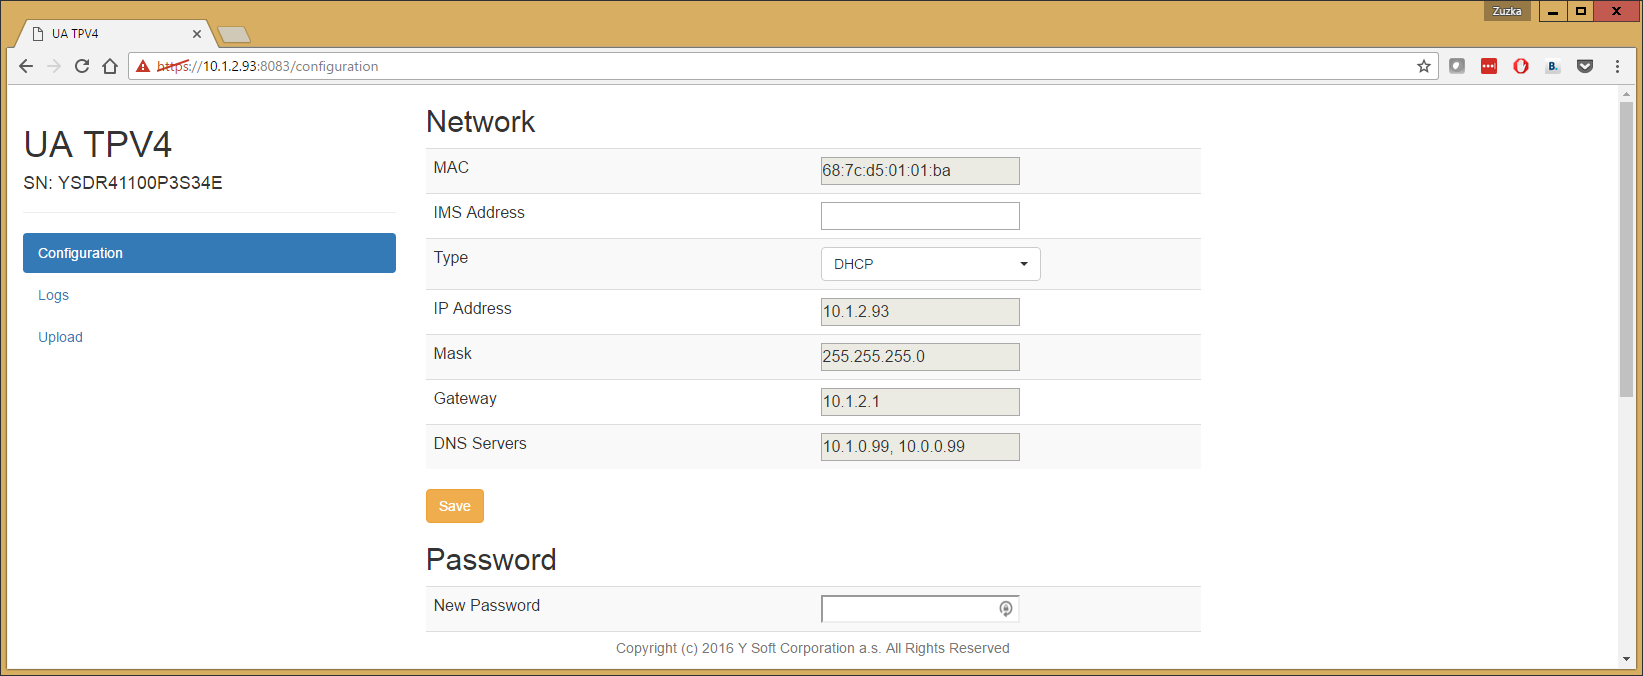
Management web
Go to https://<device IP address>:8083. On OS versions lower than 4.2 the address has to contain the particular tab, e.g https:// <device IP address> :8083/configuration/ for configuration tab.
Login as manager.
How to change manager password
The new password has to have at least 6 characters.
Management console
Login to the management console on the device.
Run command 'password set -user manager'.
draco-84$ passwordset-user managerEnter password(6):Enter password again:Password changed
Management web
Login to the web interface and go to the Configuration tab.
Type the new password twice.
Press Change Password button.
Please note that any other settings changes will be discarded when changing password.
Connection to YSoft Infrastructure Service (IMS)
The YSoft Infrastructure Service is part of YSoft SafeQ Management Service and allows to control groups of YSoft Hardware devices. The device is usually connected to the IMS during installation or deployment steps. Once the device is connected to IMS, it can download OS images, applications, or configuration from there.
Management console
Login to the management console on the device.
Check the settings - 'server show address'.
Set the connection to IMS - 'server set -address protocol://<IMS address>:port '. It is possible to enter more addresses separated by ',' (comma). This command replaces all previously configured connections.
Addresses can be added or removed by 'server add' or 'server remove'.
Test the connection - 'server test'.
draco-84$ server show addressuams.address: https://10.0.13.171:7348draco-84$ serverset-address https://10.0.11.12:7348Operation was successful.draco-84$ server add -address https://10.0.13.55:7348Operation was successful.draco-84$ server show addressuams.address: https://10.0.11.12:7348,https://10.0.13.55:7348draco-84$ servertesthttps://10.0.13.55:7348: Not reachablehttps://10.0.11.12:7348: Ok (212 ms) [used]draco-84$ server remove -address https://10.0.13.55:7348Operation was successful.draco-84$ servertesthttps://10.0.11.12:7348: Ok (192 ms) [used]The timeout of the connection can be set by 'server set timeout -timeout <number>'. The timeout is in seconds.
draco-84$ serversettimeout -timeout 10Operation was successful.draco-84$ server show timeoutuams.timeout: 10
Management web
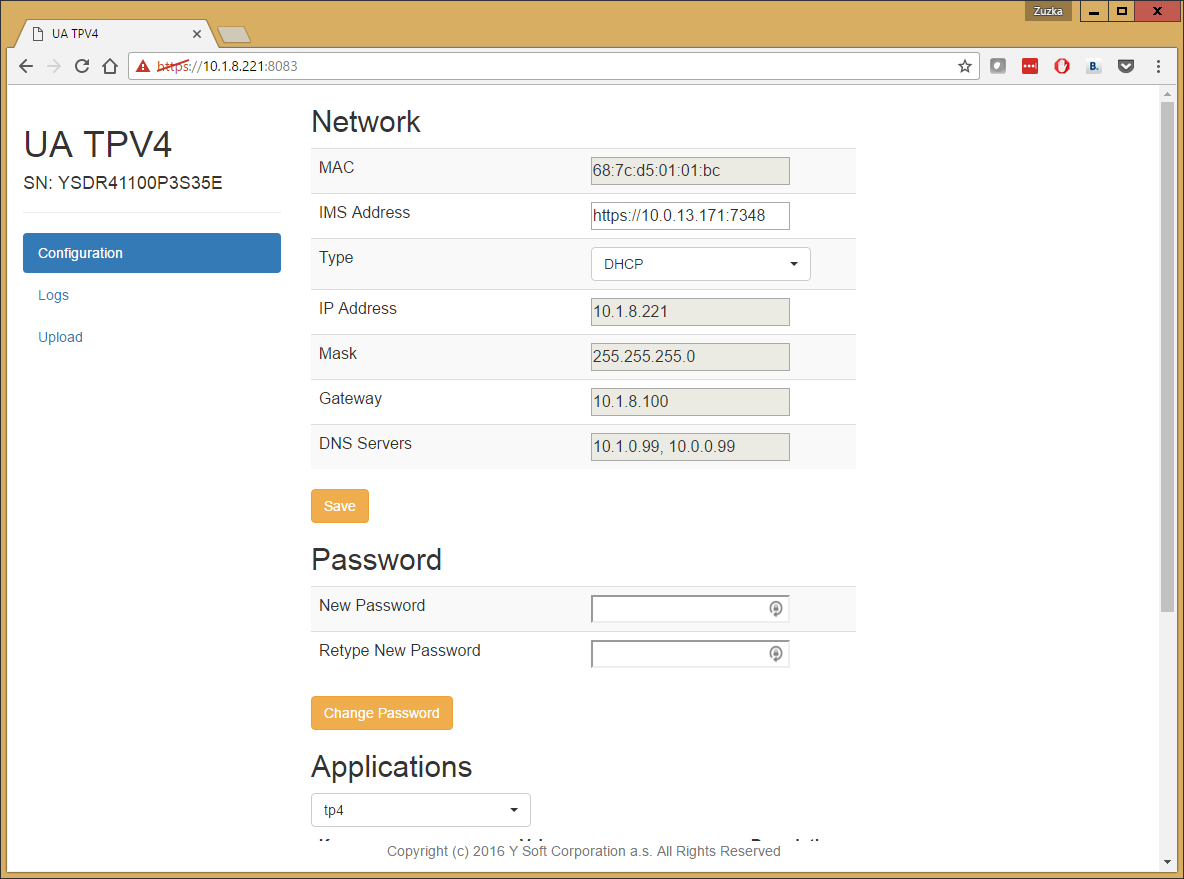
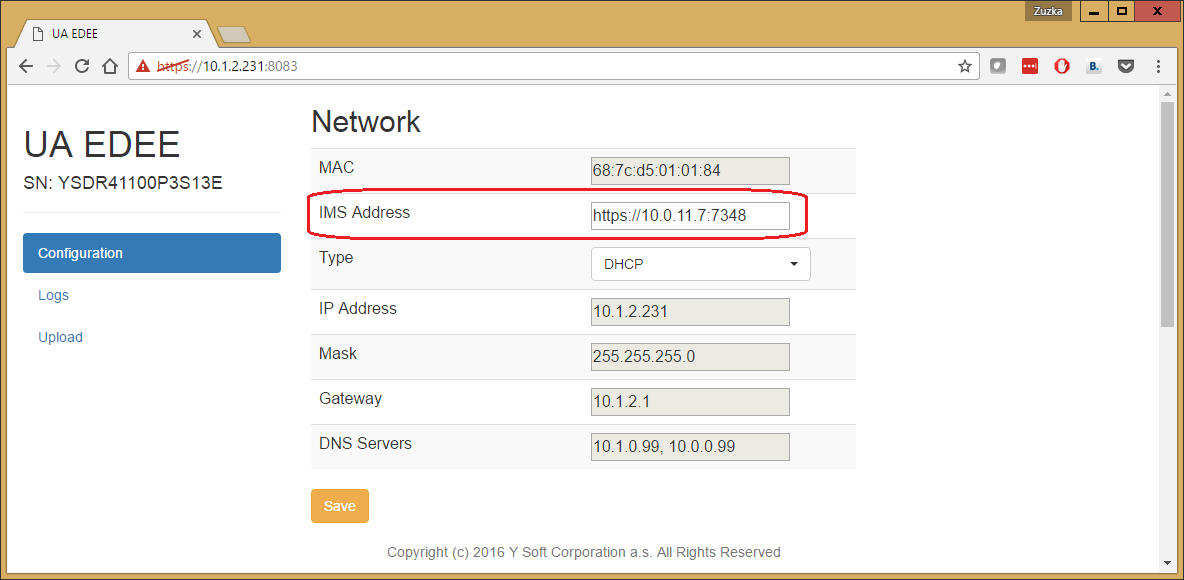
Login to the web interface and go to the Configuration tab.
Enter IMS address in format protocol://<IMS address>:port. It is possible to enter more addresses separated by ',' (comma).
Press the Save button.
The server connection timeout can not be set from the web interface.
Operating system update
Without IMS connection
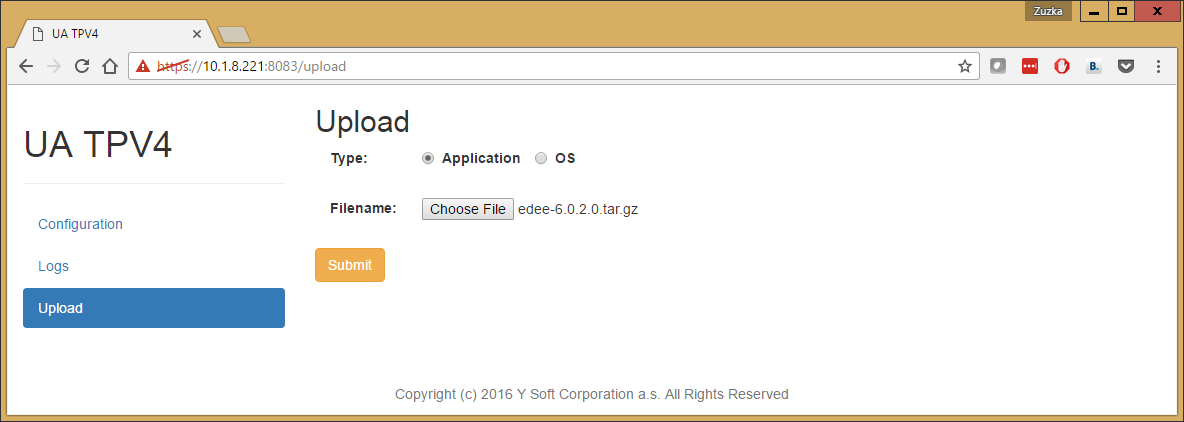
Login to the web interface and go to the Upload tab.
Upload OS update package (in tar.gz format).

Login to the management console after the upload finishes.
List available versions - 'os show versions'.
Run command 'os update -version <new version>'.
draco-84$ os show versionshw.osversions: versions:4.1.174.1.20draco-84$ os update -version 4.1.20Finished successfullyThe device is rebooted automatically during the update.
Check the version after update.
draco-84$ os show versionhw.osversion: 4.1.20
With IMS connection
Login to the management console on the device.
Check version available on IMS - 'os show versions'.
Download OS update package - 'os update fetch -version <version>'.
Follow steps 4. - 7. from previous section.
OR
Download and install the update in one command by 'os update -version <version>'.
The system is updated and rebooted into new version.
Applications
The YSoft hardware device is delivered with pre-installed applications according its type.
Configuring application
Management console
Login to the management console on the device.
Set application configuration.
one parameter at a time - 'applications set configuration -appname <appname> -key <parameter> -value <value>'.
more parameters in one command - 'applications set multiple -appname <appname> -keys <parameter1>=<value1> <parameter2>=<value2> ...'.
Check the configuration - 'applications show configuration -appname <appname>'. Note that the configuration is shared by different versions of the application, therefore the command does not contain the argument version.
Remove unwanted parameters - 'applications remove configuration -appname <appname> -key <parameter>'.
Management web
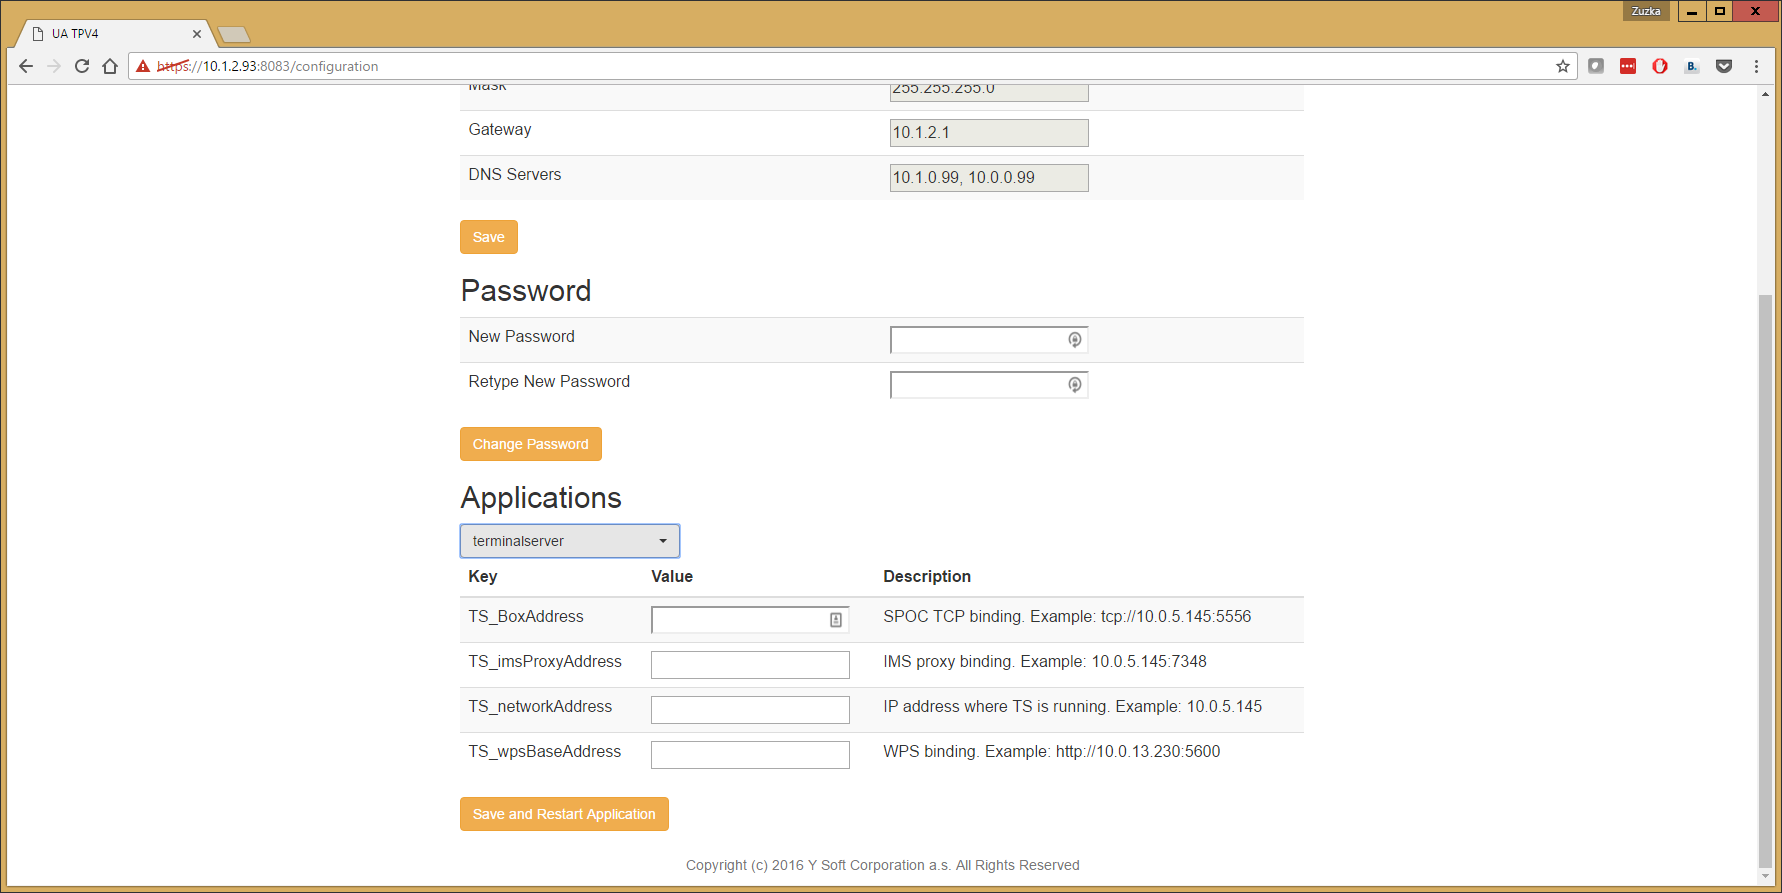
Only parameters defined in application description file can be defined over web interface.
Login to the web interface and go to the Configuration tab.
On the bottom of the page choose the application to configure from the drop down menu.
Configure the displayed parameters.
Press the Save and Restart Application button.
Controlling applications
The following commands are available only in the management console on the device.
List of applications
applications show installed - display all applications installed on the system including their states.
applications show running - list all applications currently running on the device.
applications show deployed - list all applications ready for installation on the device.
applications show available - list all applications available on IMS.
Applications lifecycle
applications start -appname <app_name> -version <version>.
applications stop -appname <app_name> -version <version>.
applications restart -appname <app_name> -version <version>.
applications autostart -appname <app_name> -version <version> -enable <on/off> - set/unset the start of application after the device powers on.
Application stop and restart checks if the application is busy before stopping it. If the application is not ready to be interrupted at the moment then it schedules the required action for the earliest moment application gets into non-busy state.
Application update
It is not possible to update the application in one step. The update procedure consists of application package upload, uninstalling or stopping the old application, and then installing the new application. The data and configuration are shared by different versions of the same application.
Installation package upload without IMS connection
Login to the web interface and go to the Upload tab.
Upload an application package (in tar.gz format). The name of the application package is parsed during installation, the part before first dash ('-') is used as a name of an application, whatever is after it until the .tar.gz is used as a version of the application. The application version is optional. If there is no dash in the installation package name, the application will be installed without specified version. For example: application with package name server-6.1.4.5.tar.gz will be installed as application with name server and version 6.1.4.5.
Installation package download with IMS connection
Login to the management console on the device.
List applications available on IMS - 'applications show available'.
Download the required application package - 'applications fetch store -appname <appname> -version <version>'.
OR
Login to the management console on the device.
List applications available on IMS - 'applications show available'.
Download and install the application in one step - 'applications install store -appname <appname> -version <version> -autostart <on/off> '. If autostart is set to [on] then the application is started after installation and starts automatically after the device starts.
Installing application
Login to the management console on the device after the upload finishes.
Check if the application was really uploaded by 'applications show deployed'.
Install the application - 'applications install file -appname <appname> -version <version> -autostart <on/off>'. If autostart is set to [on] then the application is started after installation and starts automatically after the device starts.
draco-ba$ applications show deployedterminalserver-6.0.2.2draco-ba$ applicationsinstallfile-appname terminalserver -version 6.0.2.2 -autostart offInstallationinprogress ...Installation was successful.
The application installation package is deleted after successful installation.
Uninstalling application
To uninstall the application run ' applications uninstall -appname <app_name> -version <version>'.
How to see logs
Login to the web interface and go to the Logs tab.
Filter the application or date you are interested in.
Choose the export type or display format.
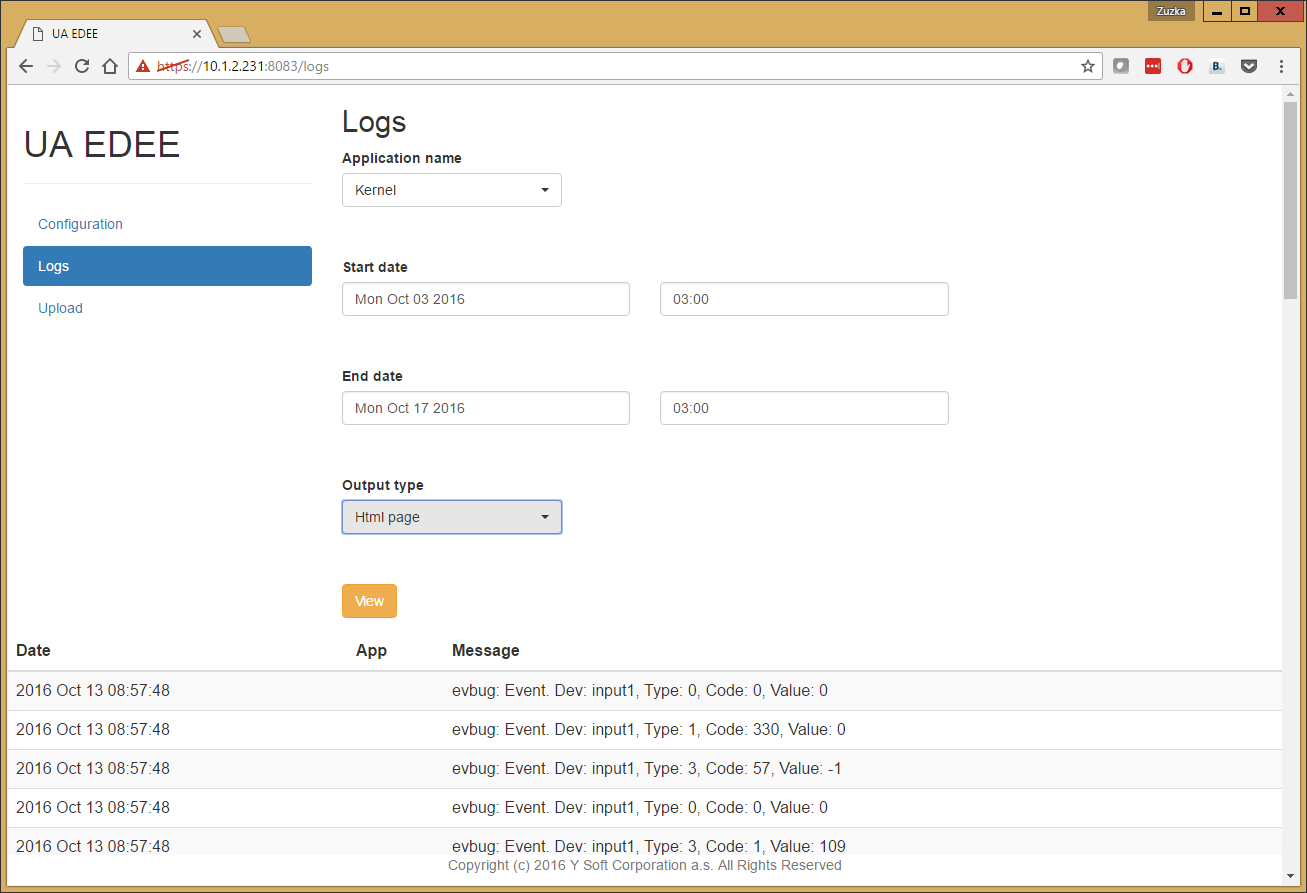
Logs interface limits output to 1500 log entries. Once this threshold is reached admin is informed about that in the last visible log entry and needs to modify the query to narrow the timespan.
The application dropdown contains only currently installed applications. Previously installed applications can be filtered by Custom filter.
Other configuration
Management console
Networking
Management console enables to set up static or dynamic network configuration.
network show configuration - display the current network configuration.
network set dhcp - set dynamic network settings. The device will fetch its network configuration from the DHCP server.
network set static -ip <IP address> -gateway <gateway IP address> -mask <network mask> - static network settings.
network set -dns <dns server IP address> - change the DNS server address.
Time
To simplify international shipping, the device doesn't have a battery to backup time information while it is powered down. The time right after start may not be accurate and will be synchronized with NTP server at the earliest possible time according to timezone and NTP server settings.
Administrator may use following commands in the management console for setting up a time zone and NTP servers for device time synchronization:
time show - shows time in this format: YYYY-MM-DD hh:mm:ss (<time difference from UTC> TIMEZONE).
timezone show - shows actual timezone set on the device as it is named in IANA time zones library.
timezone show groups - shows available groups for setting time zone.
timezone show available -group <group> - shows available time zones in a group of time zones.
timezone set -group <group> -place <place> - command for a change of time zone. Both the group and the place have to be selected from the list of groups or places given by their respective commands.
Setting up NTP servers is possible through the following commands.
time ntp show - shows the actual list of NTP servers separated by a comma.
time ntp set -servers <ntp_server_1>,<ntp_server_2>,... - sets the list of NTP servers to the provided servers (replaces any previous settings). There must be at least one server.
time ntp set default - resets the actual NTP server list to default. The default list contains 5 well known servers located on the internet.
time ntp remove -servers <ntp_server_1>,<ntp_server_2>,... - removes the provided NTP servers from the list. There must be at least one left in the actual settings.
time ntp add -servers <ntp_server_1>,<ntp_server_2>,... - adds provided NTP servers at the end of the actual settings.
Services control
Some basic commands are enabled for control of services available in the operating system:
services list - lists all the services available in the current version of the device's operating system.
services detail -name <service_name> - shows detailed information about the specified service.
services start -servicename <service_name> - starts the specified service.
services stop -servicename <service_name> - stops the specified service.
CPU information
CPU information are available for monitoring and troubleshooting purposes.
os cpu model - get CPU Model.
os cpu cores - get number of cores.
os cpu temp - get core's temperature.
os cpu - get overall information in one output.
Display backlight
Management also enables to change the display brightness and get information about current display setting.
display show brightness level - print the current level of display brightness.
display show brightness maximum - print the maximum level of display brightness.
display set brightness -level <value> - set the display brightness to a specified level.
Sound
sound set volume -level <level 0-100> - sets the volume as a percentage of highest value possible.
test sound - plays test_sound.wav file located in user's home folder.
Management web
From the above configuration options, only networking can be configured over the management web interface.
Login to the web interface and go to the Configuration tab.
Configure networking.
Press Save button.