Using YSoft SafeQ Mobile Terminal for Android
Application download
Visit Google Play Store and download an application called "YSoft SafeQ".
Or you can download it directly from this Play Store page.
QR Code Scanning Screen
First Launch
On Android 6 and newer
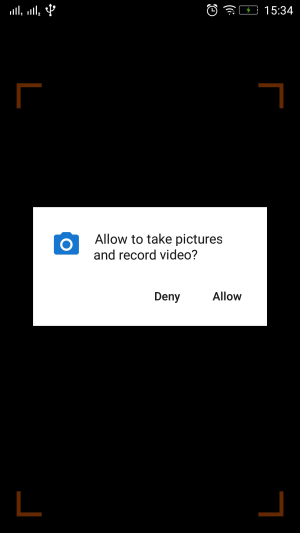
On the first launch, the application will ask you for permission to access your camera and location.
Not allowing access will make the YSoft SafeQ Mobile Terminal unusable with QR codes or Eddystones. A camera is required for scanning QR codes. Location permission is required to find a printer using an Eddystone.
General
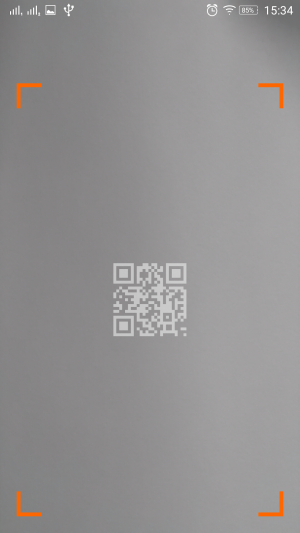
Place the camera over the QR code located at/on your printer.
Success: You are redirected to the Authentication screen.
Failure: You are redirected to QR code scanning screen.
Nearby Printers
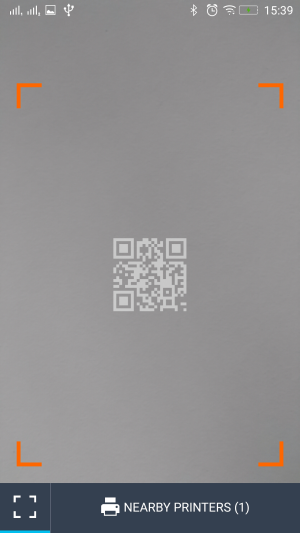
When the Mobile Terminal detects a nearby printer (through Bluetooth and Eddystone), a toolbar is visible at the bottom of the screen.
Bluetooth has to be turned on to detect Eddystone.
You can open the list of nearby printers by tapping the Nearby printers button.
List of Nearby Printers
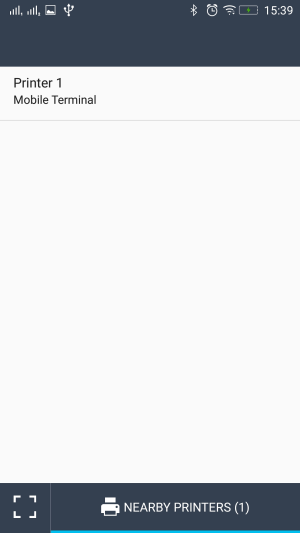
You can select a printer by tapping on the found printer in the list. You will be redirected to the Authentication screen.
Authentication Screen
General
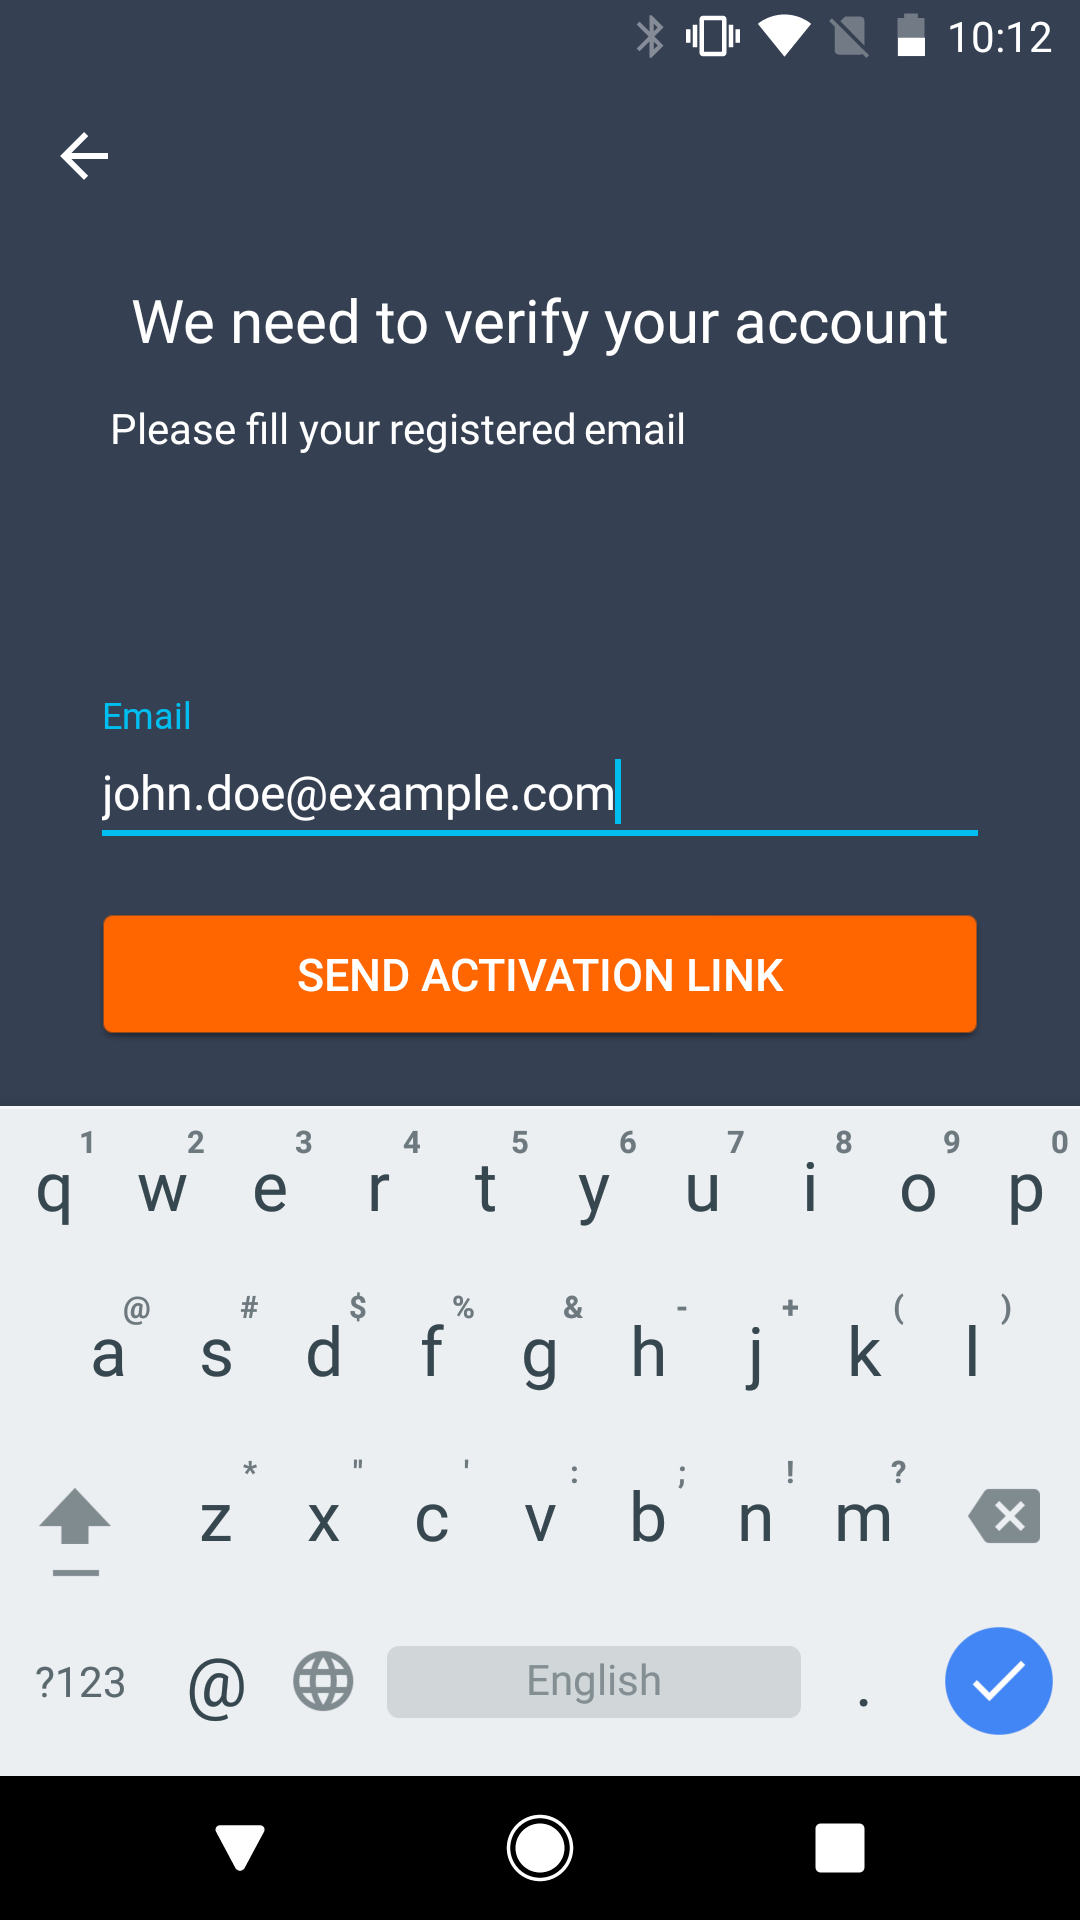
Enter your email registered in YSoft SafeQ.
If you do not know your email registered in YSoft SafeQ contact your administrator.
Send activation link sends an activation link to the provided email.
Success: You are redirected to the Checking Email screen.
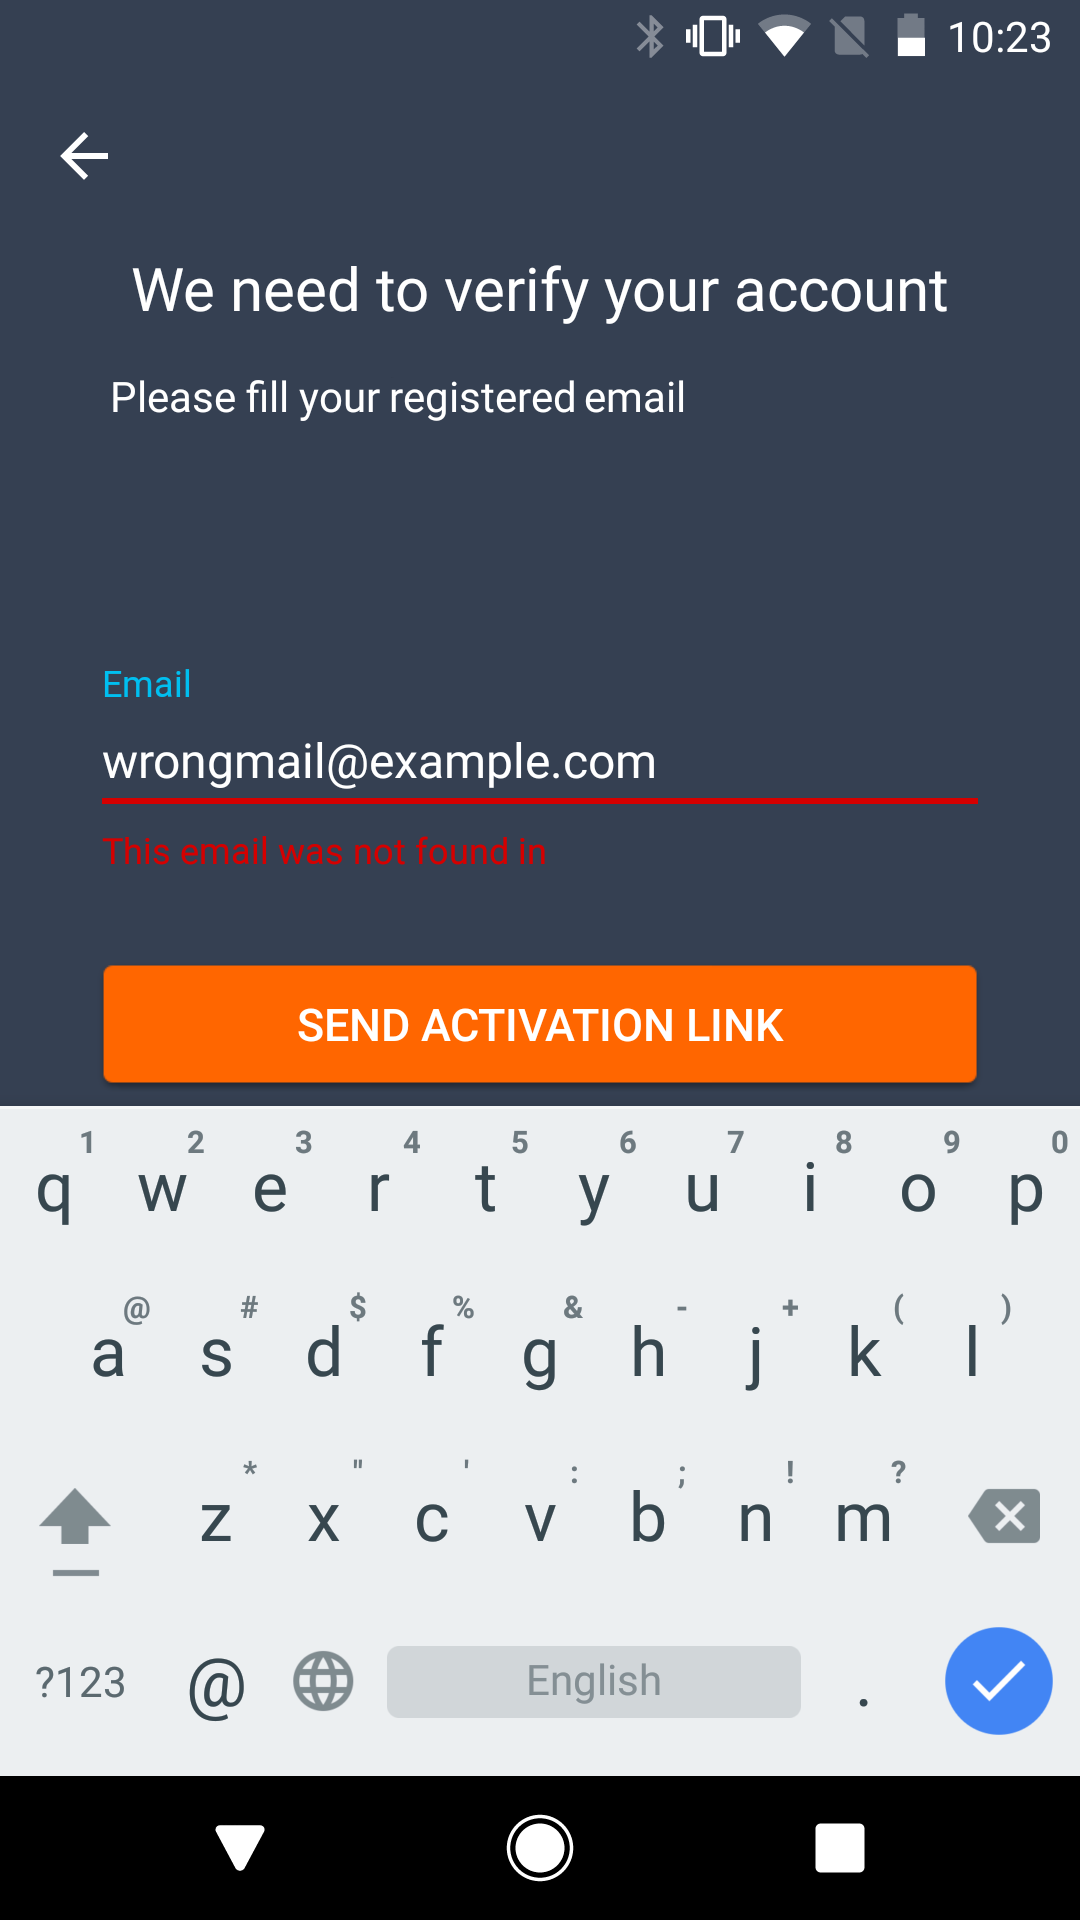
Failure: You are notified by red underlines - see section Wrong Email.
You can reset your credentials in the Settings screen. For more information see section Settings Screen.
Wrong Email
This screen appears when you enter the wrong email.
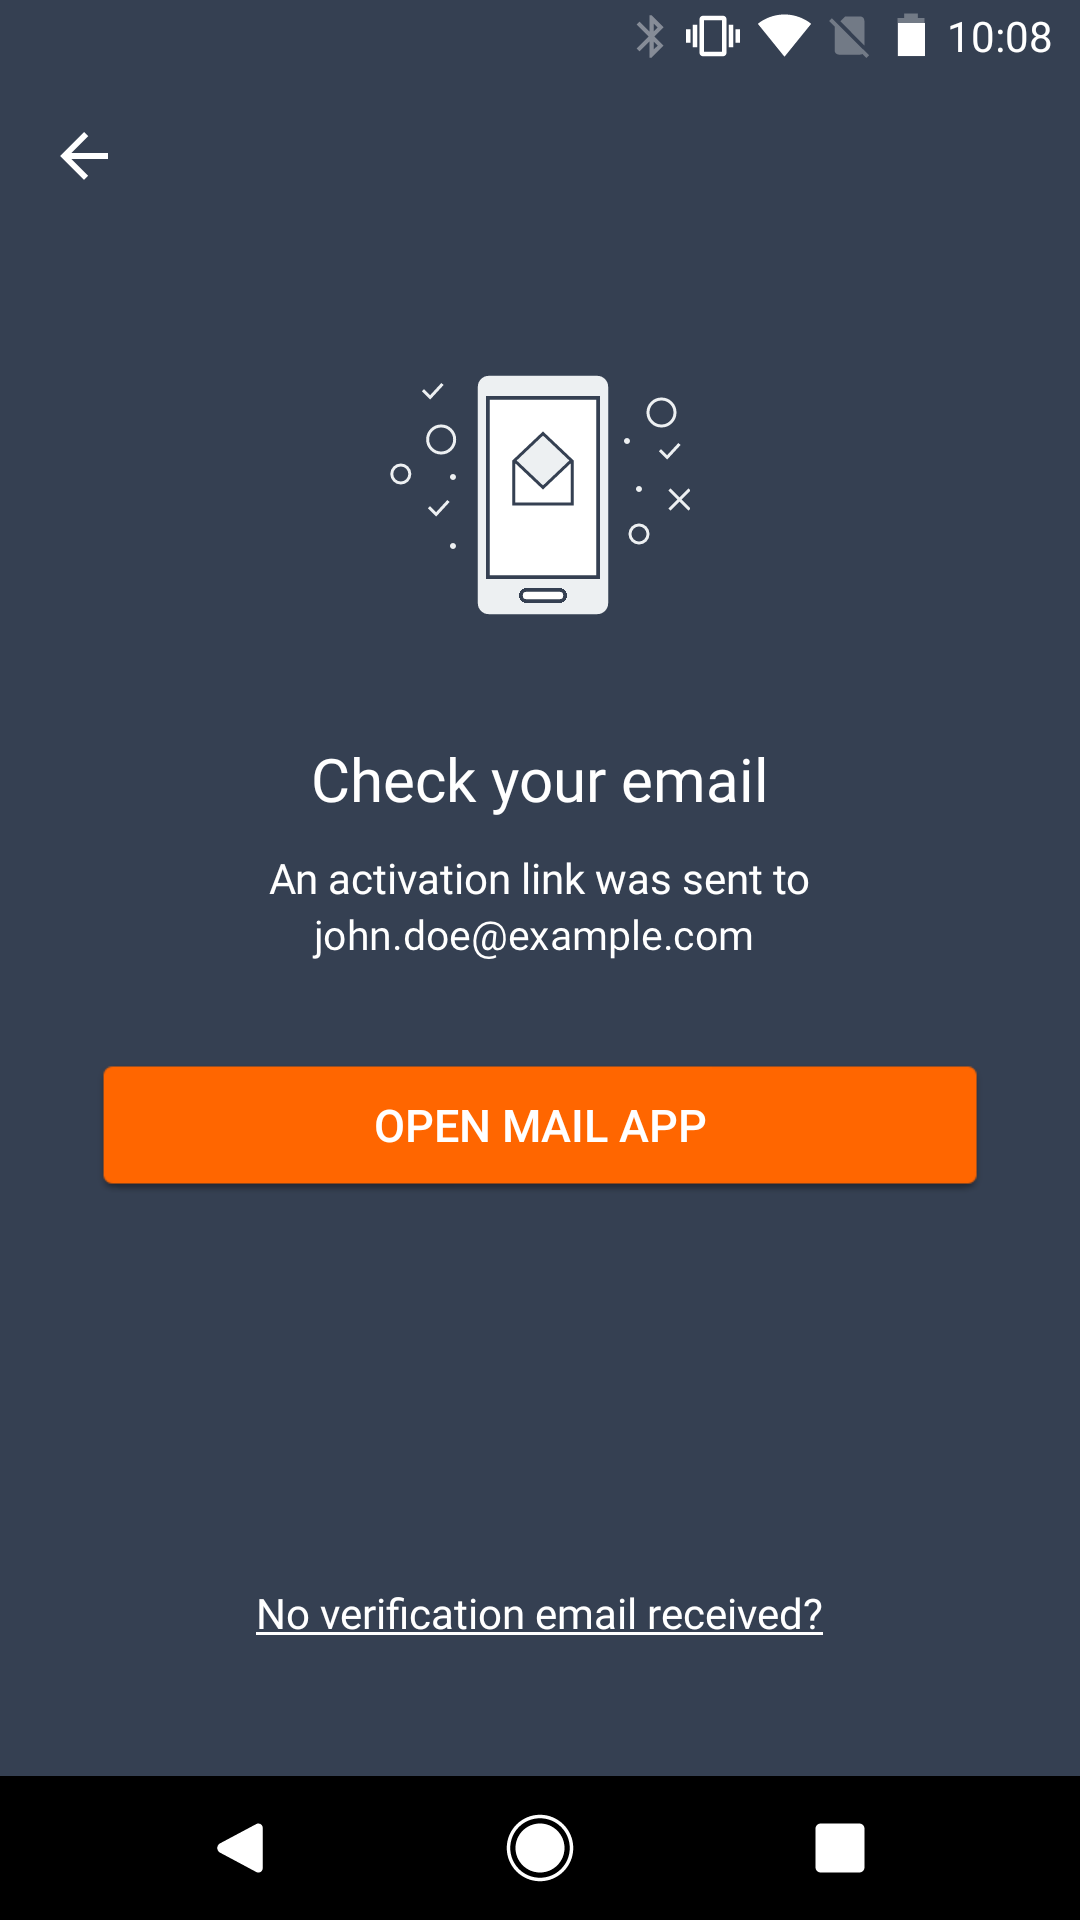
Checking email Screen
Open mail app opens your email application on your mobile device.
After opening an email app and tapping on Activate button in the email, YSoft SafeQ Mobile Terminal will try to activate.
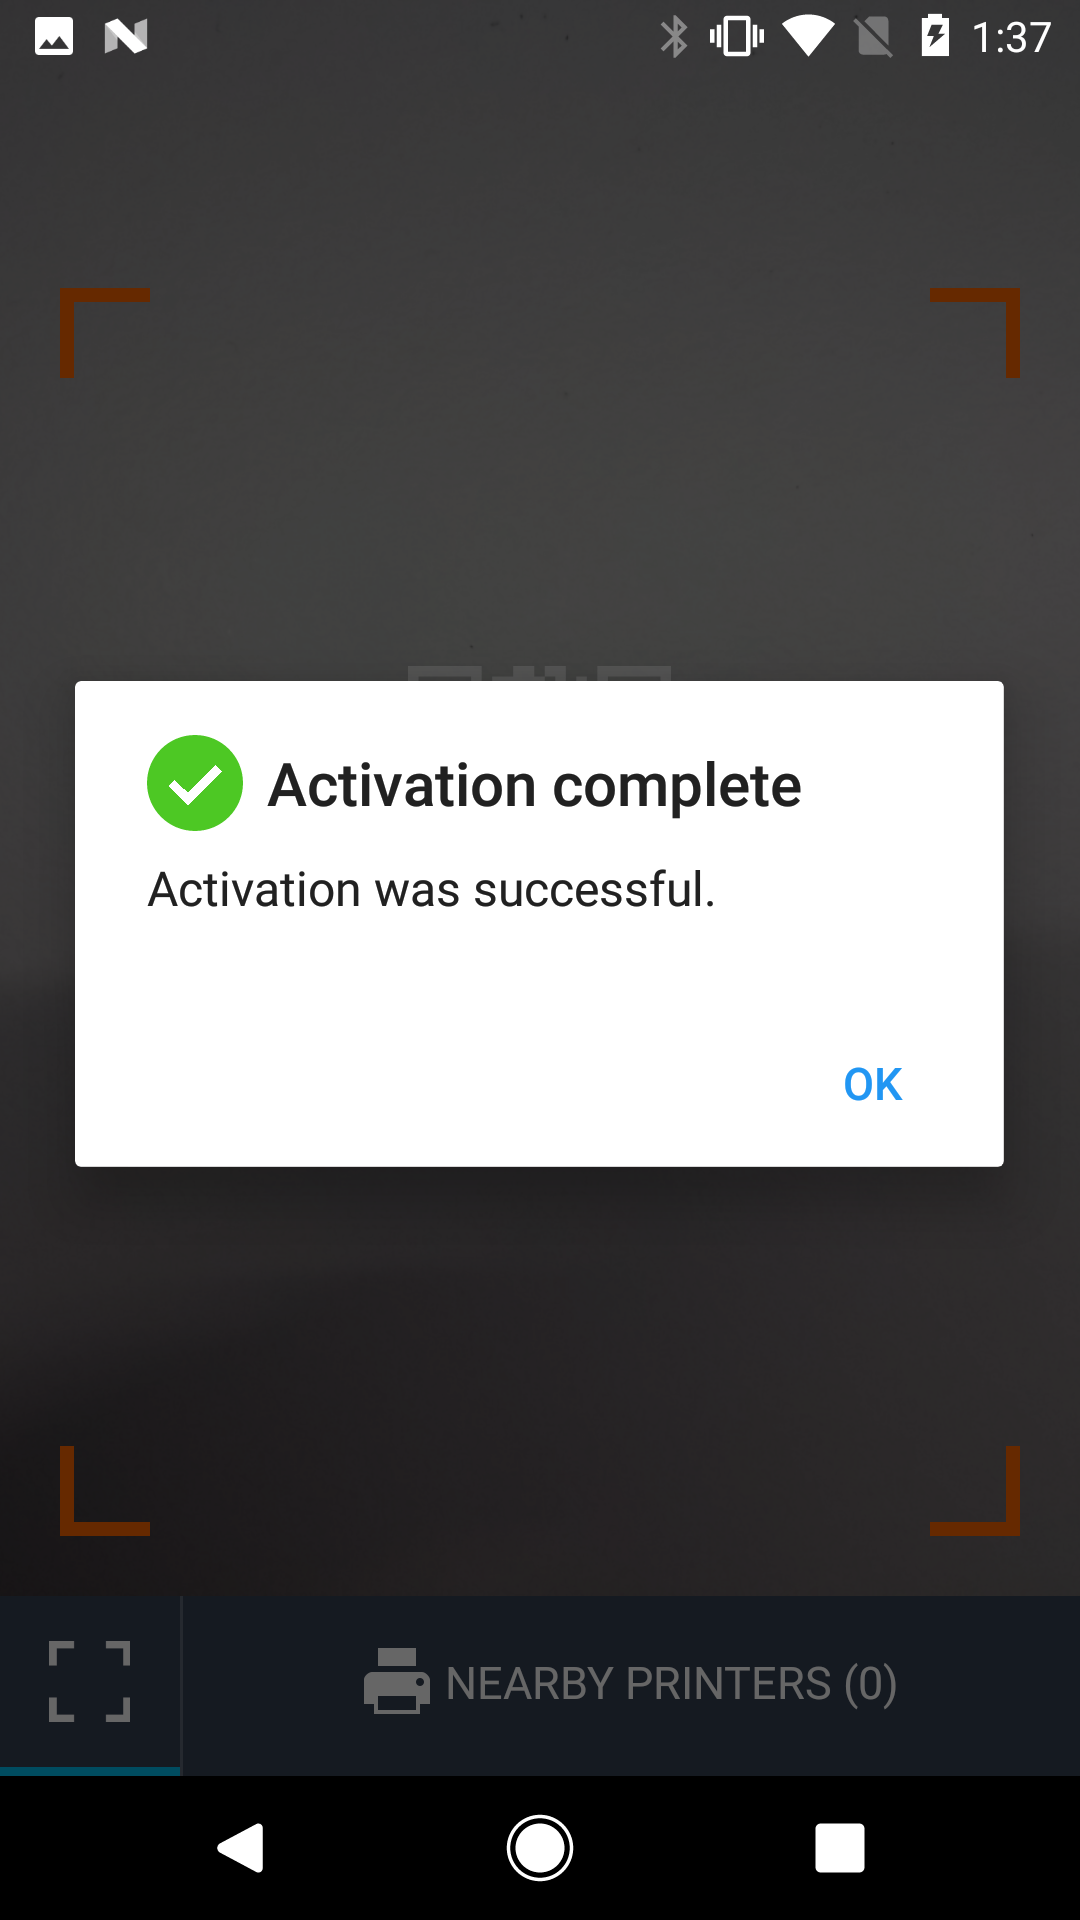
You will see the dialog about successful or unsuccessful activation.
Successful activation dialog
This dialog is shown after successful activation. You will be logged in and redirected to the Job List screen after scanning again.
Job List Screen
General
Release print jobs by selecting them and clicking the Print button.
You will see a notification that the job has been sent to the printer.
Tapping the
button redirects you to the Print job detail screen.
You can mark a print job as a favorite by tapping the ☆ button.
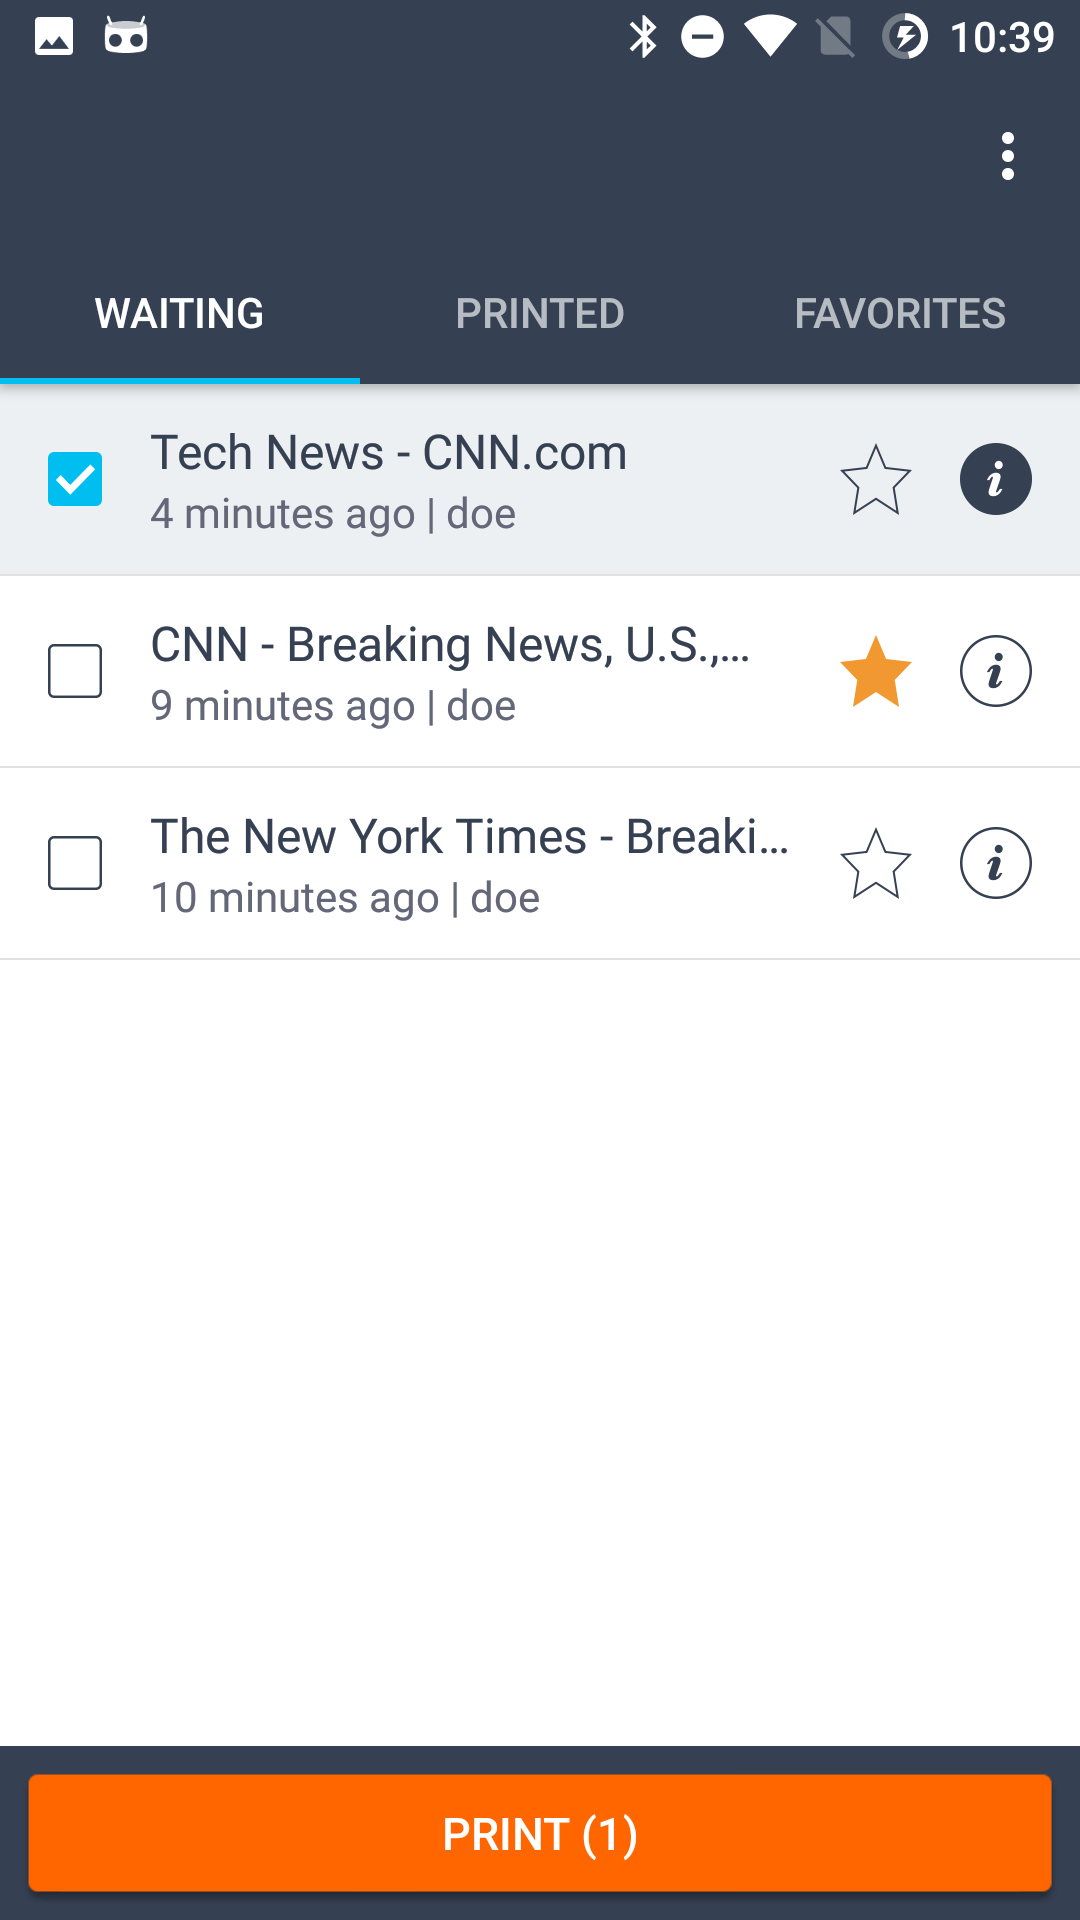
Popover Menu Visible
A popover menu becomes visible after tapping the "three dots" icon.
You can delete selected print jobs.
You can sort print jobs by name and date.
You can select/deselect all print jobs.
You can enter the Settings screen.
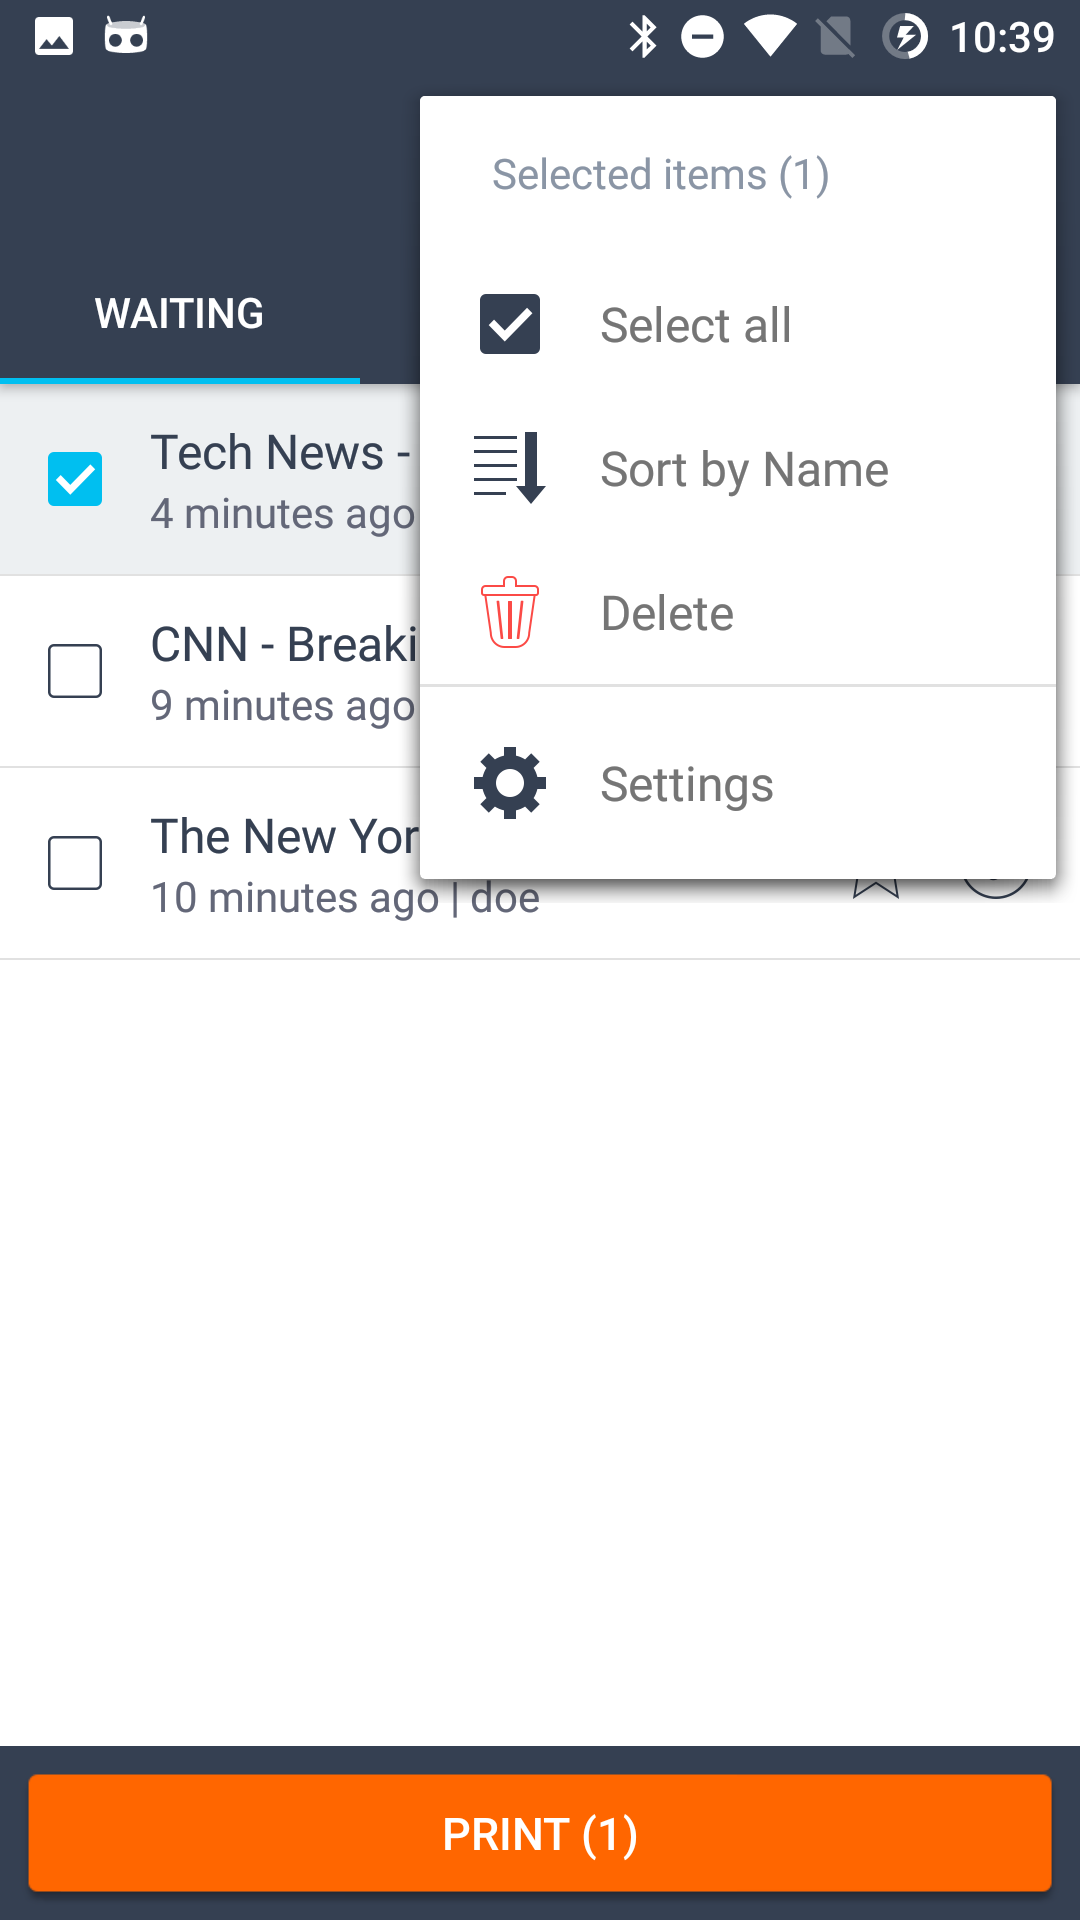
Print Job Released
A print notification displays when a print job is sent to the printer.
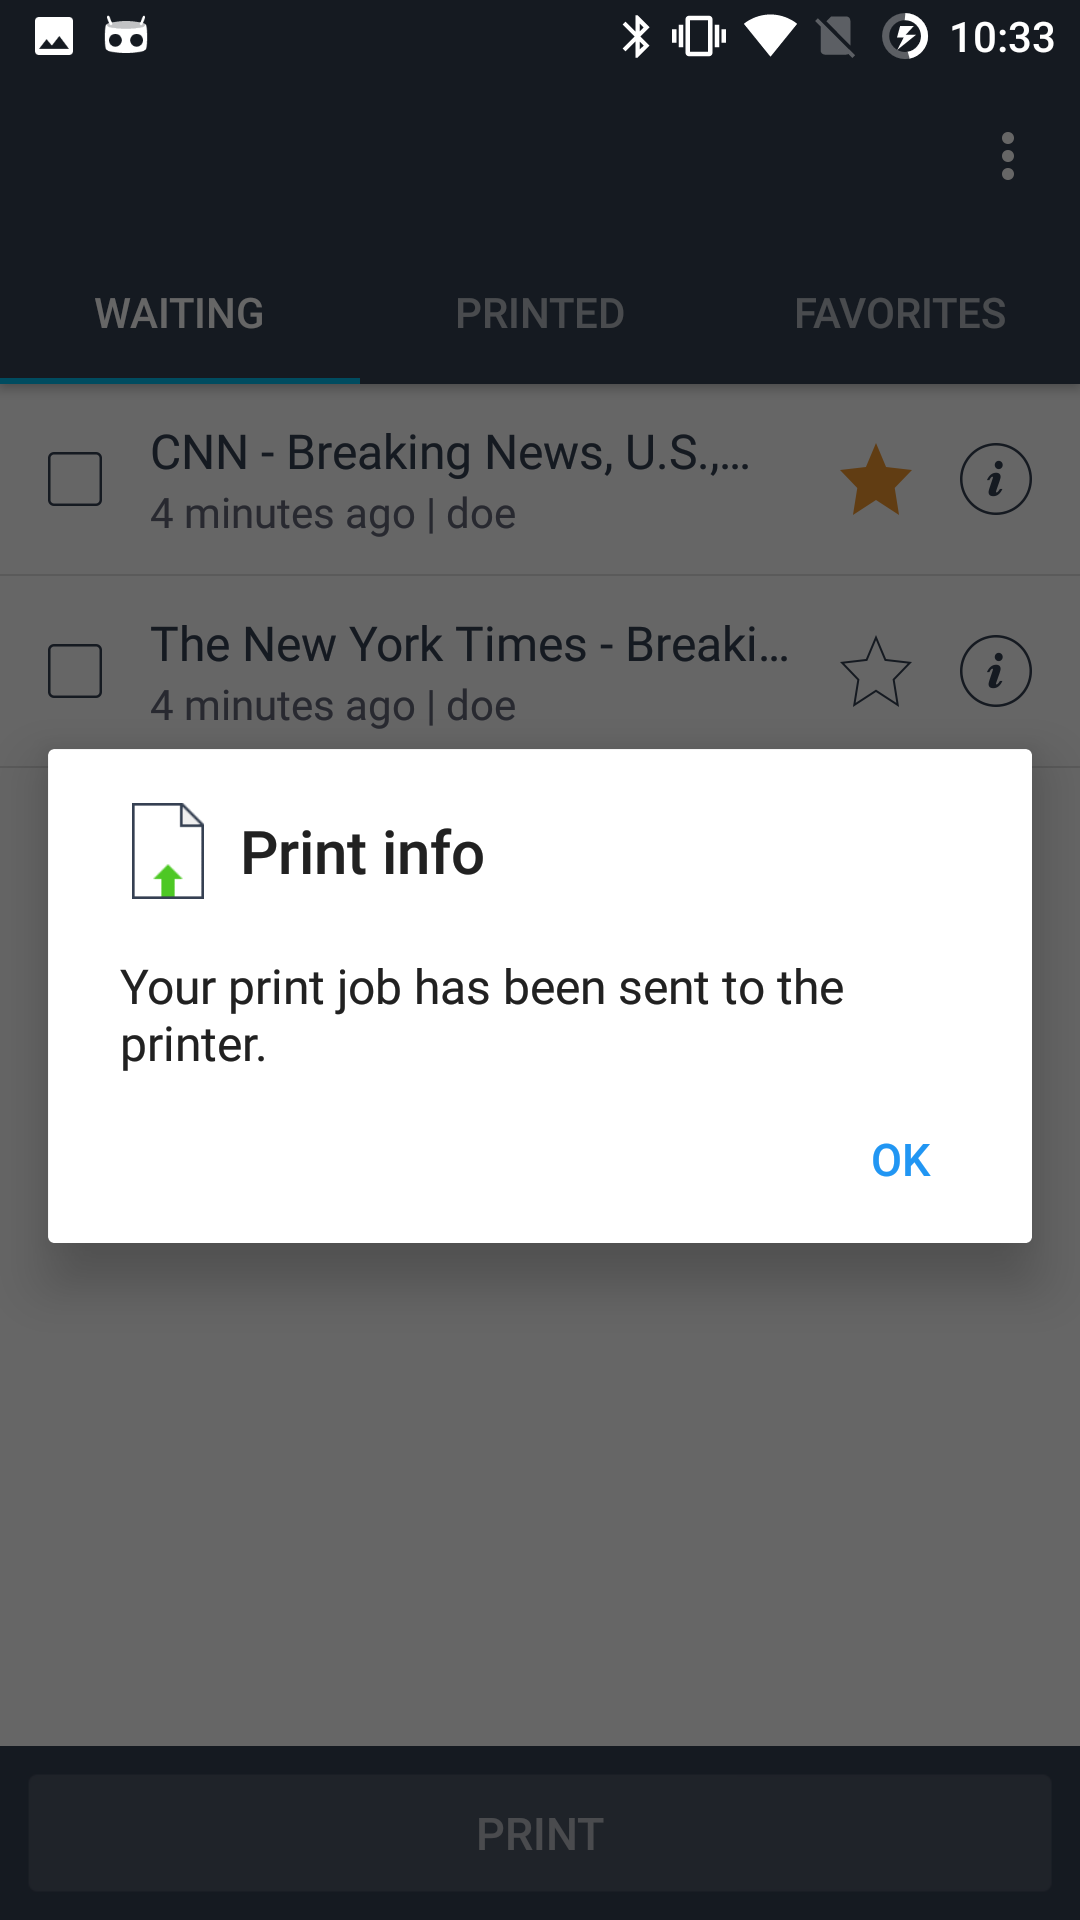
Long Touch for Deleting
Using a long touch, you can delete the current print job.
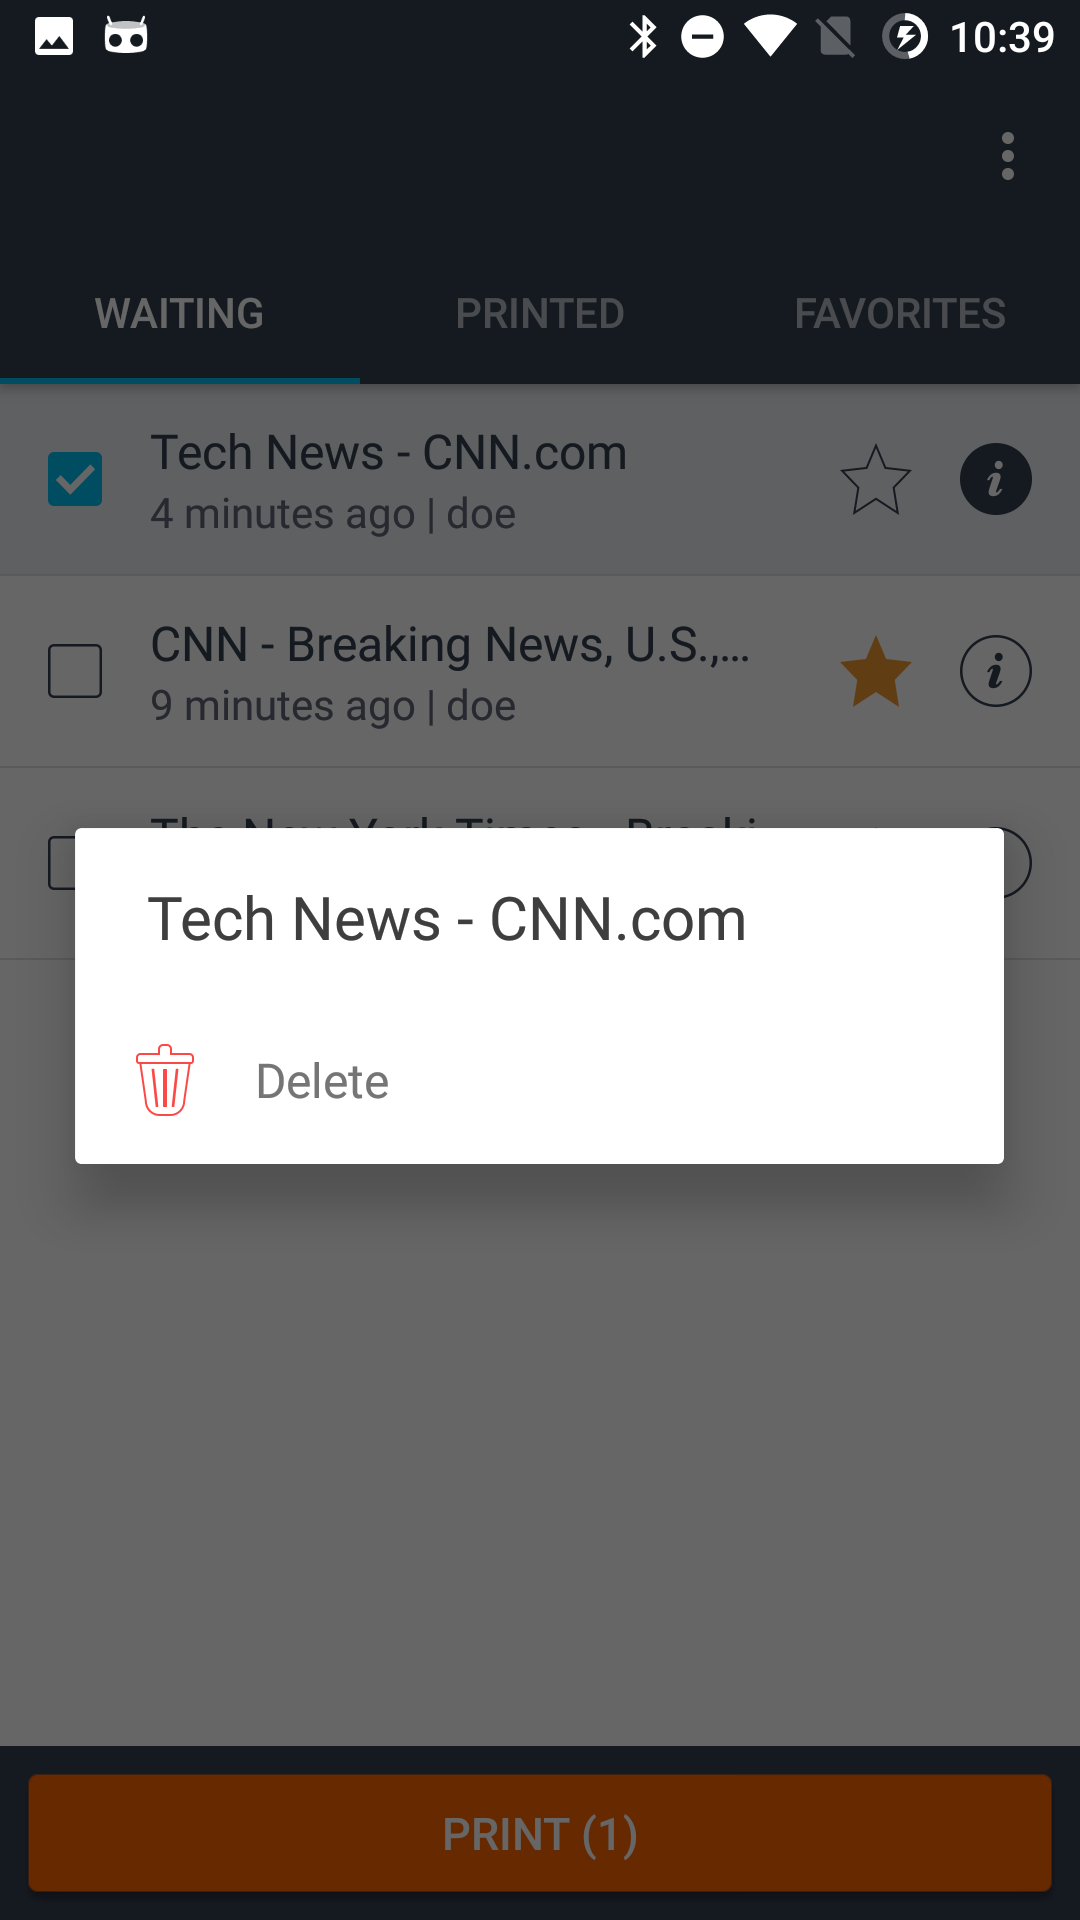
Print Job Detail Screen
General
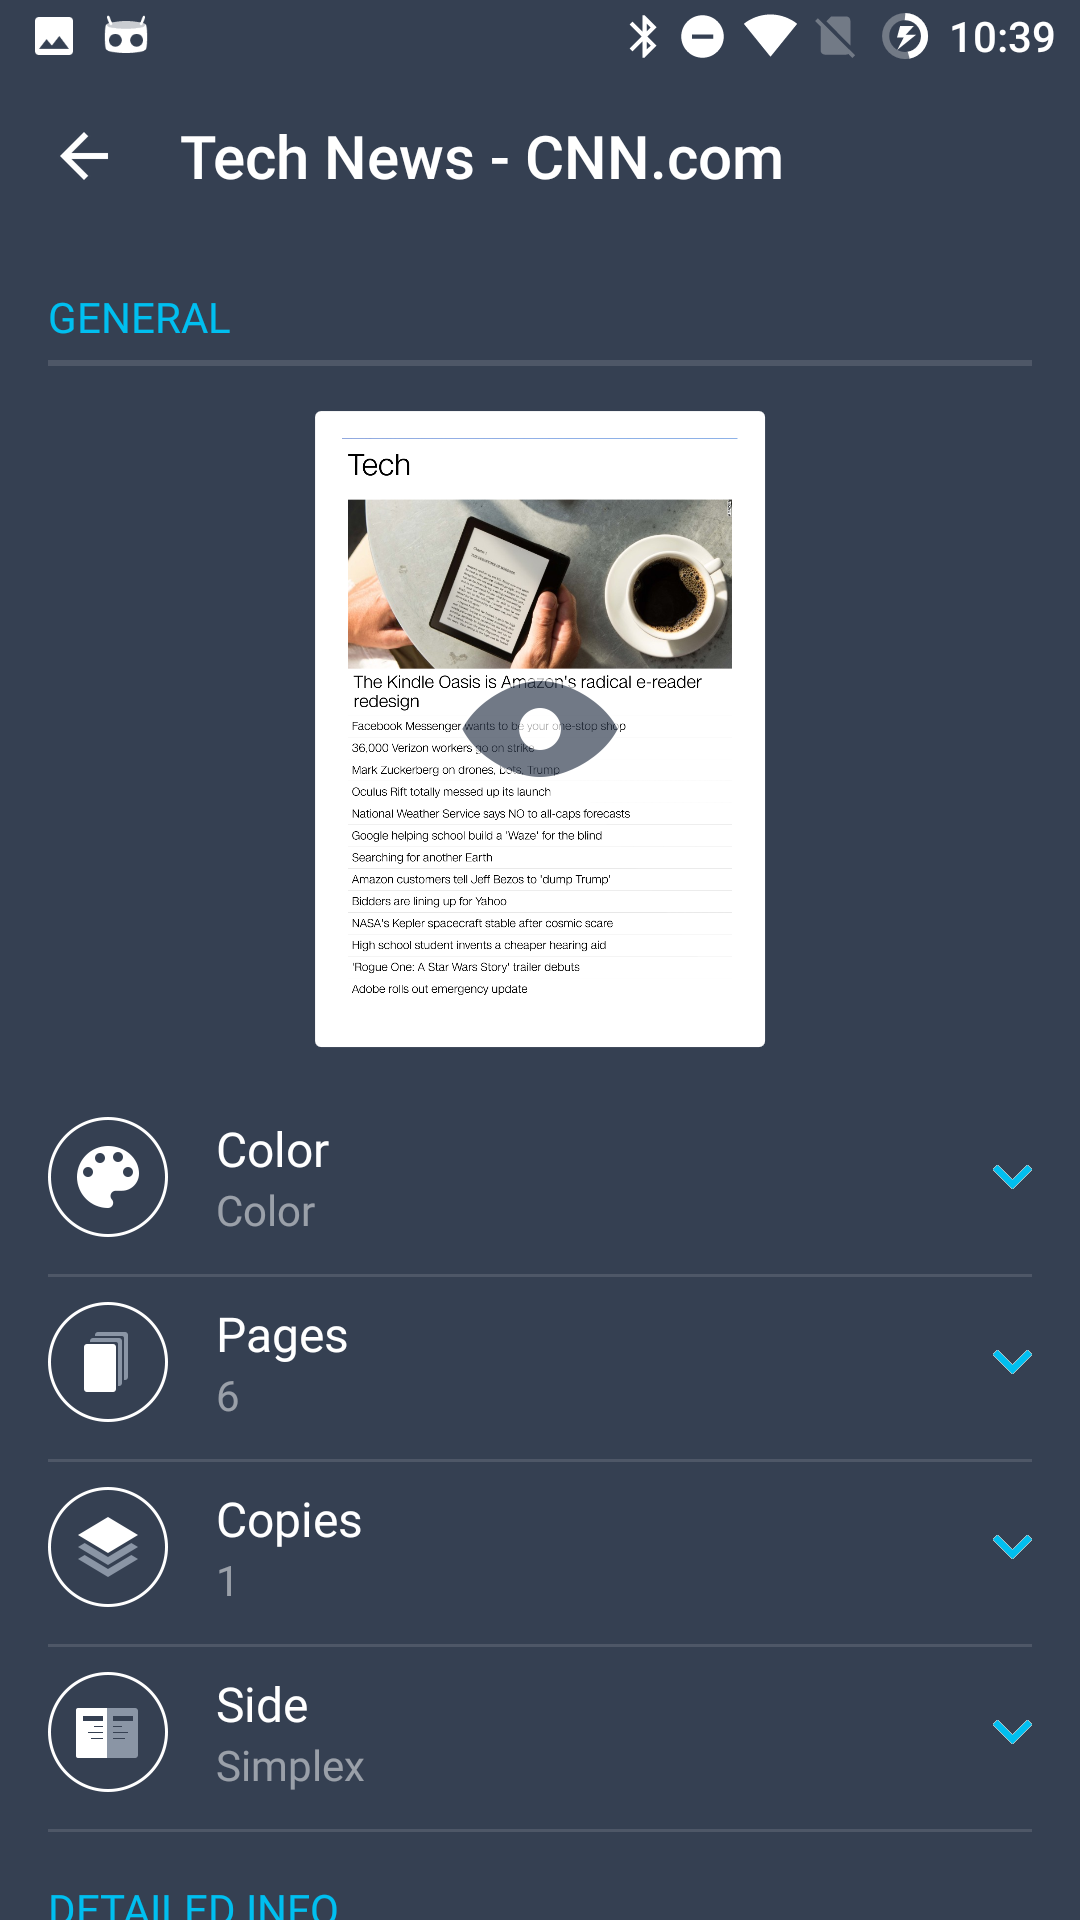
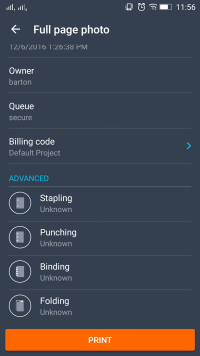
In the Print job detail screen, you can:
Print current job.
Open a print job preview.
See detailed information about a print job.
Edit finishing options (color, copies, side, stapling, punching, binding, folding).
Select the billing code.
If you cannot edit finishing options, the printer does not support them.
Billing Codes Page
General
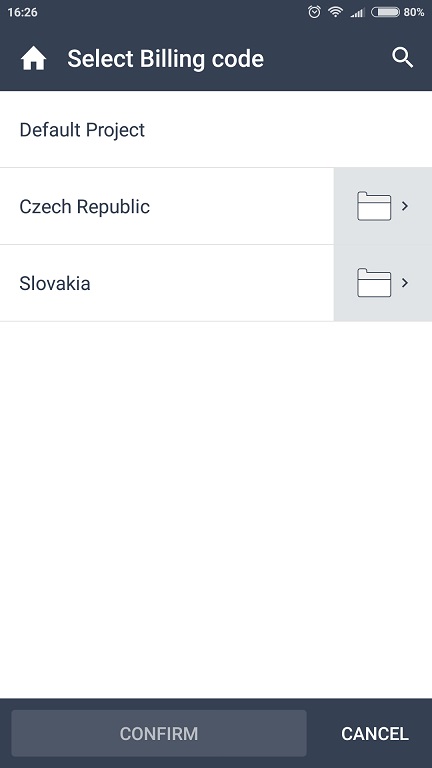
Billing codes in YSoft SafeQ Mobile Terminal can be set individually for each print job
Billing codes set in YSoft SafeQ Mobile Terminal will override the billing code set in the client
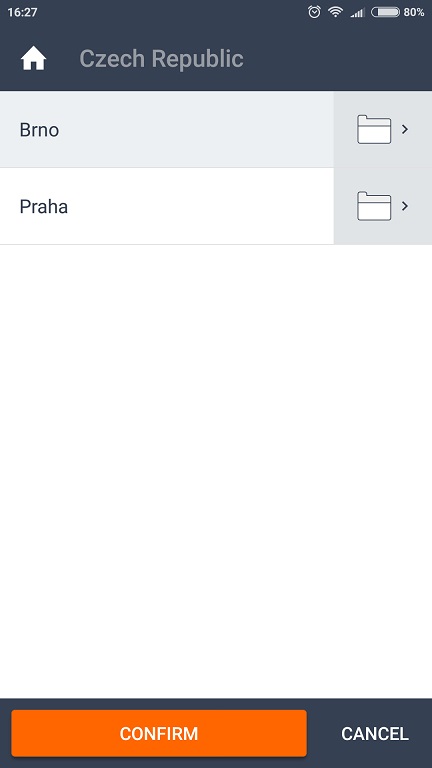
On the Billing codes page, you can:
See a list of billing codes.
See detailed information about a print job.
Select a billing code.
Navigate to the lower level of billing codes.
See the path where the user is navigated.
Scroll in the path and select an item from path directly.
Confirm the selection.
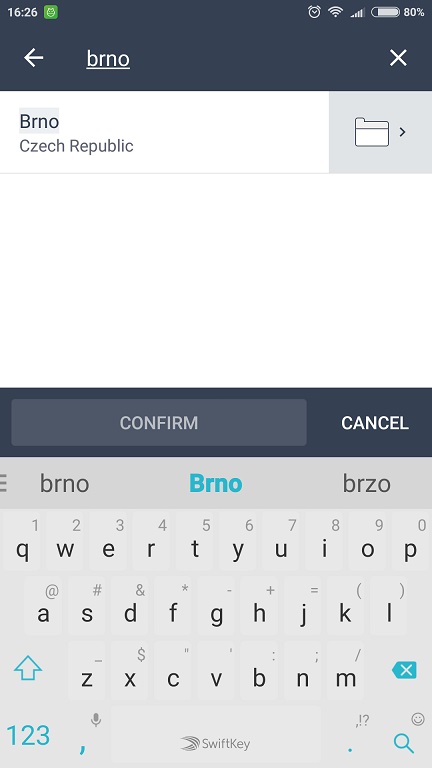
Searching for a Billing Code
After Billing codes search, you can:
See a found billing code if the billing code exists.
See the path of the found billing code.
Select the billing code.
Open the lower level of the billing code structure if available.
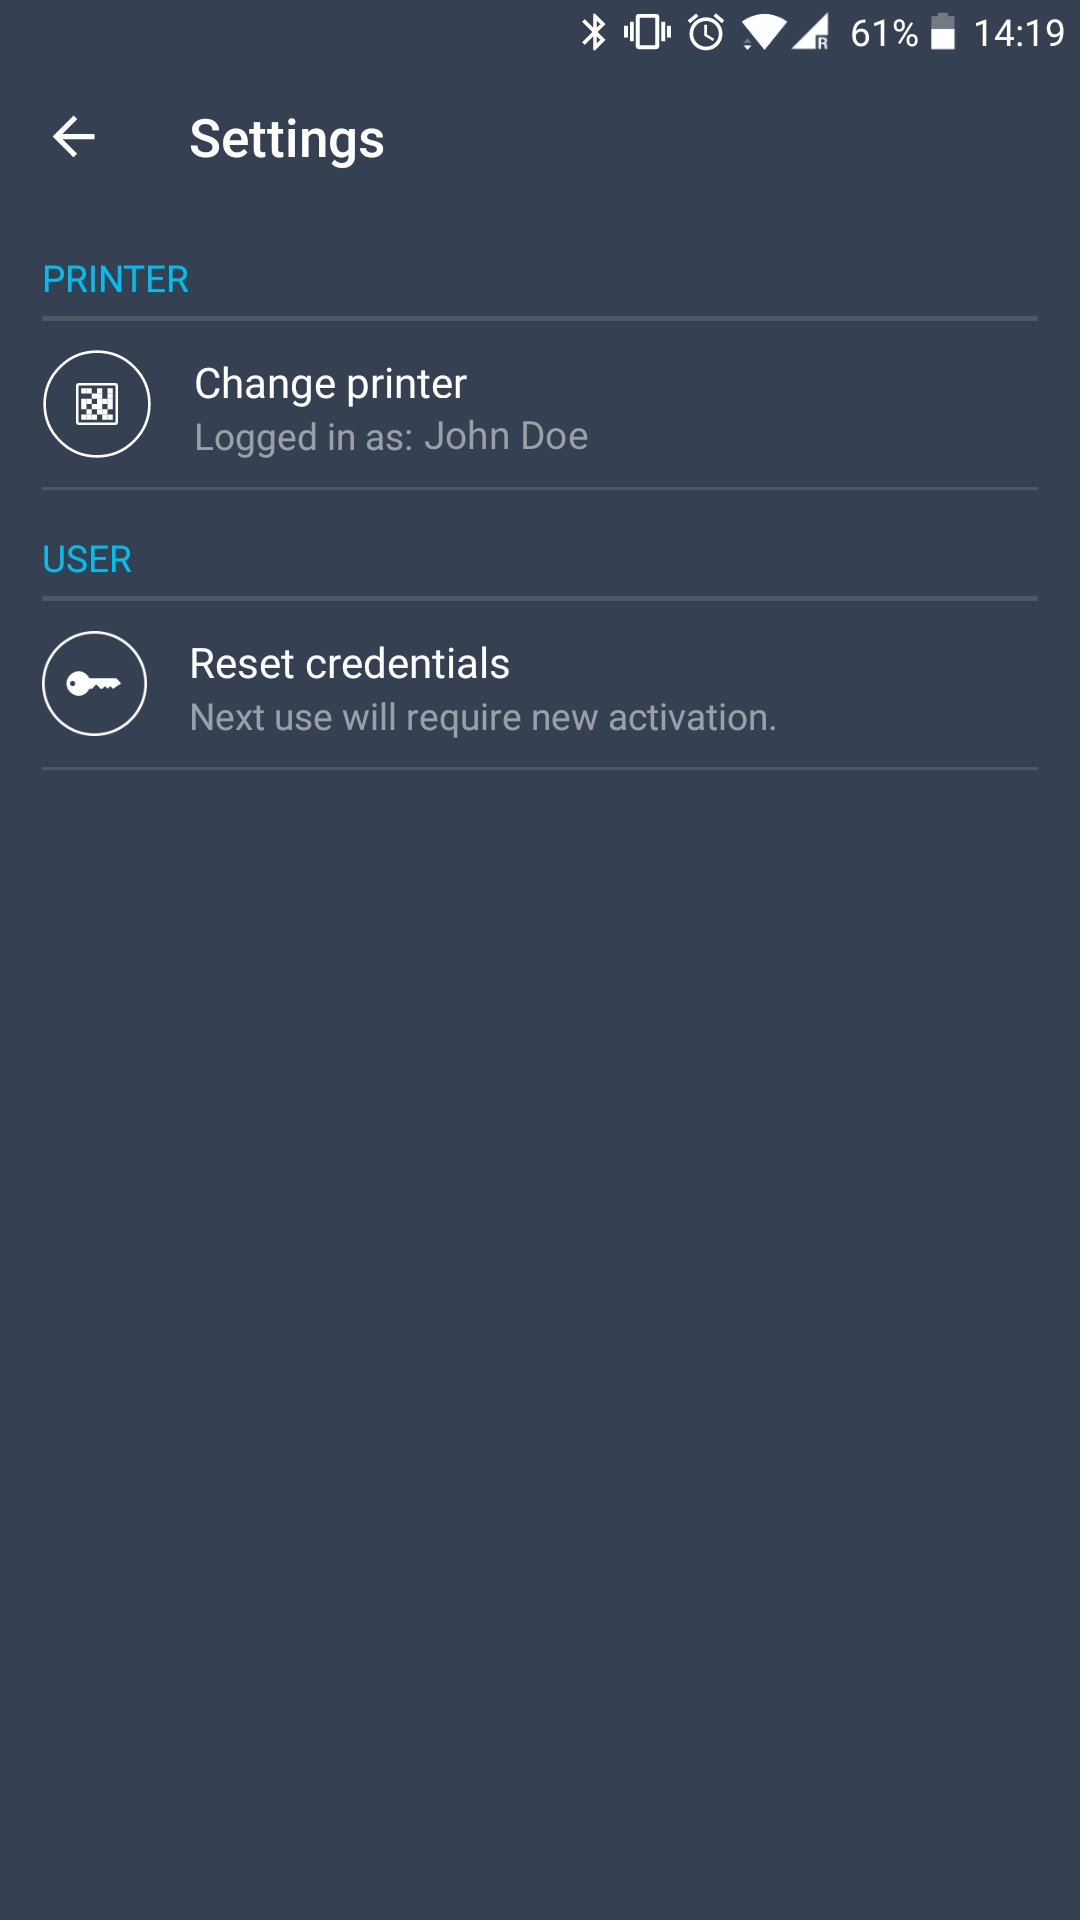
Settings Screen
General
You can change the printer by tapping the Change printer button.
You can reset your stored credentials by tapping the Reset stored credentials button.
Resetting stored credentials will require new activation with next use.
NFC Printer Identification
You must enable NFC technology on your mobile device.
When the printer is configured with an NFC tag, place the mobile device over the tag.
YSoft SafeQ Mobile Terminal identifies the printer and shows the Authentication screen.
If you have stored credentials, the Job List screen displays instead.