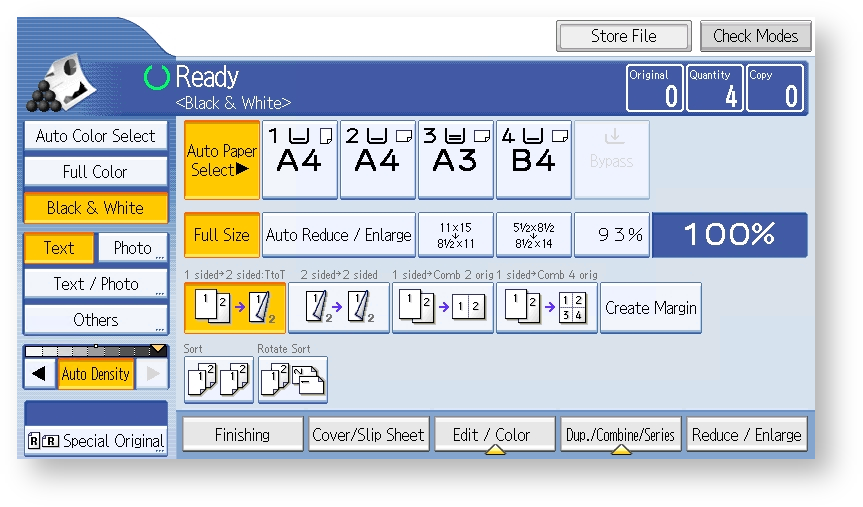
Using Billing Codes at a Ricoh Device
Selecting a Billing Code after Login
With YSoft SafeQ Embedded Terminal, you can choose billing (project) codes in the application menu for copying and scanning in one session without logging out and logging in.
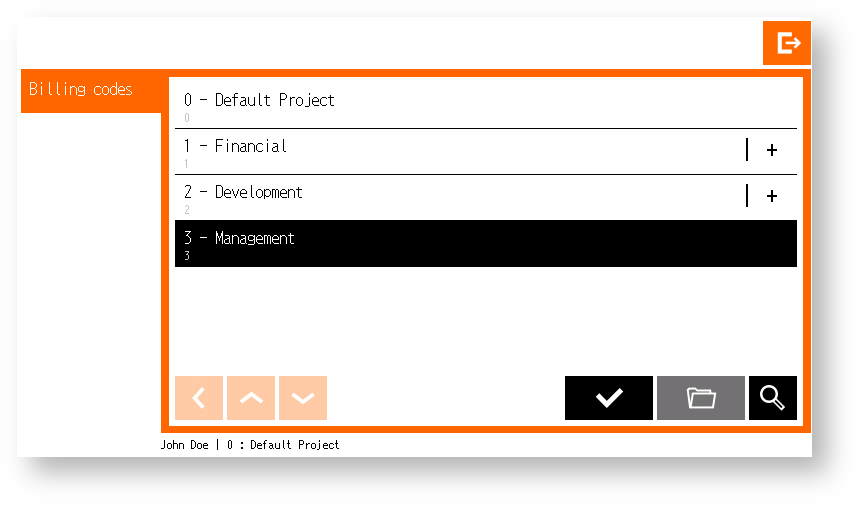
The billing code screen appears directly after login.
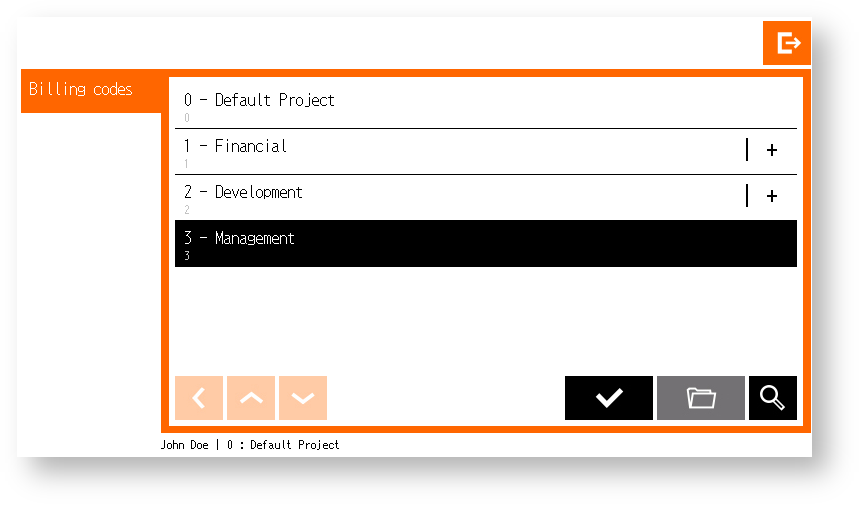
 Select a billing code.
 Confirm the billing code selection.
 Navigate to the billing code children (Only billing codes with a + symbol have children).
 Search for a billing code.
 Navigate between billing code pages.
 Return from a deeper level.
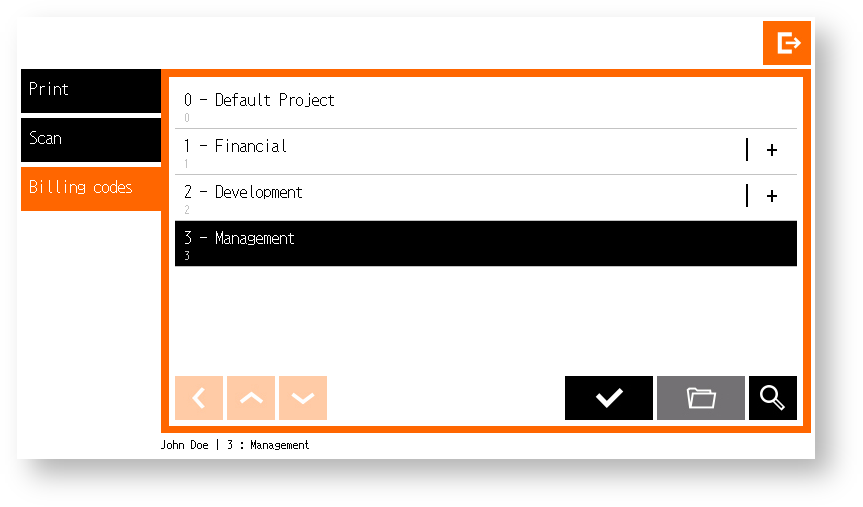
Once the billing code is confirmed, it displays at the bottom of the screen.
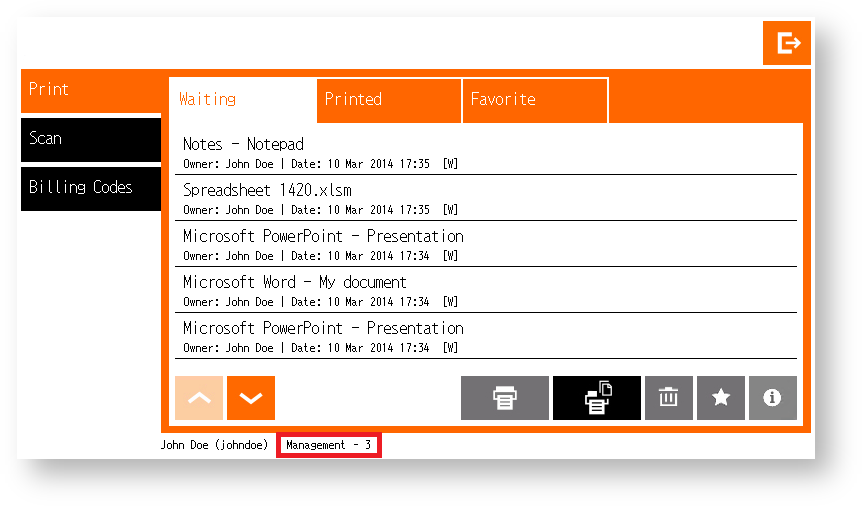
Selecting a Billing Code from the YSoft SafeQ Application
In the YSoft SafeQ application, select Billing Codes from the menu.
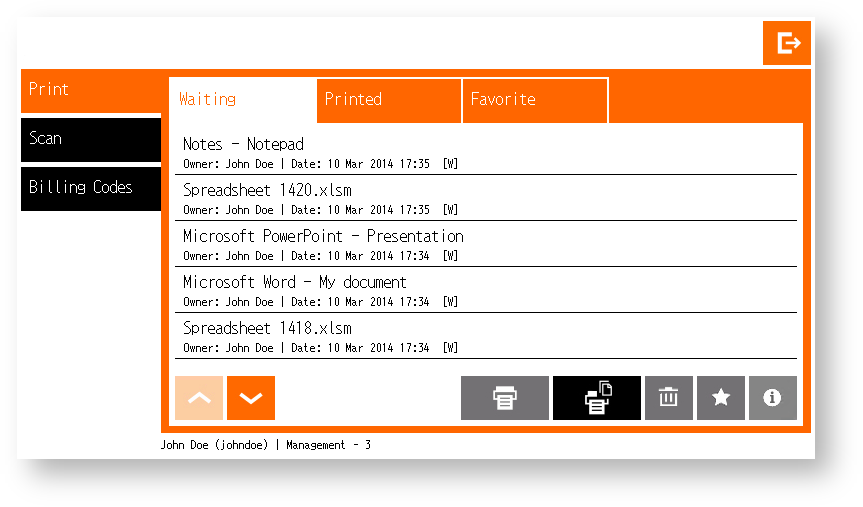
The screen with billing codes displays. The default billing code is highlighted.
Default Billing Code
The default billing code is selected immediately after login (in this case: 0: Default Project). Until you change it, all copies and scans (and prints) will be accounted to your default billing code.
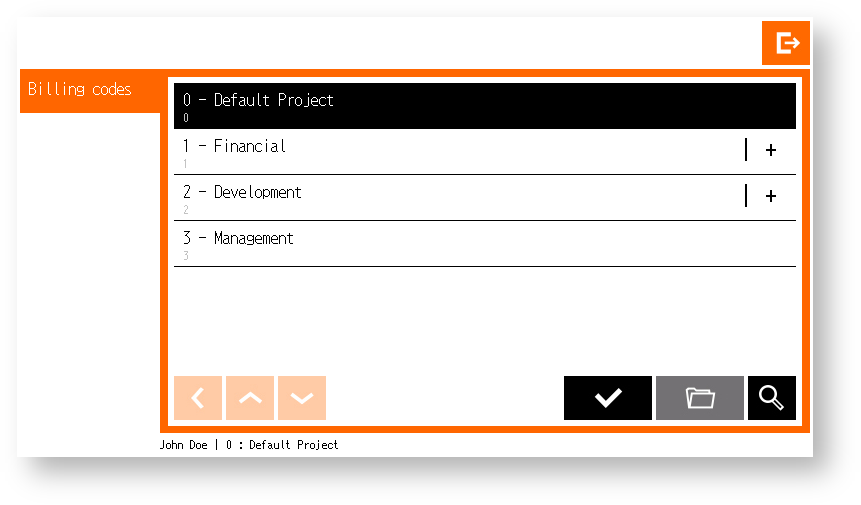
Your default billing code can be changed in the YSoft SafeQ web administration interface.
Searching for a Billing Code
In the YSoft SafeQ application, select Billing codes from the menu.

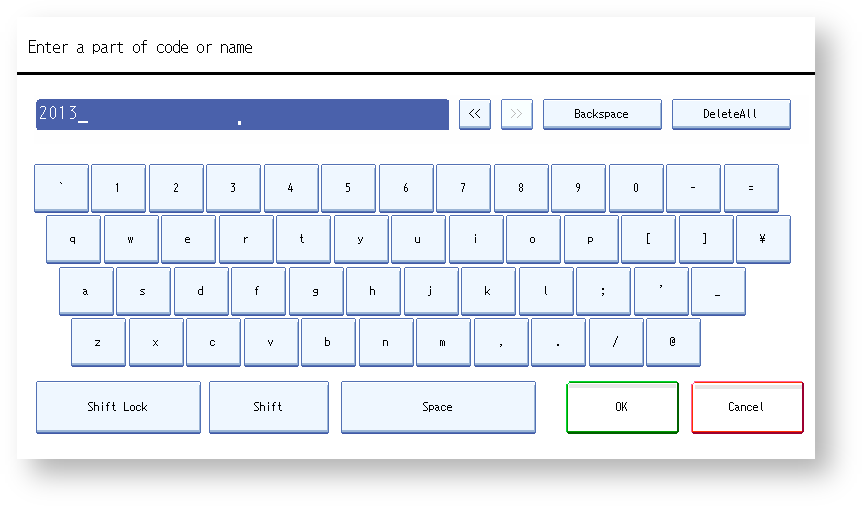
The screen with billing codes displays. If you want to search billing codes, tap the magnifier icon

Type the name or number or text of the billing code you want to search for and tap OK.
The results display.
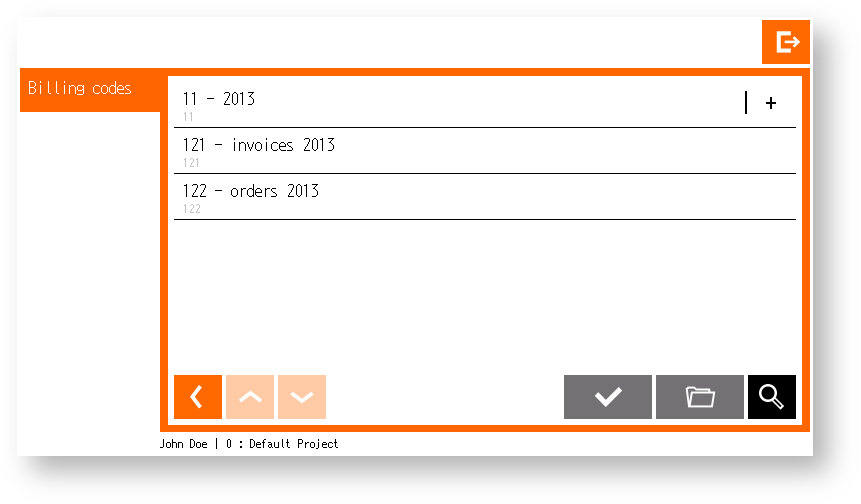
 Select a billing code
 Confirm the billing code selection
 Navigate to the billing code children (Only billing codes with a + symbol have children)
 Search again for a billing code
 Navigate between billing code pages
 Return from a deeper level
Continue with Scanning or Copying
Once a billing code is selected, you can continue to the Scan menu to start scanning with the selected billing code.
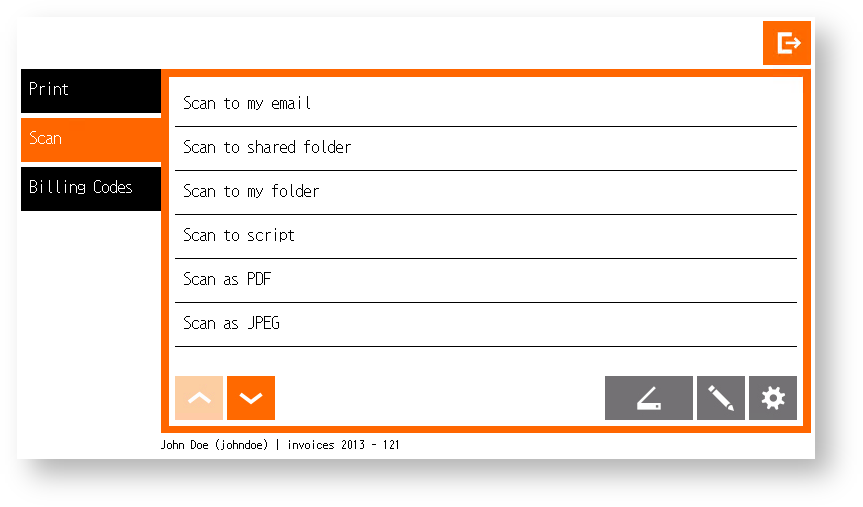
Navigate to the Copy menu and perform a copy job for the selected billing code.
