Using Billing Codes at a Konica Minolta Device Native
Selecting a Billing Code from a List
With YSoft SafeQ Embedded Terminal, you can choose billing (project) codes in the application right after login.
After authentication, when prompted, tap the List icon
 .
.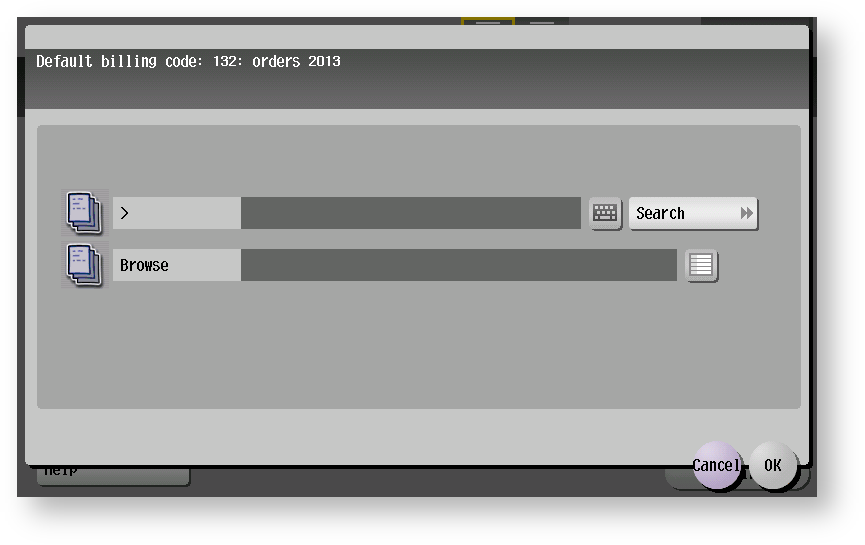
A screen with billing codes is displayed:
To select a billing code, tap on the billing code of your choice and tap OK. At the next screen, tap OK once more.
Nested billing codes can be displayed by selecting a billing code with
 at the front. Tap OK and when returned to the original screen, tap the List icon again
  . This way you can see all the children billing codes of the previously selected billing code.
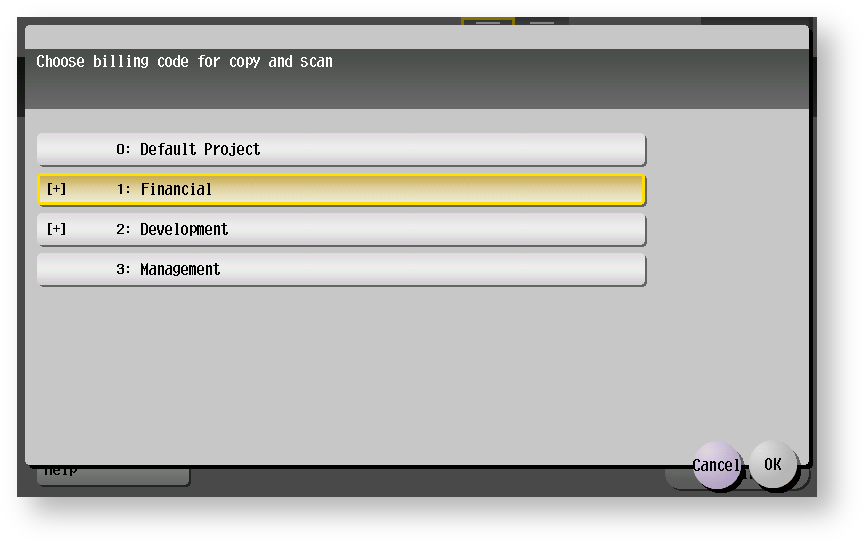
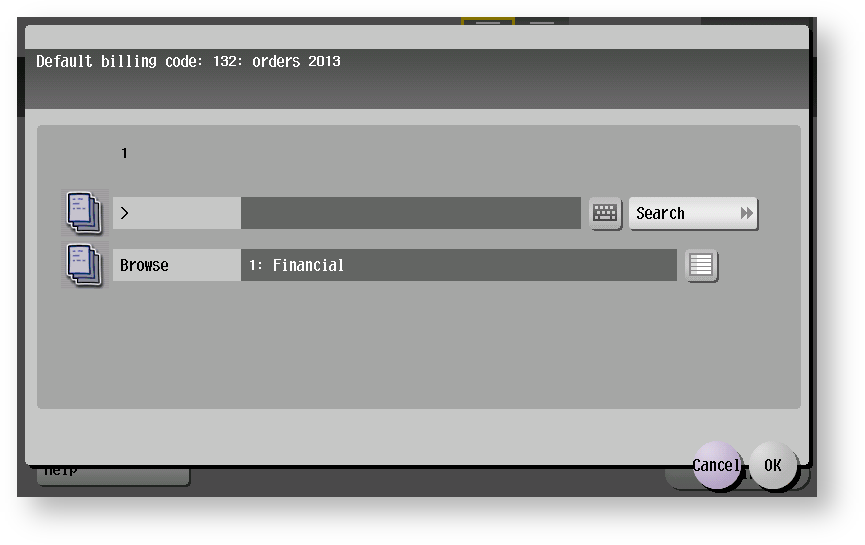
You can move between pages with billing codes by tapping the arrow buttons.
Using a Default Billing Code
When the billing code screen appears and you want to use the default billing code displayed at the top of the screen, just tap OK and continue to the device application main menu.
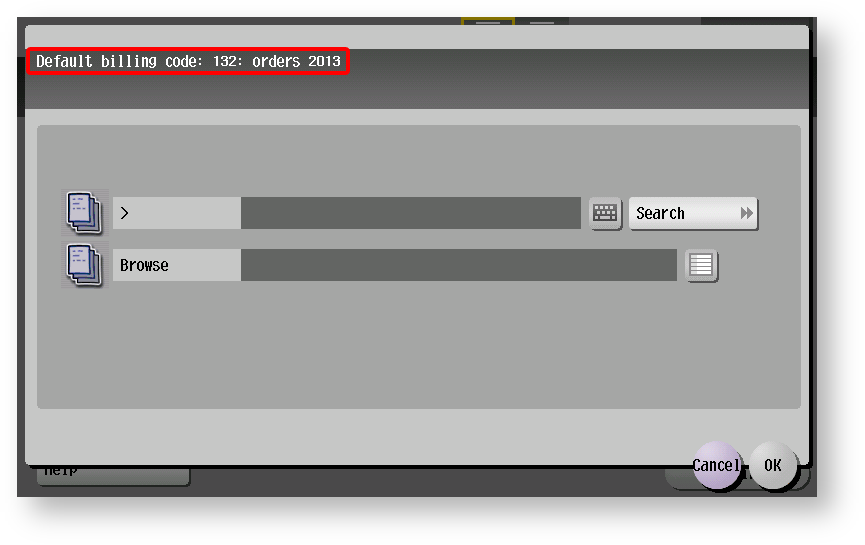
You can also use the Access button to continue to the device application menu.
Your default billing code can be changed in the YSoft SafeQ web administration interface.
Searching for Billing Codes
If you want to search for a billing code, tap the keyboard button on the left of the Search button.

Enter the name, number, or text of the desired billing code and tap OK.
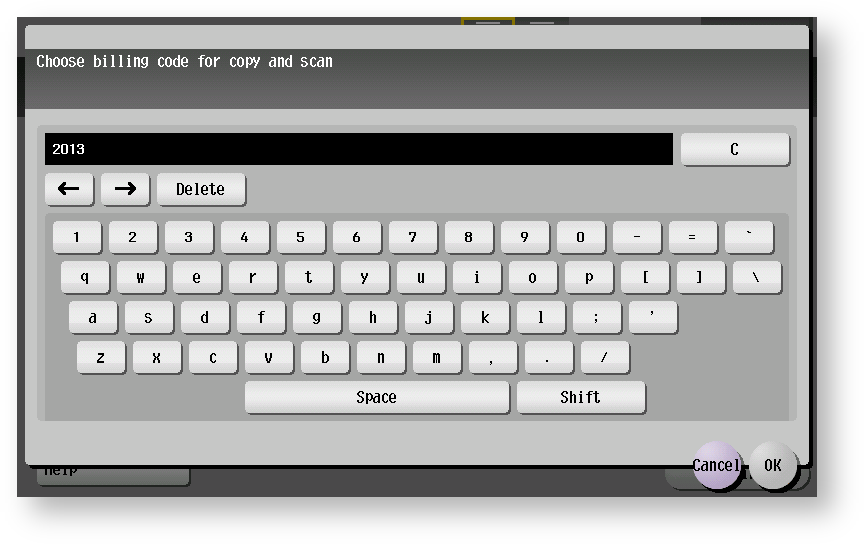
If you enter a specific billing code, you do not need to perform a search, and you can immediately tap OK to use the particular billing code. Otherwise, tap Search.
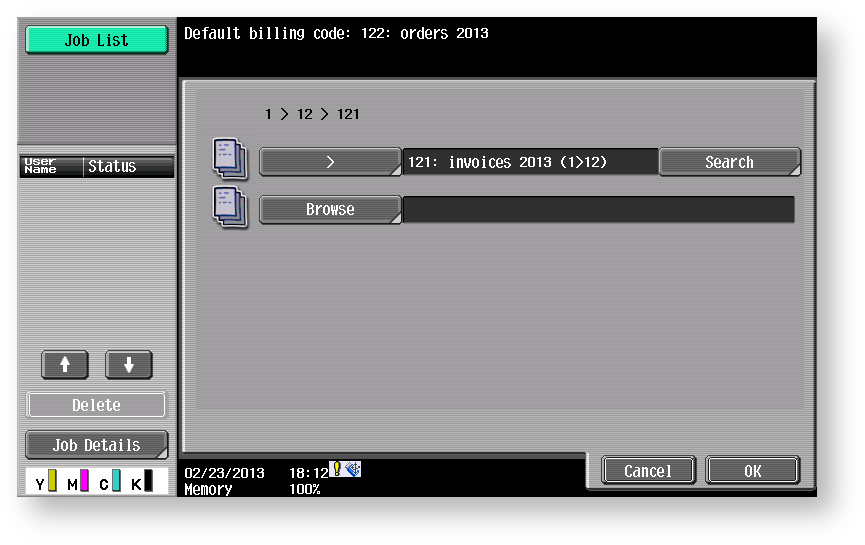
A result that matches your search phrase is displayed. Select one of the billing codes from the search result, tap OK and continue to the next step OR tap Cancel if you want to change your search phrase, and repeat steps 1 to 4.
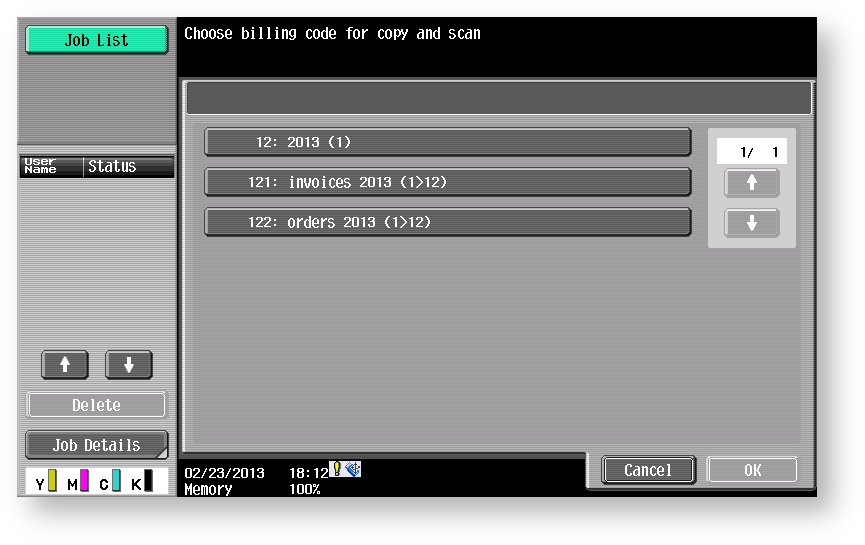
The path of the parent billing code is shown in brackets.
Now your billing code has been selected. Tap OK to continue to the device application main menu.
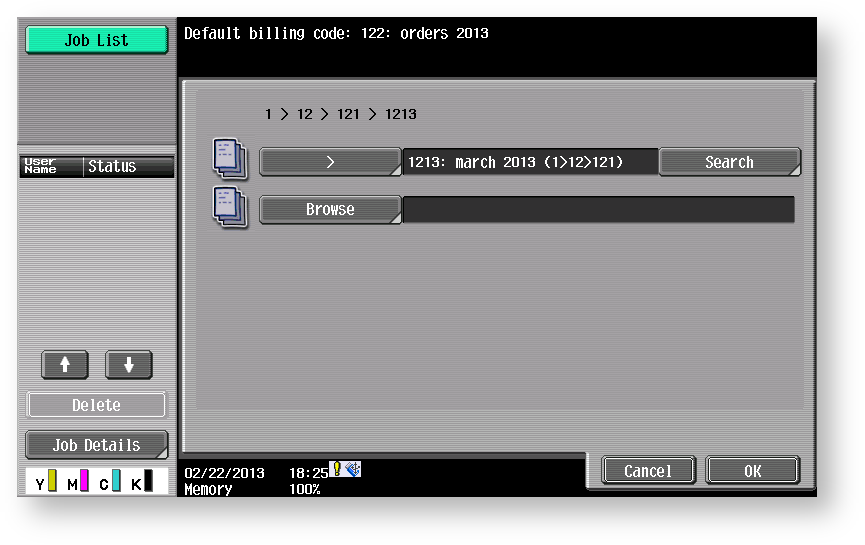
You can also use the Access button to continue to the device application menu.