Scanning at a Sharp Device - 2nd Gen
This document describes YSoft SafeQ Embedded Terminal for Sharp - 2nd Gen. for scan application.
Workflow scanning
Log in to the embedded terminal.
On the Main Menu screen, tap on the Sharp OSA and then on the SafeQ Scan
You may be redirected directly to the Scan application. In that case, skip this step.
Select a scan workflow you want to execute. Some of the workflows are marked as Quick and are executed directly from the workflows screen by tapping on the workflow. The other workflows need additional parameters to be entered and tapping on the workflow redirects you to a workflow detail screen.

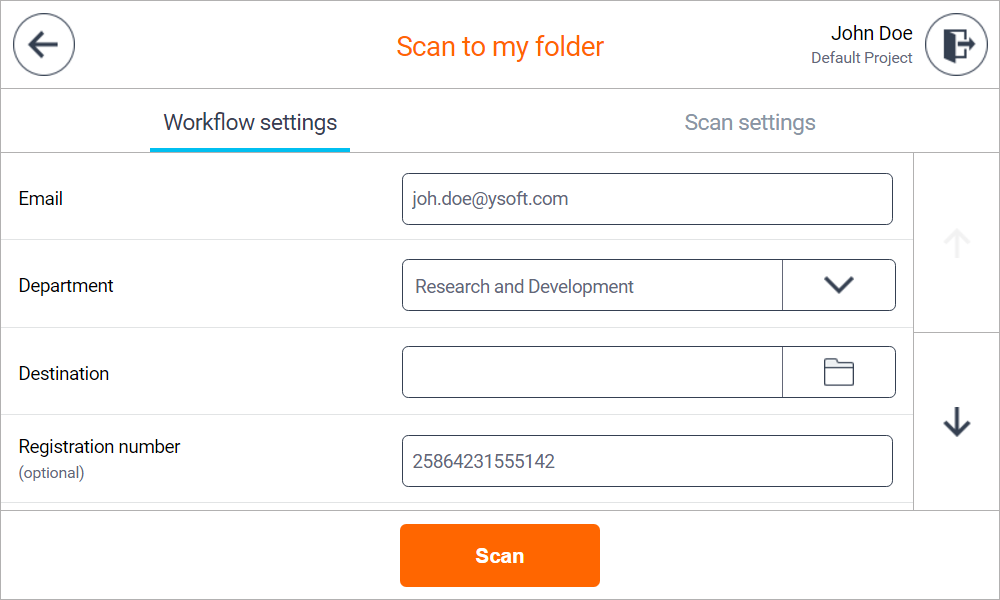
In workflow detail screen, you can enter additional workflow parameters.
Tapping Scan settings tab opens a screen where you can select properties of the scan job.
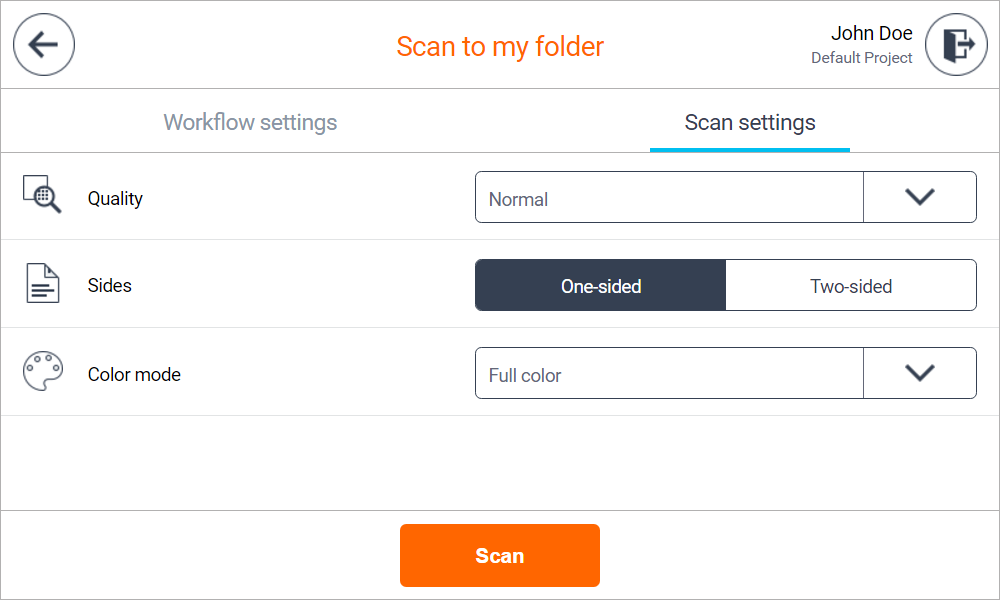
The workflow configuration might not allow to configure scan or workflow settings. In that case, the tab is not shown.
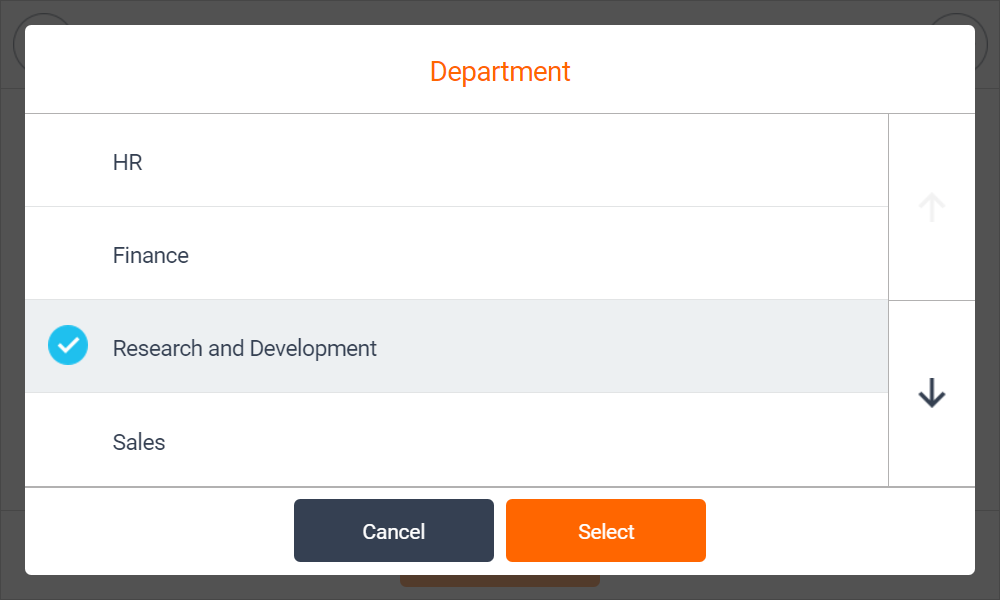
Some of the parameters allow you to browse folders or lists of available options. Tapping such parameter opens a new dialog for value selection.

Email parameters allow you to search for an email address. See this page for details: Email search parameter
When you are ready, tap the Scan button to initialize the scan job.
When scanning is finished, you get information about the result. If there were no problems, you get information about scan success.
If scan did not finish successfully, you get information about scan stopped.
