Scanning at a Ricoh SOP - 2nd Gen
This document describes YSoft SafeQ Embedded Terminal for a Ricoh SOP - 2nd Gen. for scan application.
Workflow scanning
Log in to the embedded terminal.
On the Main Menu screen, tap Scan
You may be redirected directly to the Scan application. In that case, skip this step.
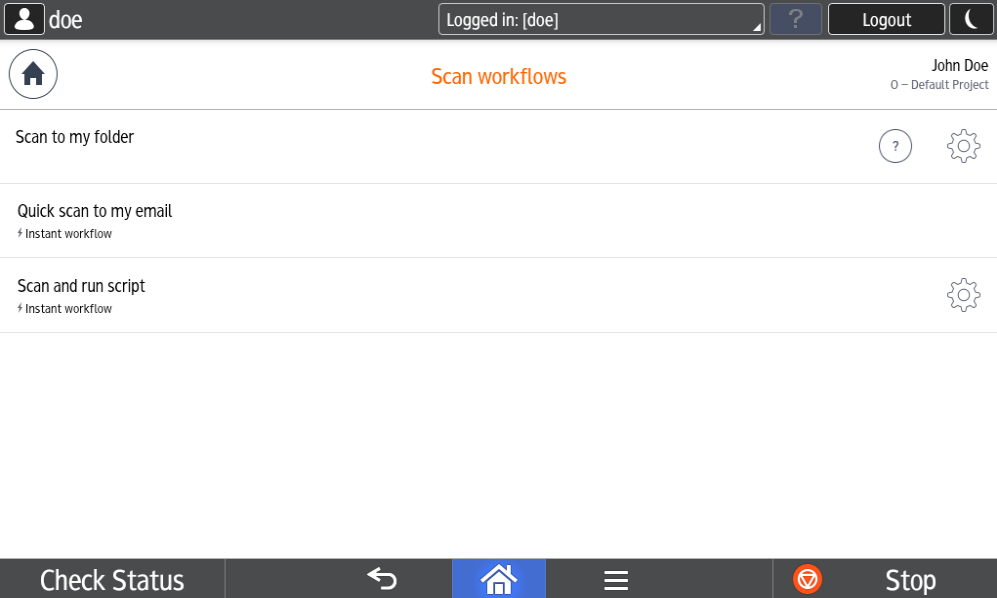
Select a scan workflow you want to execute. Some of the workflows are marked as Instant workflow and are executed directly from the workflows screen by tapping on the workflow. The other workflows need additional parameters to be entered and tapping on the workflow redirects you to a workflow detail screen.
In workflow detail screen, you can enter additional workflow parameters. All parameters are mandatory, except parameters marked as (optional).
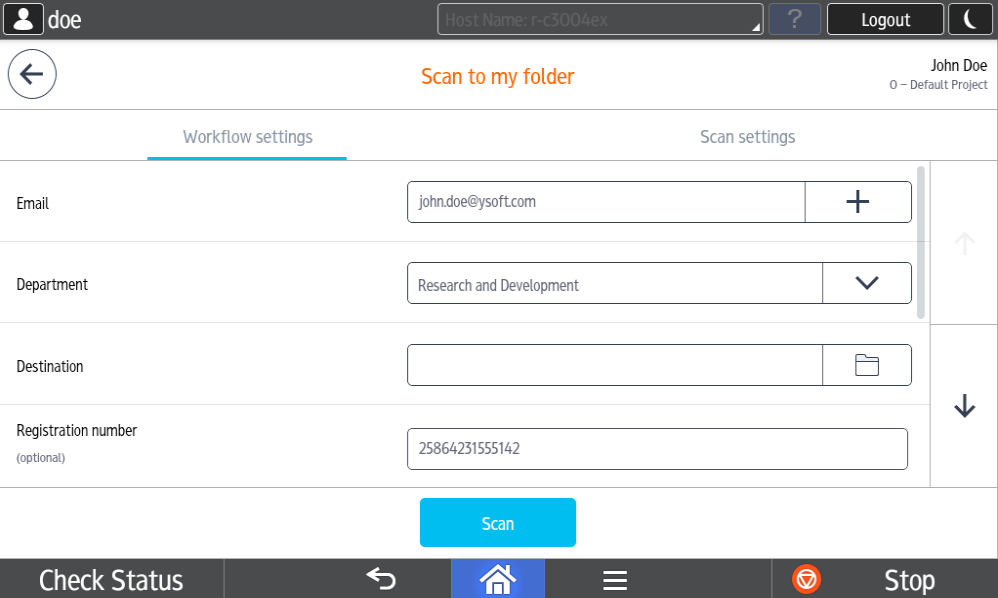
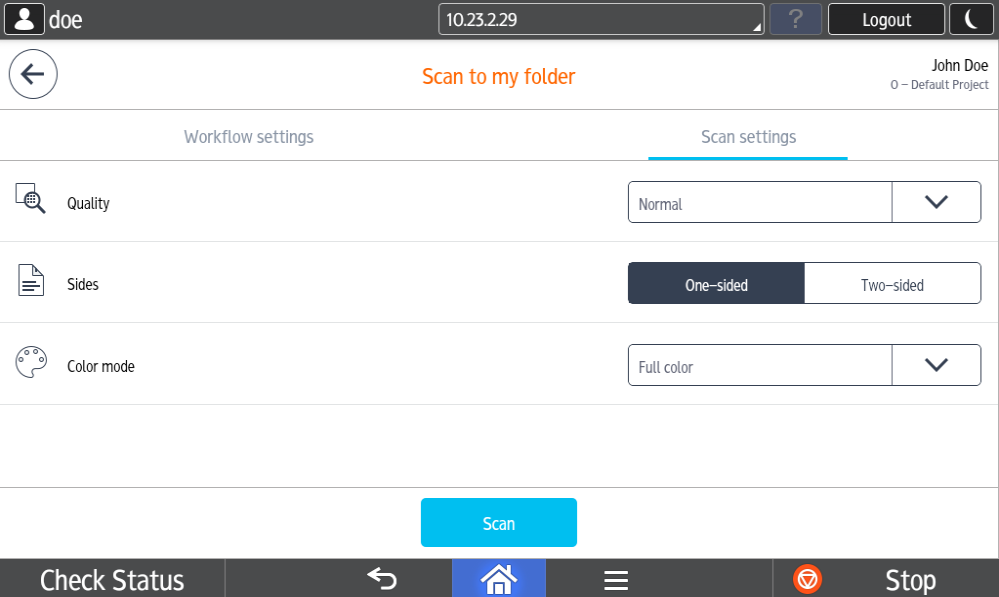
Tapping Scan settings tab opens a screen where you can select properties of the scan job.
The workflow configuration might not allow to configure scan or workflow settings. In that case, the tab is not shown.
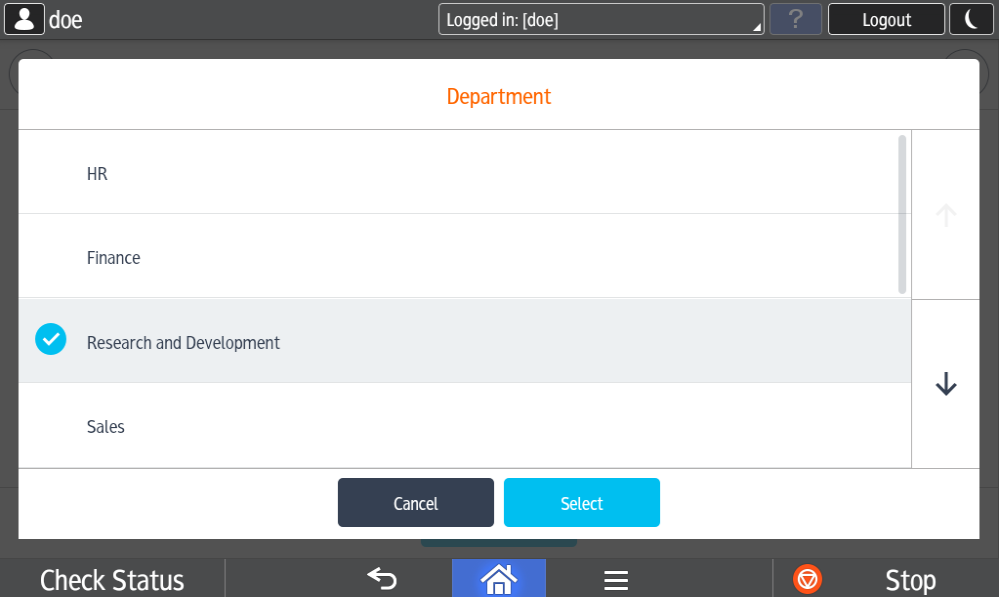
Some of the parameters allow you to browse folders or lists of available options. Tapping such parameter opens a new dialog for value selection.
Example of Department list:
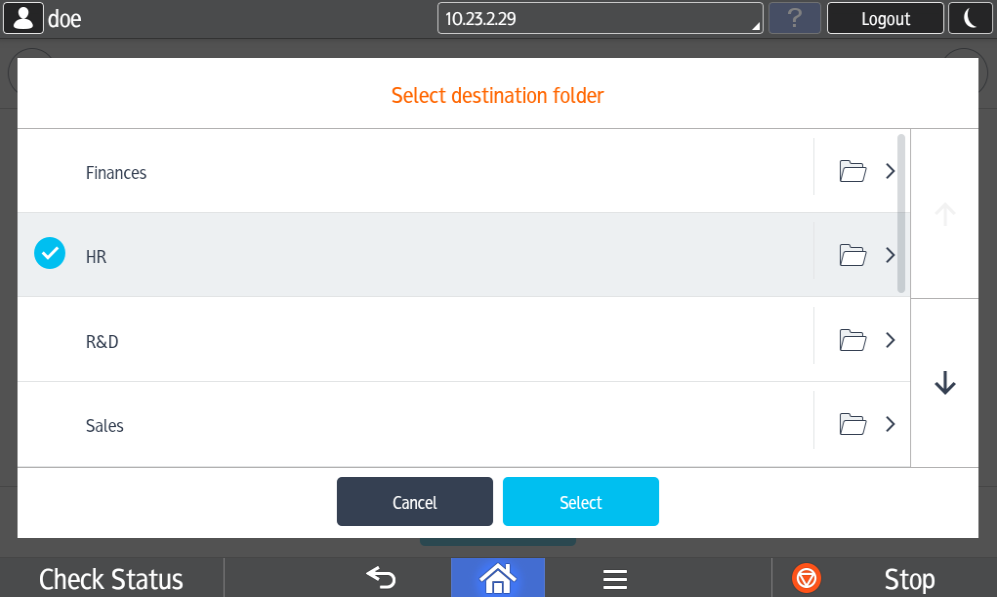
Example of Destination folder:
Email parameters allow you to search for an email address. See this page for details: Email search parameter at a Ricoh SOP - 2nd Gen.When you are ready, tap the Scan button to initialize the scan job.
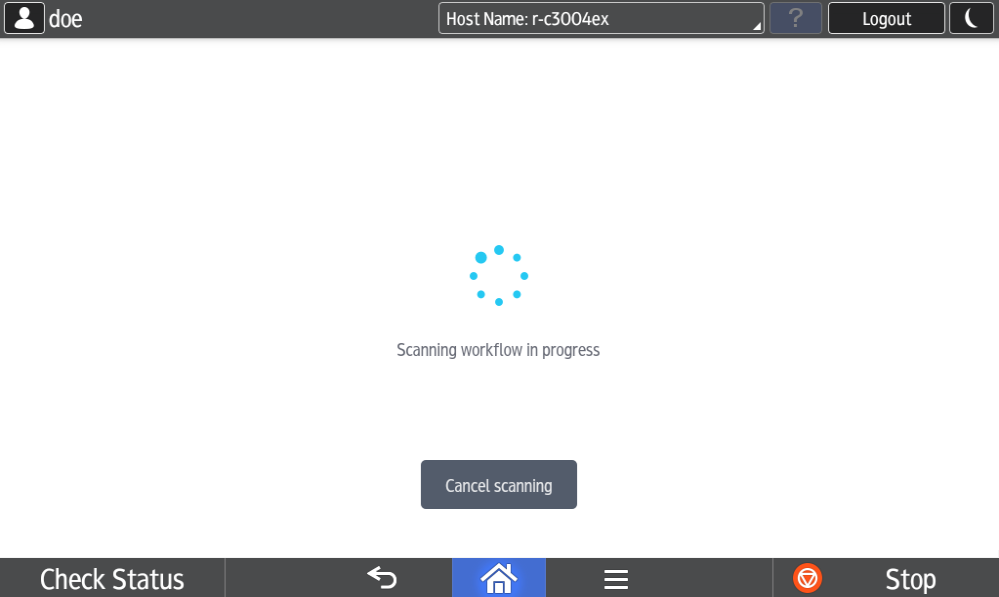
You'll get a progress screen with possibility to cancel scanning by tapping on Cancel scanning button. This screen will automatically disappear when scan workflow is finished.
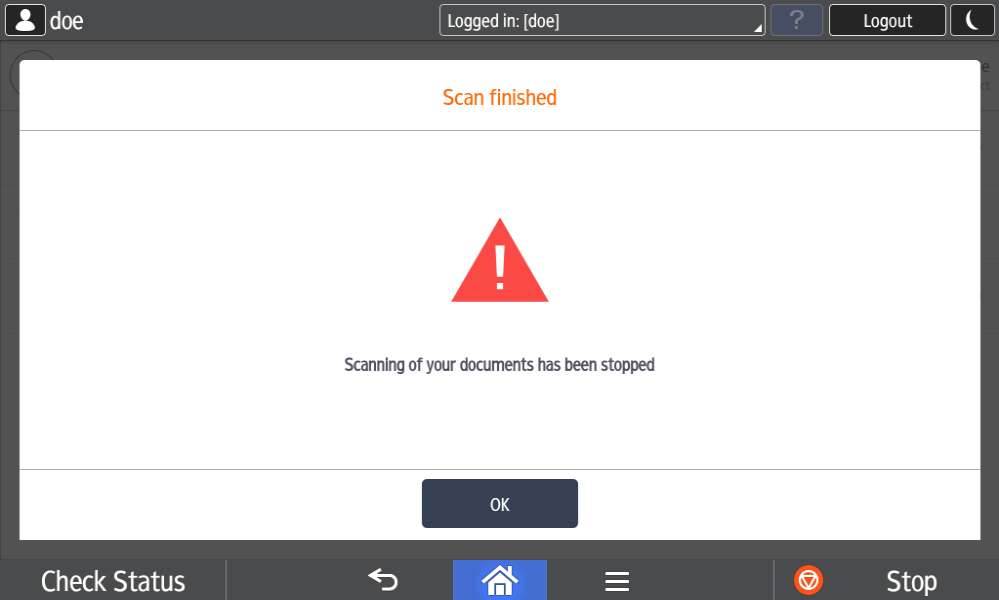
After tapping on Cancel scanning button you'll get information about scanning of your documents has been stopped.
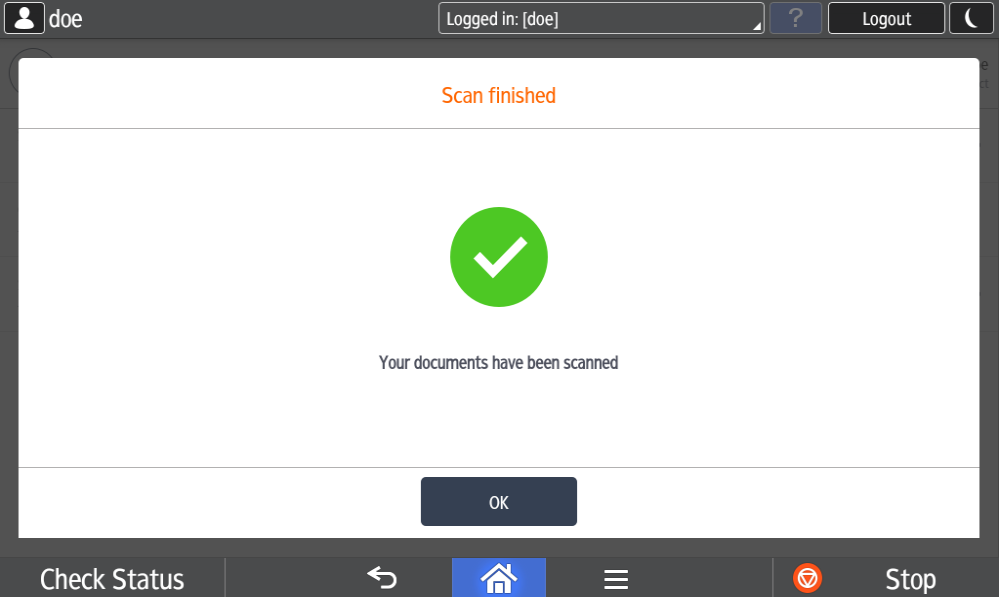
When scanning is finished, you get information about the result. If there were no problems, you get information about scan success.
If scan did not finish successfully, you'll get information about scanning of your documents has been stopped.
Action Bar
Header Buttons
![]() The home button navigates you to the dashboard.
The home button navigates you to the dashboard.
![]() The back button navigates you back to the scan application from the workflow detail screen.
The back button navigates you back to the scan application from the workflow detail screen.
User Info
User info is on the right side.
![]()
There are two text lines. The upper line is the username, and the lower line is the billing code.
If a billing code is not used, only the username is displayed. Alternatively, there is only the username and credit.

If the payment feature is enabled, there might be three text lines. The first line is the username, the second line is the billing code, and the third line is for user credit.
Scanning
 The footer bar Scan button start scanning in selected workflow.
When there are more attributes in a given screen, a browsing arrows button is displayed on the right side to move one page up or down.