Quick Guide for Users
The purpose of this document is to present to end users the system capabilities and tools at their disposal and to enable them to manage their printing environment easily.
This will help users to understand the system and provide tools for them to perform tasks such as printing, reprinting jobs, deleting jobs, managing their credentials, and more.
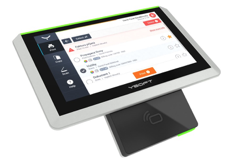
Embedded and External Terminals
Multifunction devices (printers, copiers) can be equipped with a terminal to allow secure access to device functions as well as providing the ability to manage print jobs. The following terminals can be installed:
An embedded terminal, running on the device's display
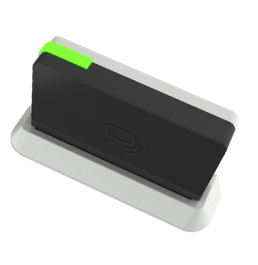
An external terminal, running on attached devices
Both embedded and external terminals offer various authentication methods, typically they go hand in hand with a card reader, but they can also provide other ways to authenticate (such as username and password, PIN code, and more).
Tap the terminal screen to explore the available authentication options. If you do not see the authentication screen or the terminal attached to the device, it is possible the device is not equipped with features that enable secure access and print job management. Such devices can be used either as an ordinary network printer or together with Mobile Terminal.
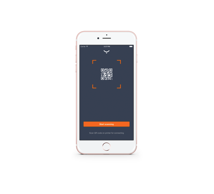
Mobile Terminal
Mobile Terminal is an application that has to be installed on your smartphone or tablet by you or your IT staff. When enabled, Mobile Terminal can provide access to your print queue on selected devices from your mobile devices. By launching the YSoft SafeQ application and scanning a QR code (as illustrated in the picture), you can manage your print jobs or print them on selected printer.
YSoft SafeQ Management Interface for Users
YSoft SafeQ Management Interface for Users
To display your print jobs
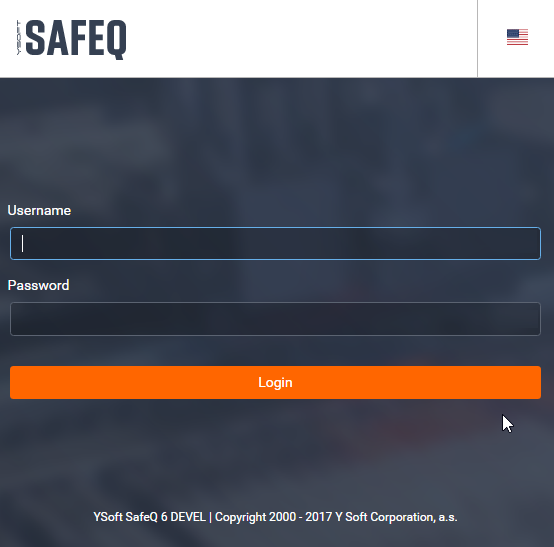
Click the YSoft SafeQ 6 shortcut on your desktop or enter the URL provided by your system administrator. You can access this address from your desktop, smartphone, or tablet browser (if they are connected to the office network).
When asked, provide your credentials. On the same screen, you can change the login page and session language by using the flag in the top-right-hand corner.
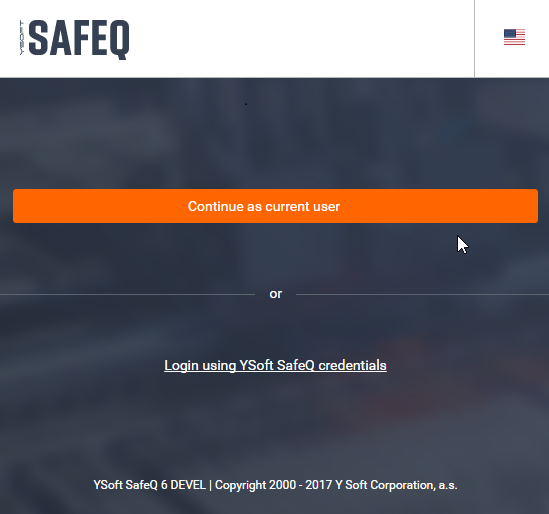
Alternatively, when the Single Sign-On integration is enabled, you can enter the secured part of the web interface by clicking on Login using system credentials button. Your Active Directory credentials under which you are logged into the operating system will be used instead and you will be logged into the interface without needing to enter your credentials manually.
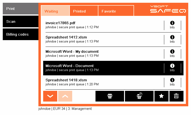
Job List
To display your print, copy, and scan jobs quickly, select the Reports tab from the left menu.

Manage Selected Print Jobs
In the Reports tab, select the print jobs you want to manage and press the Actions button:
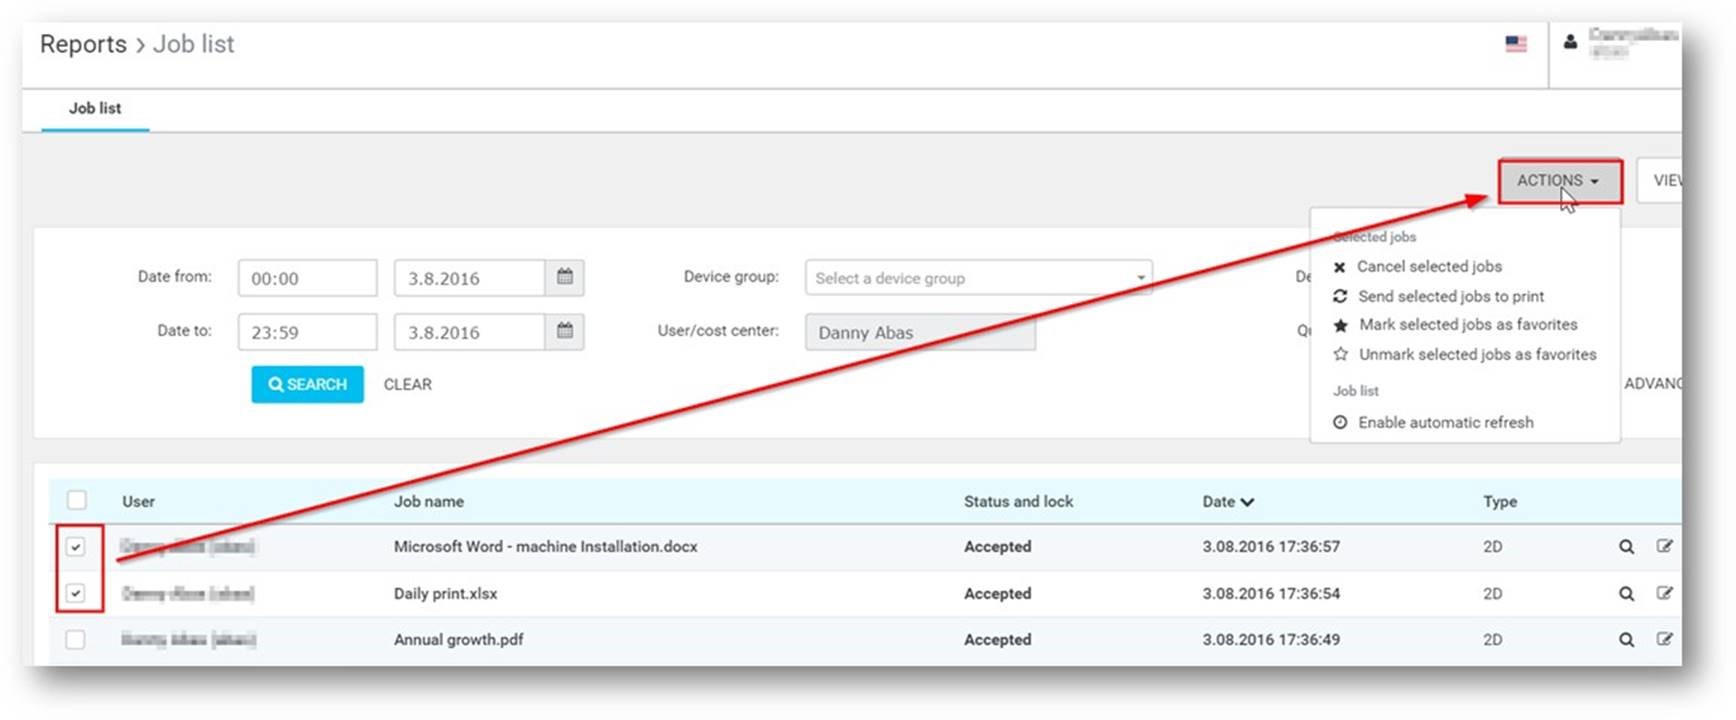
On the selected jobs, you can perform any of the following actions:
 Cancel the selected print job
 Send the selected job to requeue the jobs
You can then select the queue to send the job to:

By default, if you press Requeue, the job will be sent to the queue the job was previously sent to
 Marking the selected jobs as favorites allows you to store jobs on the server for reprinting.
 They are deleted or removed from the favorite list on the terminal or on the end user interface by using the unmark selected jobs as favorites.
Job List - Filtering Specific Jobs
To display the most common views, choose one from the menu Views, displayed on the right-hand side of the filter above the job list
If you are looking for a particular print job, you can adjust the filter to:
Date and Hour range
Specific device group
Specific print queue
Job List - Filtering Specific Jobs (Advanced)
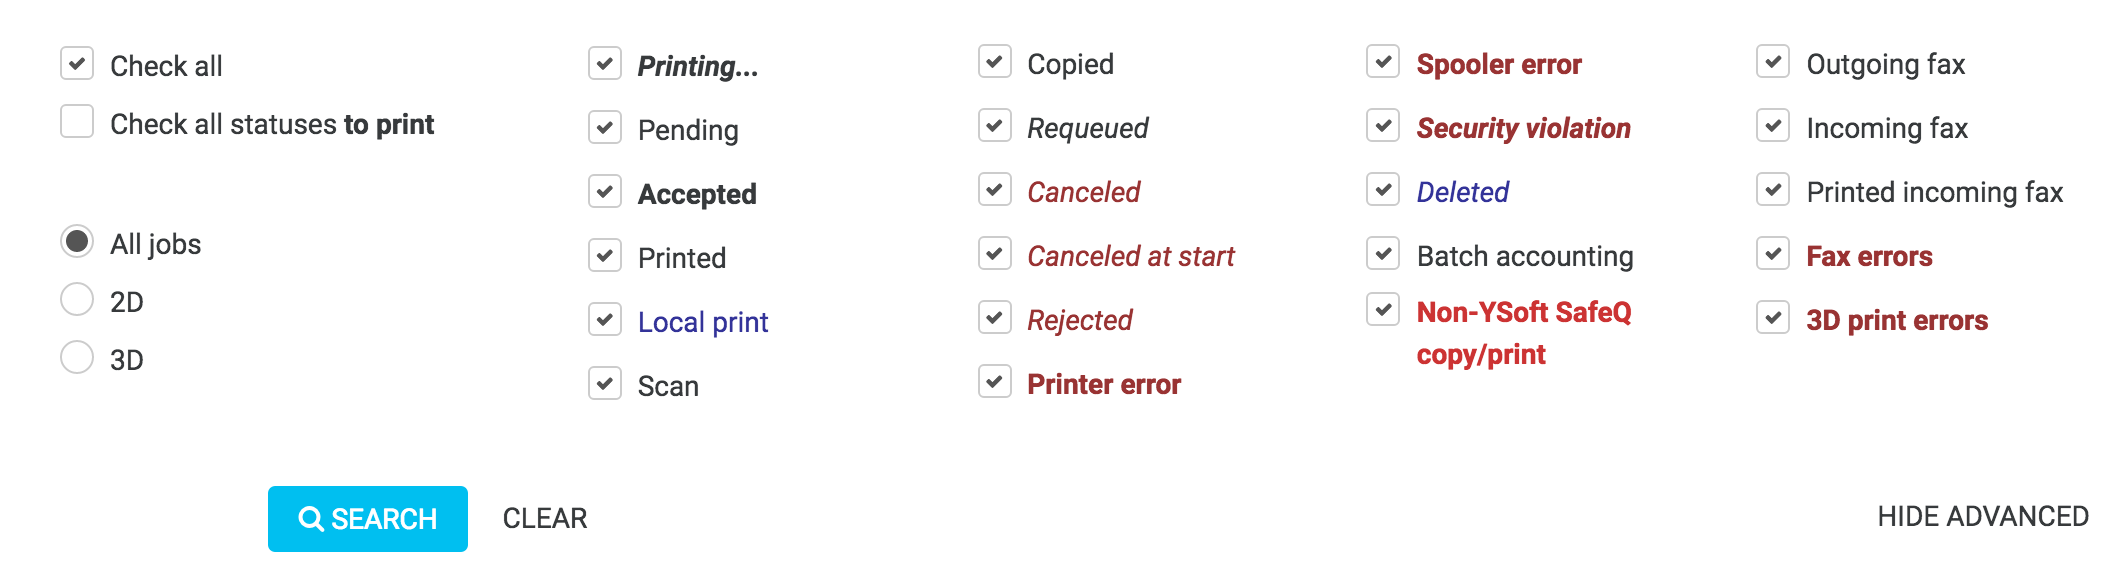
You can also filter print jobs based on their specific status. Click on the Advanced link in the right corner of the filter screen, which will display additional options such as filtering:
2D and 3D print jobs
All print jobs that are waiting to be printed
Jobs based on their specific status
Display Individual Job details, Preview, Requeue, or Delete
Each print job in the table shows available options to manage them individually.
Click the
 icon to show a job preview.
Click the
 icon to display detailed job information.
Click the
 icon to requeue the print job.
Change Your Access Credentials
To access a device, you might be required to use a username and password, PIN code or a card. You can change your username and password as well as PIN code to access printers and a YSoft SafeQ end user interface. This is useful if you have forgotten your PIN code or access credentials to access printers via the terminals. A card can be changed by an administrator or by the user via a card activation code.
Navigate to the main Dashboard from the left menu. Find the widget named Access credentials and expand the Generate PIN option by selecting it.
Click Generate PIN.
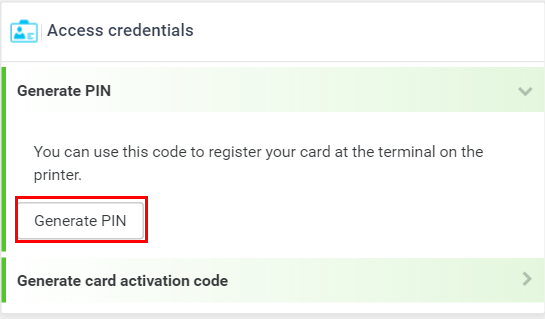
Confirm new PIN code generation by clicking YES.
The new PIN code is automatically generated and displayed.
You will also get an email with the PIN code and its expiration date.
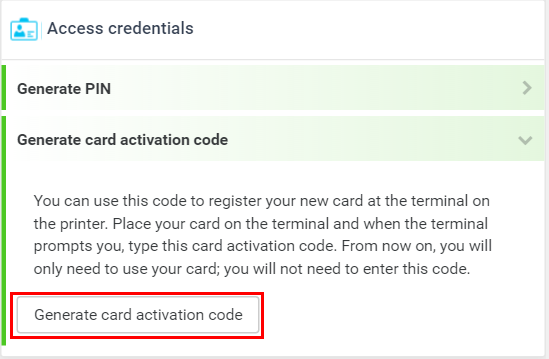
Card activation code, if enabled by your administrator, allows you to assign yourself an ID card. You can use this code to register your new card at the terminal on the printer. Place your card on the terminal and, when the terminal prompts you, type the card activation code. From now on, you will only need to use your card. You will not need to re-enter this code.
To issue a card activation code, navigate to the main Dashboard from the left menu. Find the widget named Access credentials and expand the Generate card activation code by selecting it.
Click Generate card activation code.
Confirm new card activation code generation by clicking YES.
The new card activation code is automatically generated and displayed.
You will also get an email with the card activation code and its expiration date.
Choose Your Default Billing (Project, Matter) Code
YSoft SafeQ 6 supports the ability to choose which project or billing code an activity, such as copying, scanning or printing, is assigned to. If you always work in the context of one project or billing code (or, for example, department), you can choose one billing code as default for every activity.
This step requires that billing codes are enabled and configured for use by the system administrator.
Navigate to the main Dashboard from the left menu. Find the widget named Default billing code and click the Choose another billing code button.
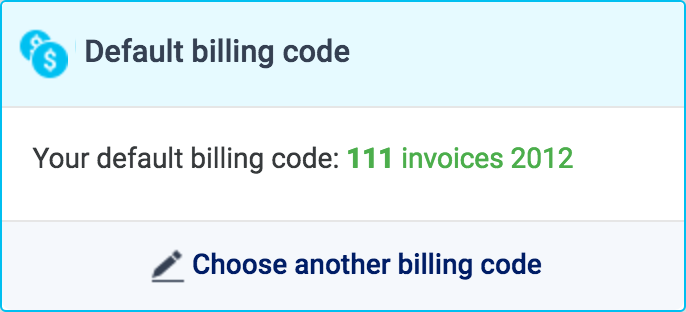
From the options revealed, choose one of the billing codes. You can browse through all billing codes that are available.
Once finished, you will see the billing code has changed to your newly selected billing code.
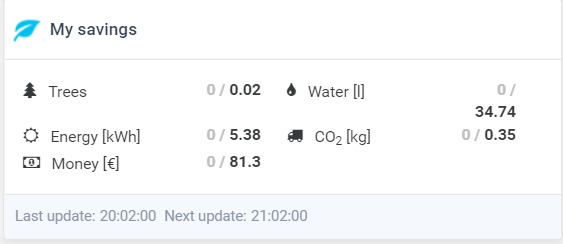
Other Widgets
What have you saved for the environment and your company:
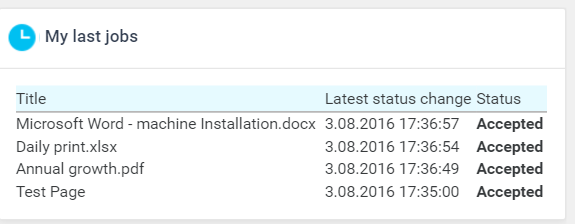
Your last jobs, and their status:
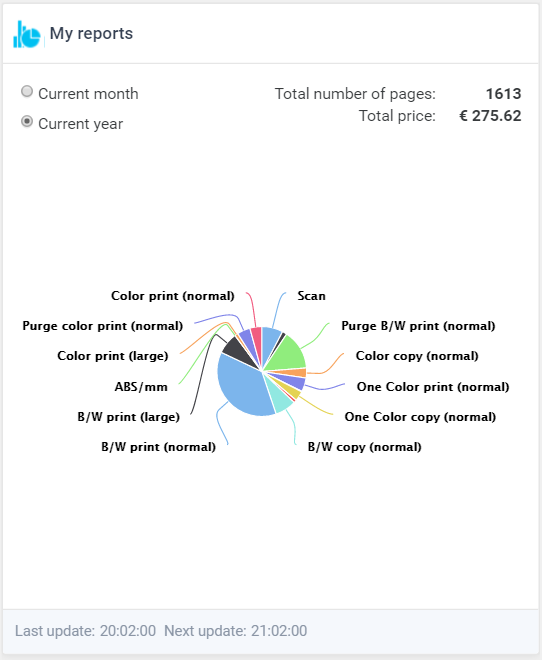
Your monthly and yearly report:
Logging Out from YSoft SafeQ Management Interface for Users
When you finish working with the YSoft SafeQ end user interface, you can simply click the Logout button as illustrated in the screenshot below.