Printing at a Konica Minolta Device Native
Printing and Managing Jobs
Log into the embedded terminal.
From the main menu, select SafeQ Print.
Your screen may look different to the one shown here, it depends on the administrator settings.
You may be redirected directly into the YSoft SafeQ application. In that case, skip this step.
The job folders are displayed. Tap one of the folder buttons.
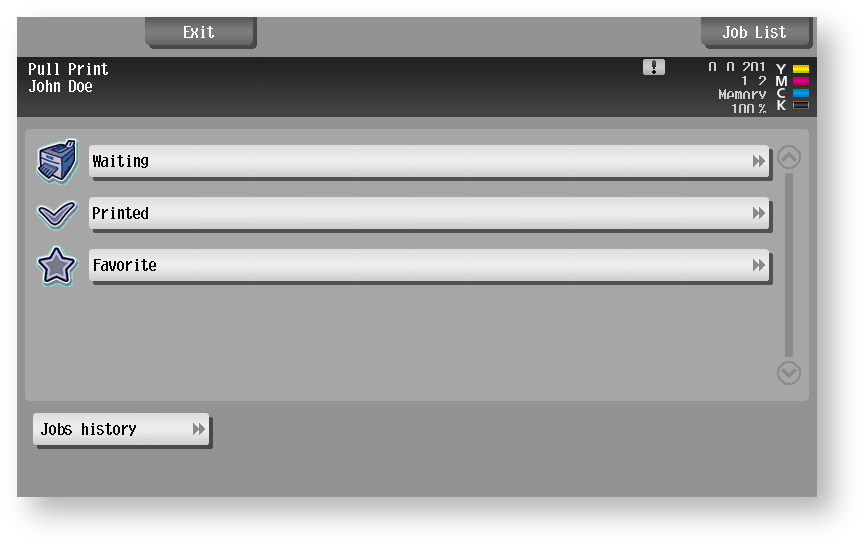
Your screen may include different options to those shown here, it depends on your administrator settings.
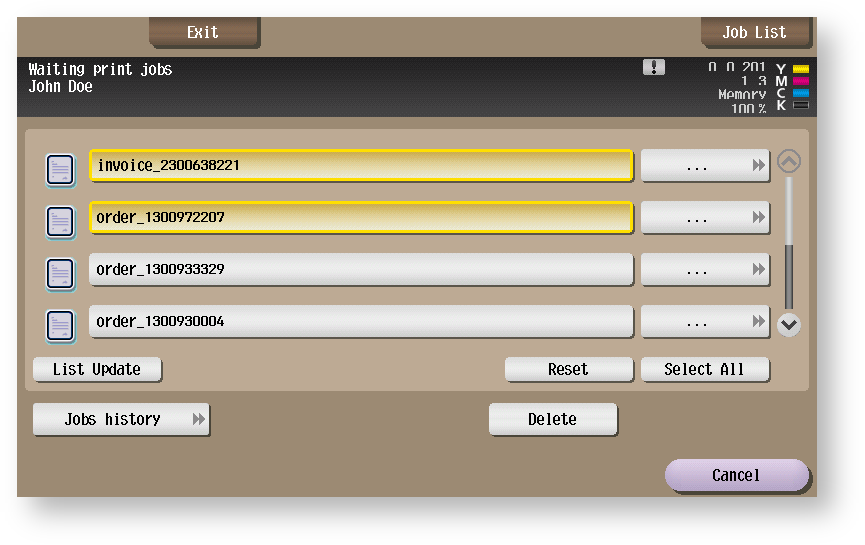
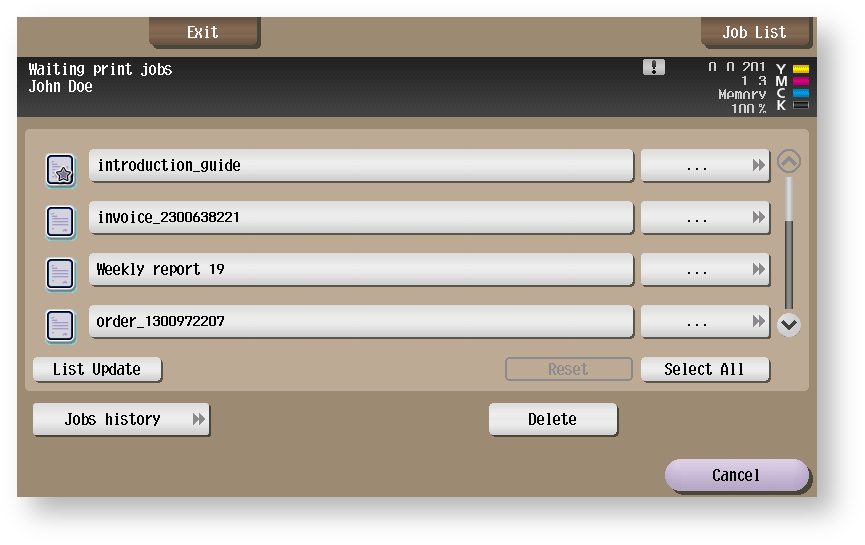
Tap the job(s) you want to print.
To mark/unmark all jobs, tap Select All.
To display more jobs, tap the Arrow keys on the right side.
When ready, press the Start button located on the device's panel.
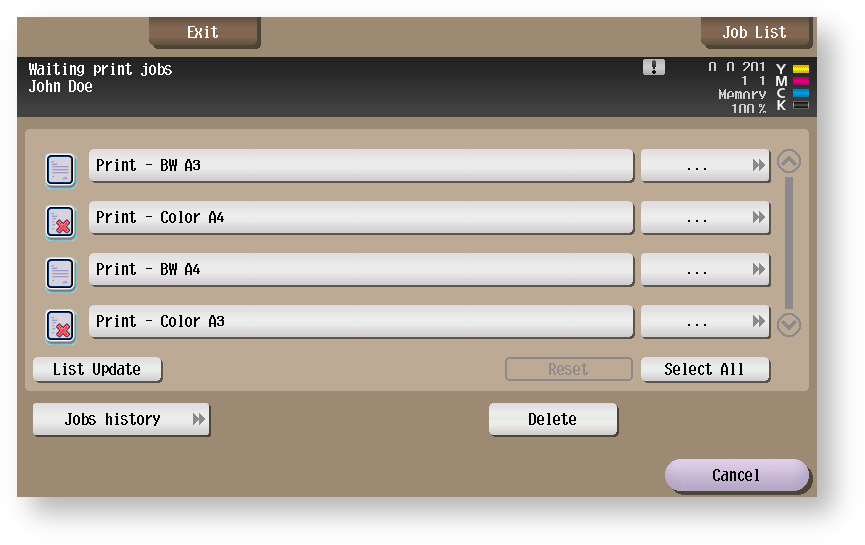
Sometimes, a print job is not compatible with a particular device. This can be due to a variety of reasons but means that the print job cannot be printed at the device. Incompatible jobs are marked with a red cross symbol and cannot be selected for printing.
Sometimes, changing the Finishing options makes the print job compatible. Finishing options are accessible from the job information (see below). If the device still does not print and shows job as being incompatible, either try a different device or contact a system administrator.
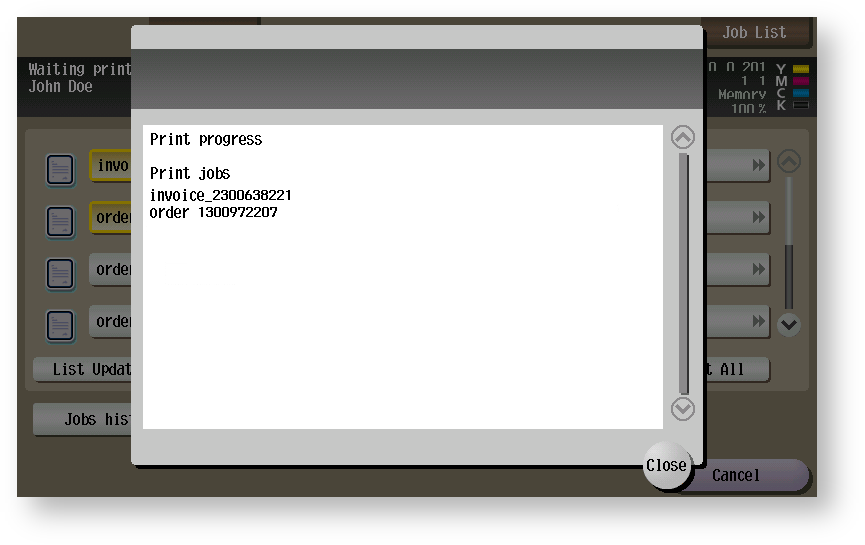
A history displays with all the types of jobs performed in this session. Tap Close.
Once the job has printed, it appears in the Printed folder. This job can be reprinted in the future.
This behavior may not be available. It depends on the configuration of your YSoft SafeQ.
You can also perform the following actions in the print menu:
 Deletes the selected print job(s) from the list.
 Selects all print job(s) from the list.
 Access job details and advanced functions.
 Returns to the previous screen.
Job Details and Finishing Options
The  button provides access to print job details, its preview, and available finishing options.
Not all print jobs and devices are compatible and allow the changing of finishing options at the terminal. Consult with your administrator or provider to see which devices are compatible.
Tap the
 button next to the job to change the job print settings or view the detailed job information.
If the finishing options are not enabled the detailed job information screen (with or without the job preview) is displayed. Tap Close to return to the previous screen.
If the finishing options are enabled the print settings screen is displayed. The Print settings enable the users to configure various print job settings.
Not all options may be available. Always make sure to choose compatible combinations (e.g. don't choose left-side stapling with right-side binding). See the device manual for supported combinations.
You can also tap Job information to show the detailed job information.
Tap OK to confirm or Cancel to discard changes.