How to block XEROX devices
Compatible blocking cables
YSQC0-002-0000 Cable Xerox (FDI Required)
YSQC0-003-0000 Cable Xerox Type 2 (FDI Required)
YSQC0-019-0000 Cable Xerox Type 3 (FDI Required)
YSQC0-048-0000 Smart Cable Xerox v2 (FDI Required)
Blocking Xerox WorkCenter 5875 and other ConnectKey based printers
After entering device service menu, following steps have to be performed:
Navigate to Tools > Accounting settings > Accounting mode
Select Auxiliary access
In auxiliary device type select one you want to and press Save
Under Services Access & Accounting you can select services you wish to restrict - select all services as restricted except printing.
Under Job Timeout check Enabled and set Job Timeout to 1 second
Blocking Xerox WorkCenter 7120 (FujiXerox based controller)
The device will be blocked after connecting the FDI with switches configured to 1111101000
After connecting FDI following steps have to be done via device service menu:
Navigate to Common Service Settings > Maintenance/Diagnostic > NVM Read/Write
Write “850-007“, click on Confirm/Change, write 3, click on Save
Close > Exit (Keep Log) > Yes
MFD is restarted
If the scan/fax function is not blocked automatically, change switch 850 015 to 1.
To unblock the device it is not sufficient only to revert back the change of Switch 850-007 back to 0 but also it is necessary to set 850-001 switch to 0. This was changed automatically by FDI connection. After performing these changes FDI can be disconnected.
Blocking Xerox VersaLink devices
Do not connect the FDI before configuration of the device.
Login to Web interface of the device.
Navigate to Permissions > Login/Logout Settings.
Select Convenience.
Enter dummy IP address - does not need to be working IP address.
Apply change and restart device.
Log in to Web interface of the device.
Navigate to Permissions > Accounting Method.
Select Auxiliary Device.
Configure Device type to Subtractive.
Enable Copies in What to track.
Apply changes and turn off the device after restart. Error message may appear on the device display.
Configure the FDI DIP switches according to the device used.
Connect the FDI to the device.
Start the device.
Navigate to Service Menu of the device.
Navigate to Diagnostics > NVM Read/Write.
Select NVM configuration 850-007 and change the value to 3.
Verify that the NVM configuration 850-001 is changed to 1. This should be changed automatically when FDI is connected to the device.
Save changes.
Close the service menu.
Device restart will be prompt - restart the device.
How to choose a correct blocking cable mode on YSQC0-048-0000
On devices supporting blocking cable YSQC0-048-0000 requires selecting a correct blocking cable mode (mode can be found in HCL). Here is the procedure:
Terminal Professional:
In the service menu of terminal proceed following way: I/O Module settings > I/O module
Select YSQC0-048-0000 Smart Cable Xerox v2 is chosen and on the next screen set it to be operating in mode corresponding with the device used.
Terminal Ultralight:
Use the termtool utility, how to use guide can be found in Configuring Terminal Ultralight article.
After selecting the proper terminal to configure continue with entering 4 – Car reader and I/O module setup and confirm with Enter. Press Enter one more time to skip the card reader setting.
By entering '?' you can list all the available types. Choose YSQC0-048-0000 Smart Cable Xerox v2.
Choose mode corresponding with the used device. Confirm by pressing Enter.
Press Enter one more time and continue entering 100 in order to reboot the terminal and save changes made in its configuration.
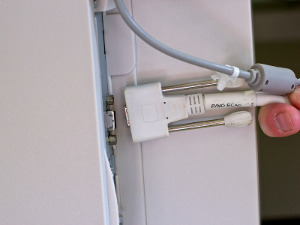
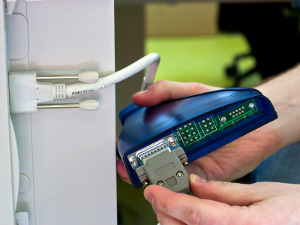
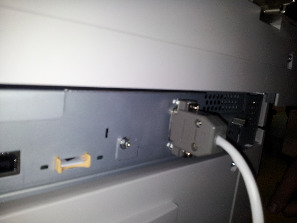
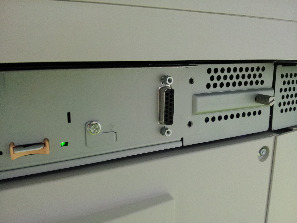
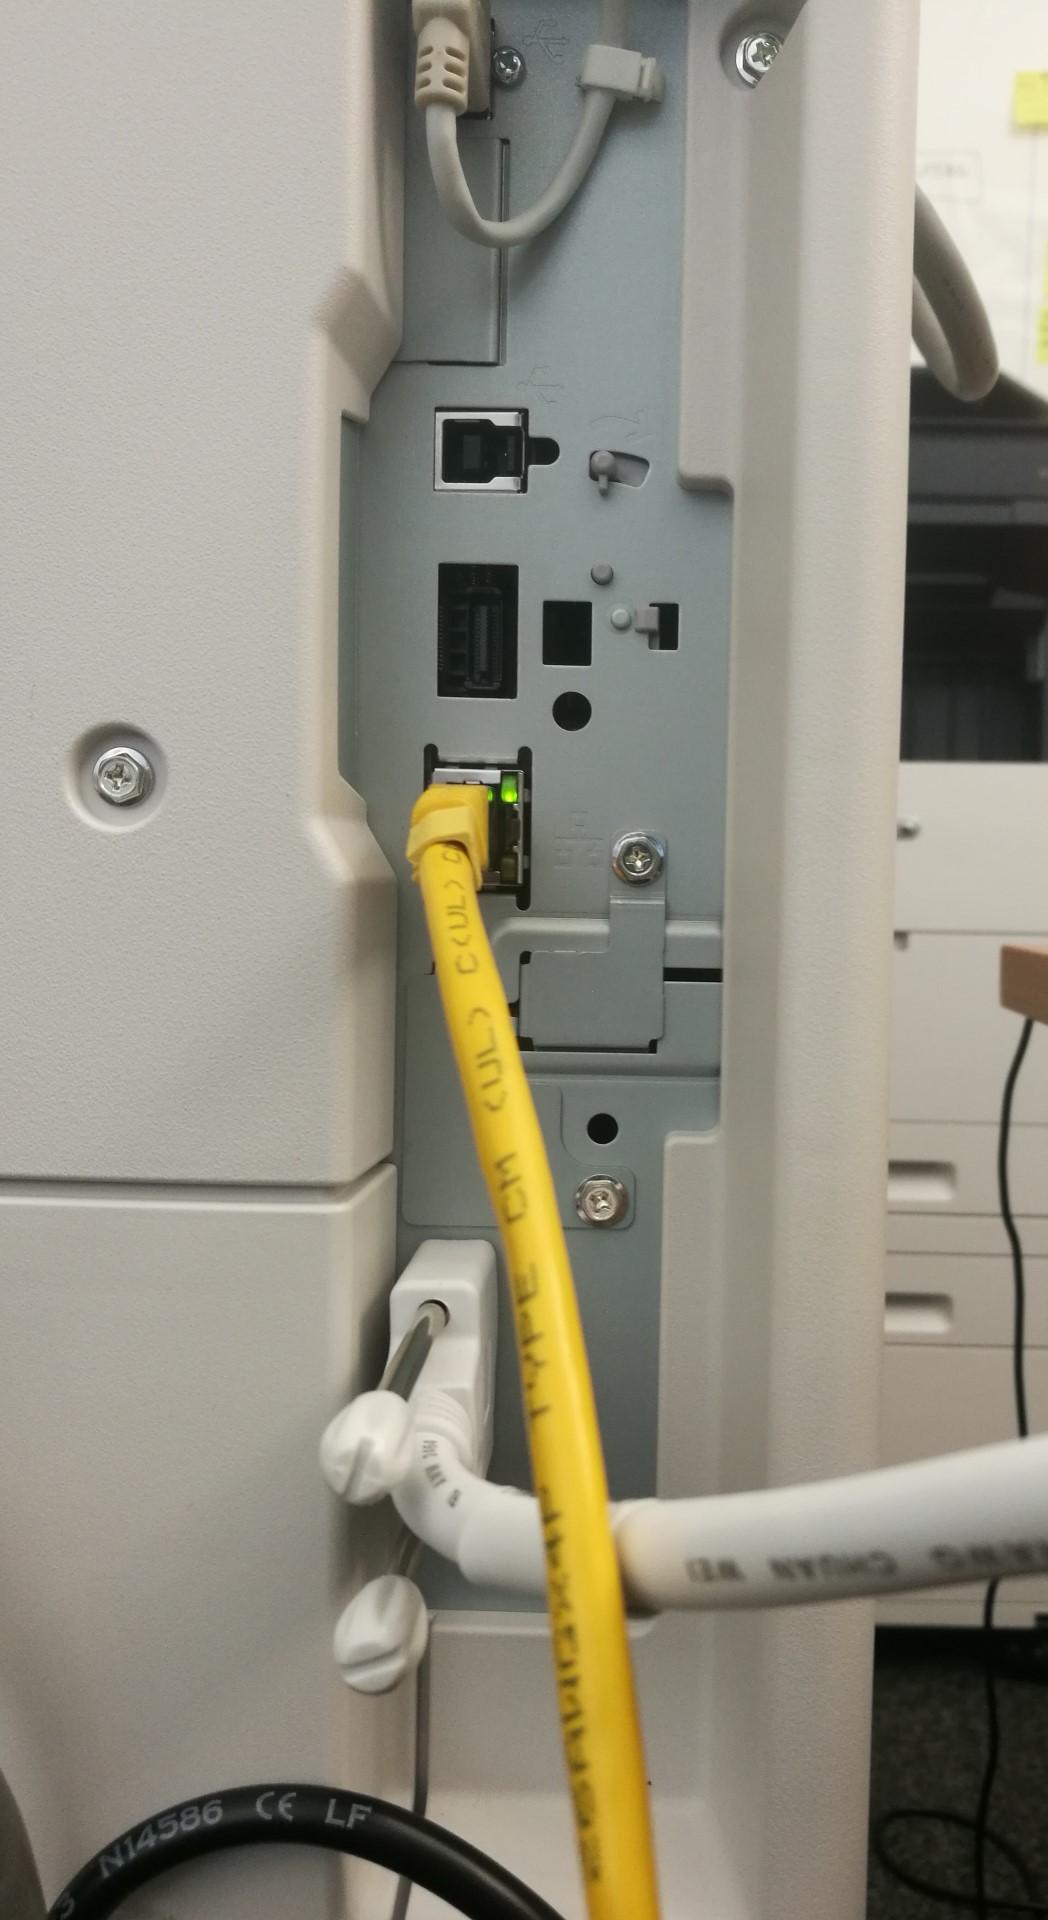
Examples of blocking cable connection:
Xerox WorkCenter 7120
YSQC0-048-0000 Smart Cable Xerox v2 (FDI Required)
Xerox WorkCenter 5875
YSQC0-048-0000 Smart Cable Xerox v2 (FDI Required)
Xerox WorkCenter 8900
YSQC0-048-0000 Smart Cable Xerox v2 (FDI Required)
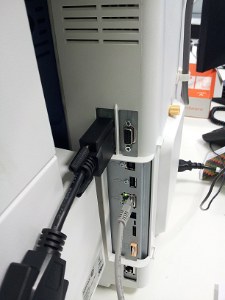
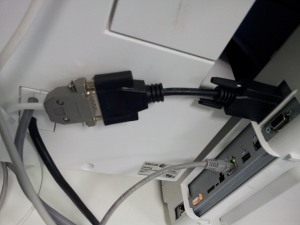
Type A reduction for 20pin connector needed.
Xerox VersaLink C405
YSQC0-048-0000 Smart Cable Xerox v2 (FDI Required)
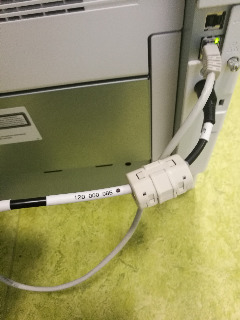
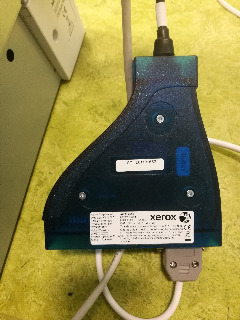
Xerox VersaLink C7030
YSQC0-048-0000 Smart Cable Xerox v2 (FDI Required)
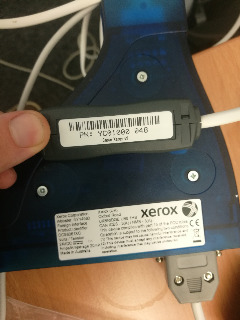
Smart Blocking Cables for Hardware Terminals
Required for copy control
YSQC0-002-0000
Cable Xerox (FDI Required)
YSQC0-003-0000
Cable Xerox Type 2 (FDI Required)
YSQC0-019-0000
Cable Xerox Type 3 (FDI Required)

YSQC0-048-0000
Smart Cable Xerox v2 (FDI Required)
It's necessary to chose correct cable mode in the terminal settings. The cable mode can be found at device comment column.
