Defining a Rule in Rule-Based Engine
Displaying and Using the Rules List
In the YSoft SafeQ management interface, select Rules.
On this page, you can manage print job rules and access the Rules Definition wizard.

The Rules page allows you to define the Rule-Based Engine rules.
There is a list of existing rules defined in the system.
Each rule is represented with the following information:
Name – The name of the rule
Trigger – The action that will trigger the rule
Conditions – The conditions print jobs must meet in order for YSoft SafeQ 6 to apply the rule
Action – The action that will be applied if conditions are met
The following options are available for each rule:
Enable/disable rule
Move the rule position in the list
Edit rule definition
Delete rule
To add a new rule, click the ADD NEW ITEM button.
Adding a New Rule
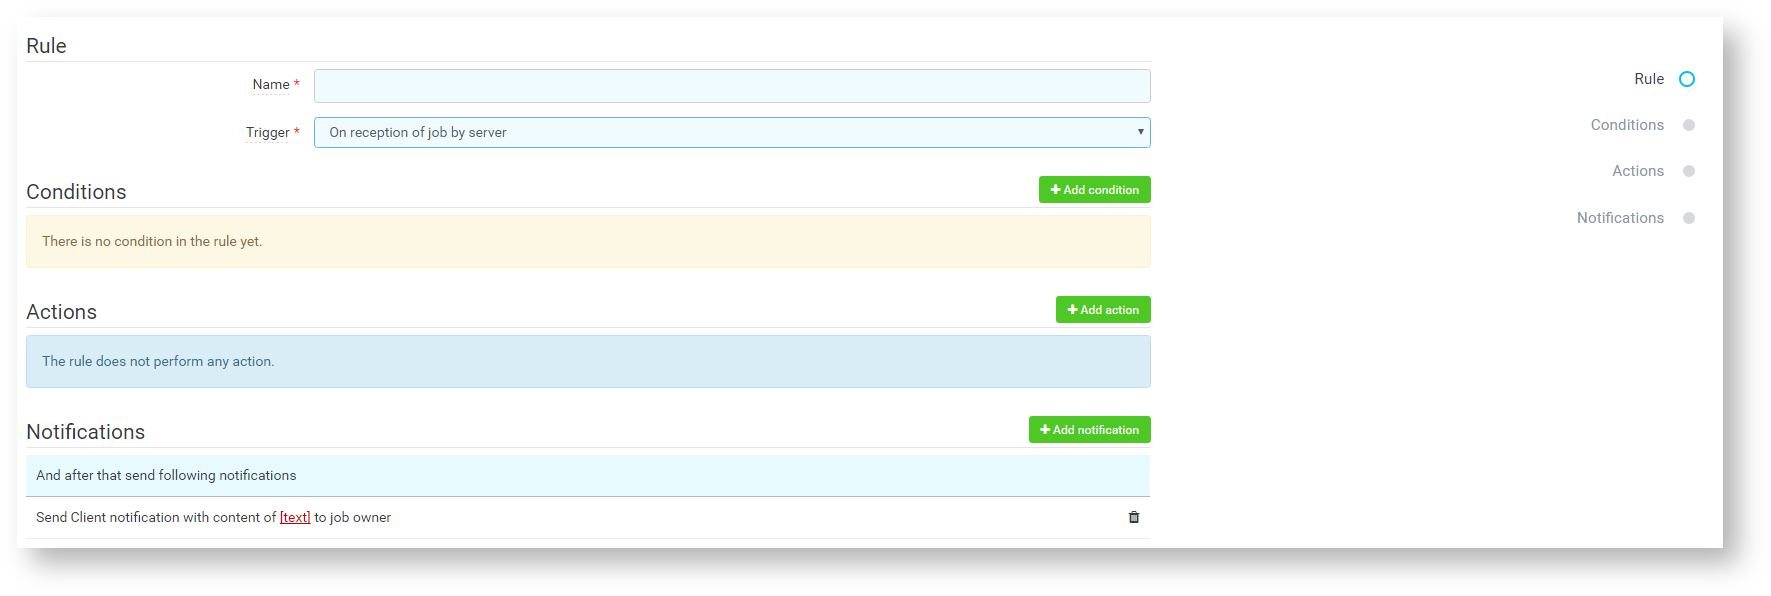
Once you select ADD NEW ITEM, the rule definition screen appears.

When defining a new rule, follow these steps:
Enter a unique name for the rule
Define the trigger
Specify the job conditions

Select the required actions
Define the notification

Once you have configured the desired behavior, click SAVE CHANGES, and the rule will be saved.