Configuring YSoft SafeQ as a printer at Windows 8/Windows 10
LPR is a network protocol for submitting print jobs to a remote printer or print server. YSoft SafeQ can behave as a print server in this case. This page explains how to configure a printer in Windows to use LPR for printing jobs via YSoft SafeQ.
Open the Devices and Printers and select Add a printer.
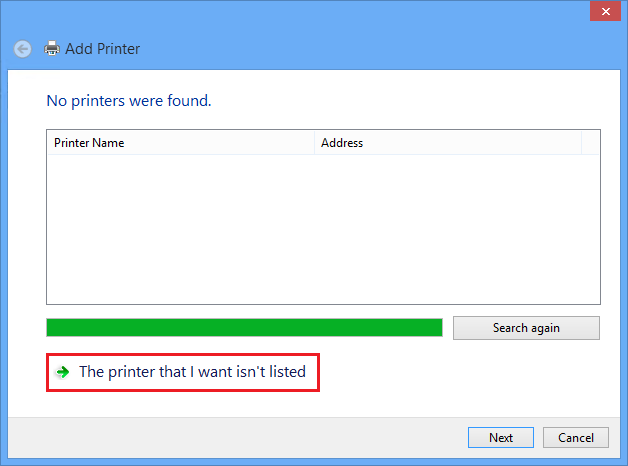
Select the printer you want to install from the list or press The printer that I want isn't listed.
In the case you have directly selected printer to install from the list, the printer will be automatically installed.
In the case you have selected The printer that I want isn't listed, continue with following steps.
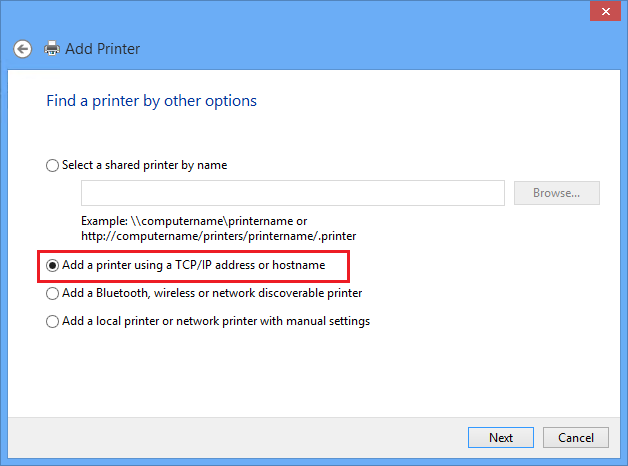
Choose Add a printer using TCP/IP address or hostname.
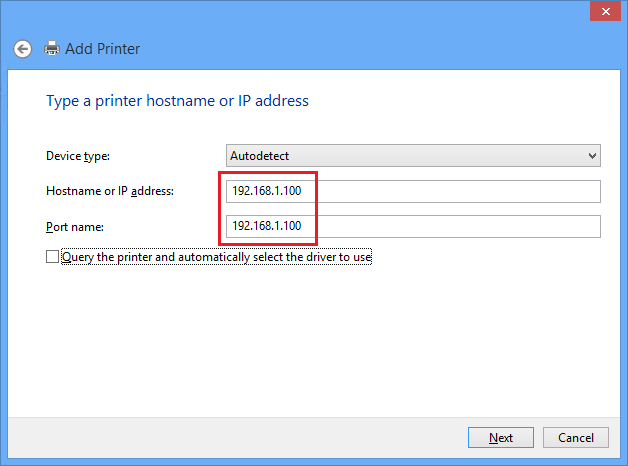
For Hostname or IP address, enter the address of the printer; then enter a name for the port.
Skip Additional port information required by pressing Next button (optional step).
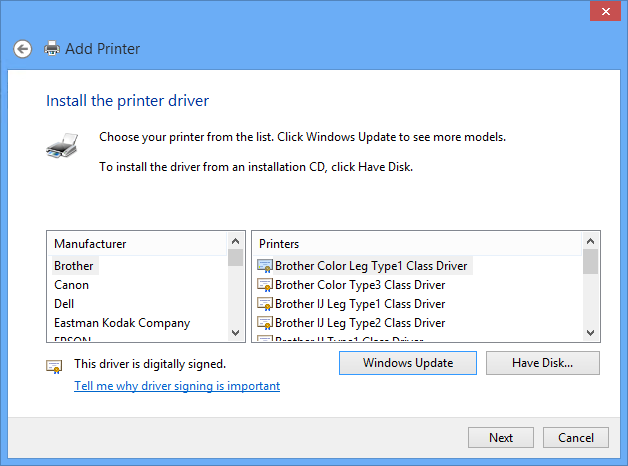
From the list of printer drivers, select the appropriate driver (or select a driver from the disk). Choose the appropriate print driver that works with printers in your environment.
Enter a name for the new printer; then wait for the installation process to finish. Select other options according to your needs (sharing, setting the printer as default, test page printing); then finish the wizard.
Right-click the new printer; then select the Printer properties option. Select the Ports tab. The port you created should already be selected and highlighted. Click Configure Port.
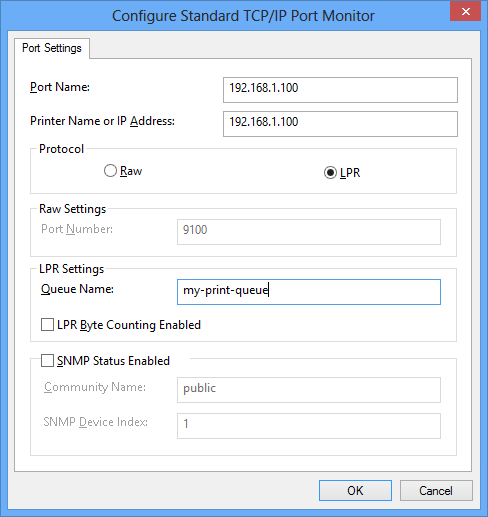
Change the Printer Name or IP Address to the IP address of the YSoft SafeQ server.
In the Protocol section, select LPR.
On the LPR Settings page, enter the name of the queue that will be used for the printer (for example my-print-queue).
If necessary, change other settings on the page (LPR Byte Counting, SNMP status).
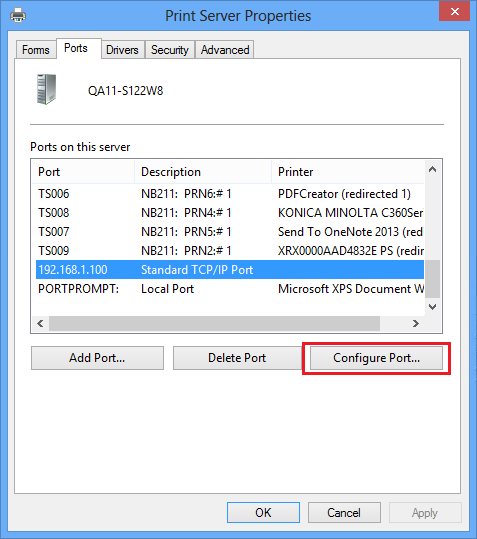
In the case, you won't be able to edit Port settings, select the printer in Devices and Printers tab > click Print server properties > Ports > Change Port Settings > select the port you created in step 4 and click Configure Port
Click OK to save the changes.